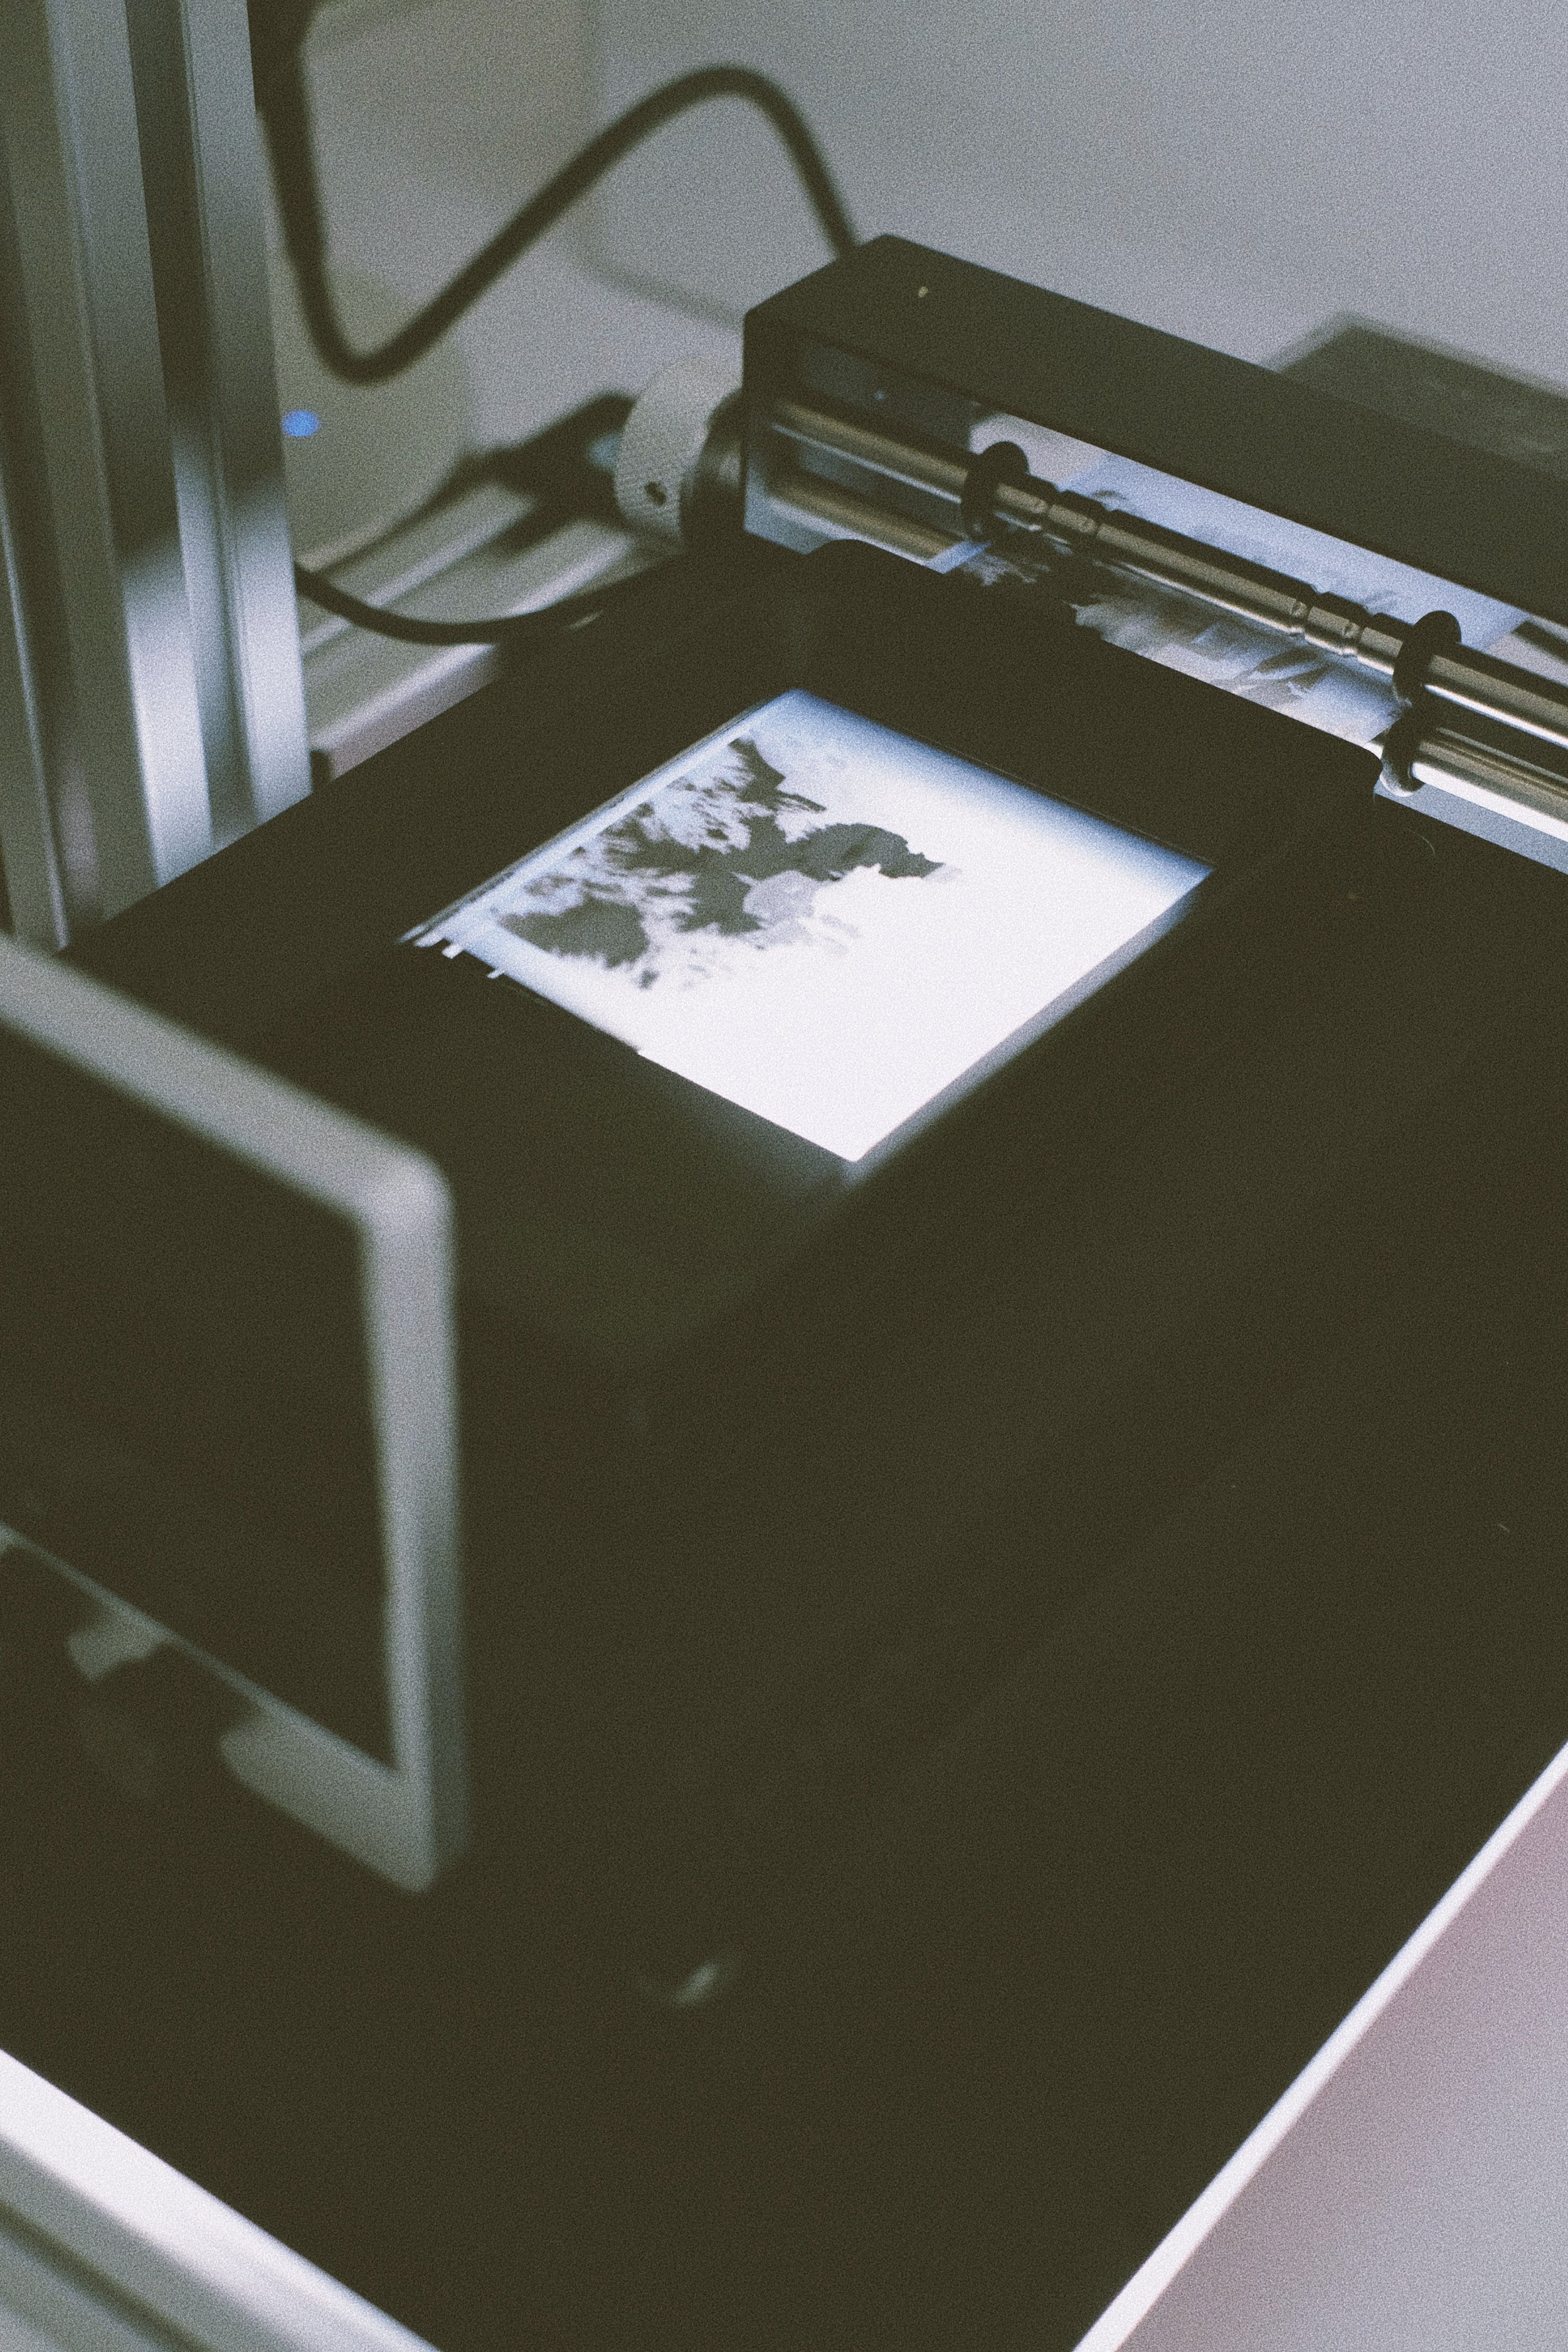
A closer look
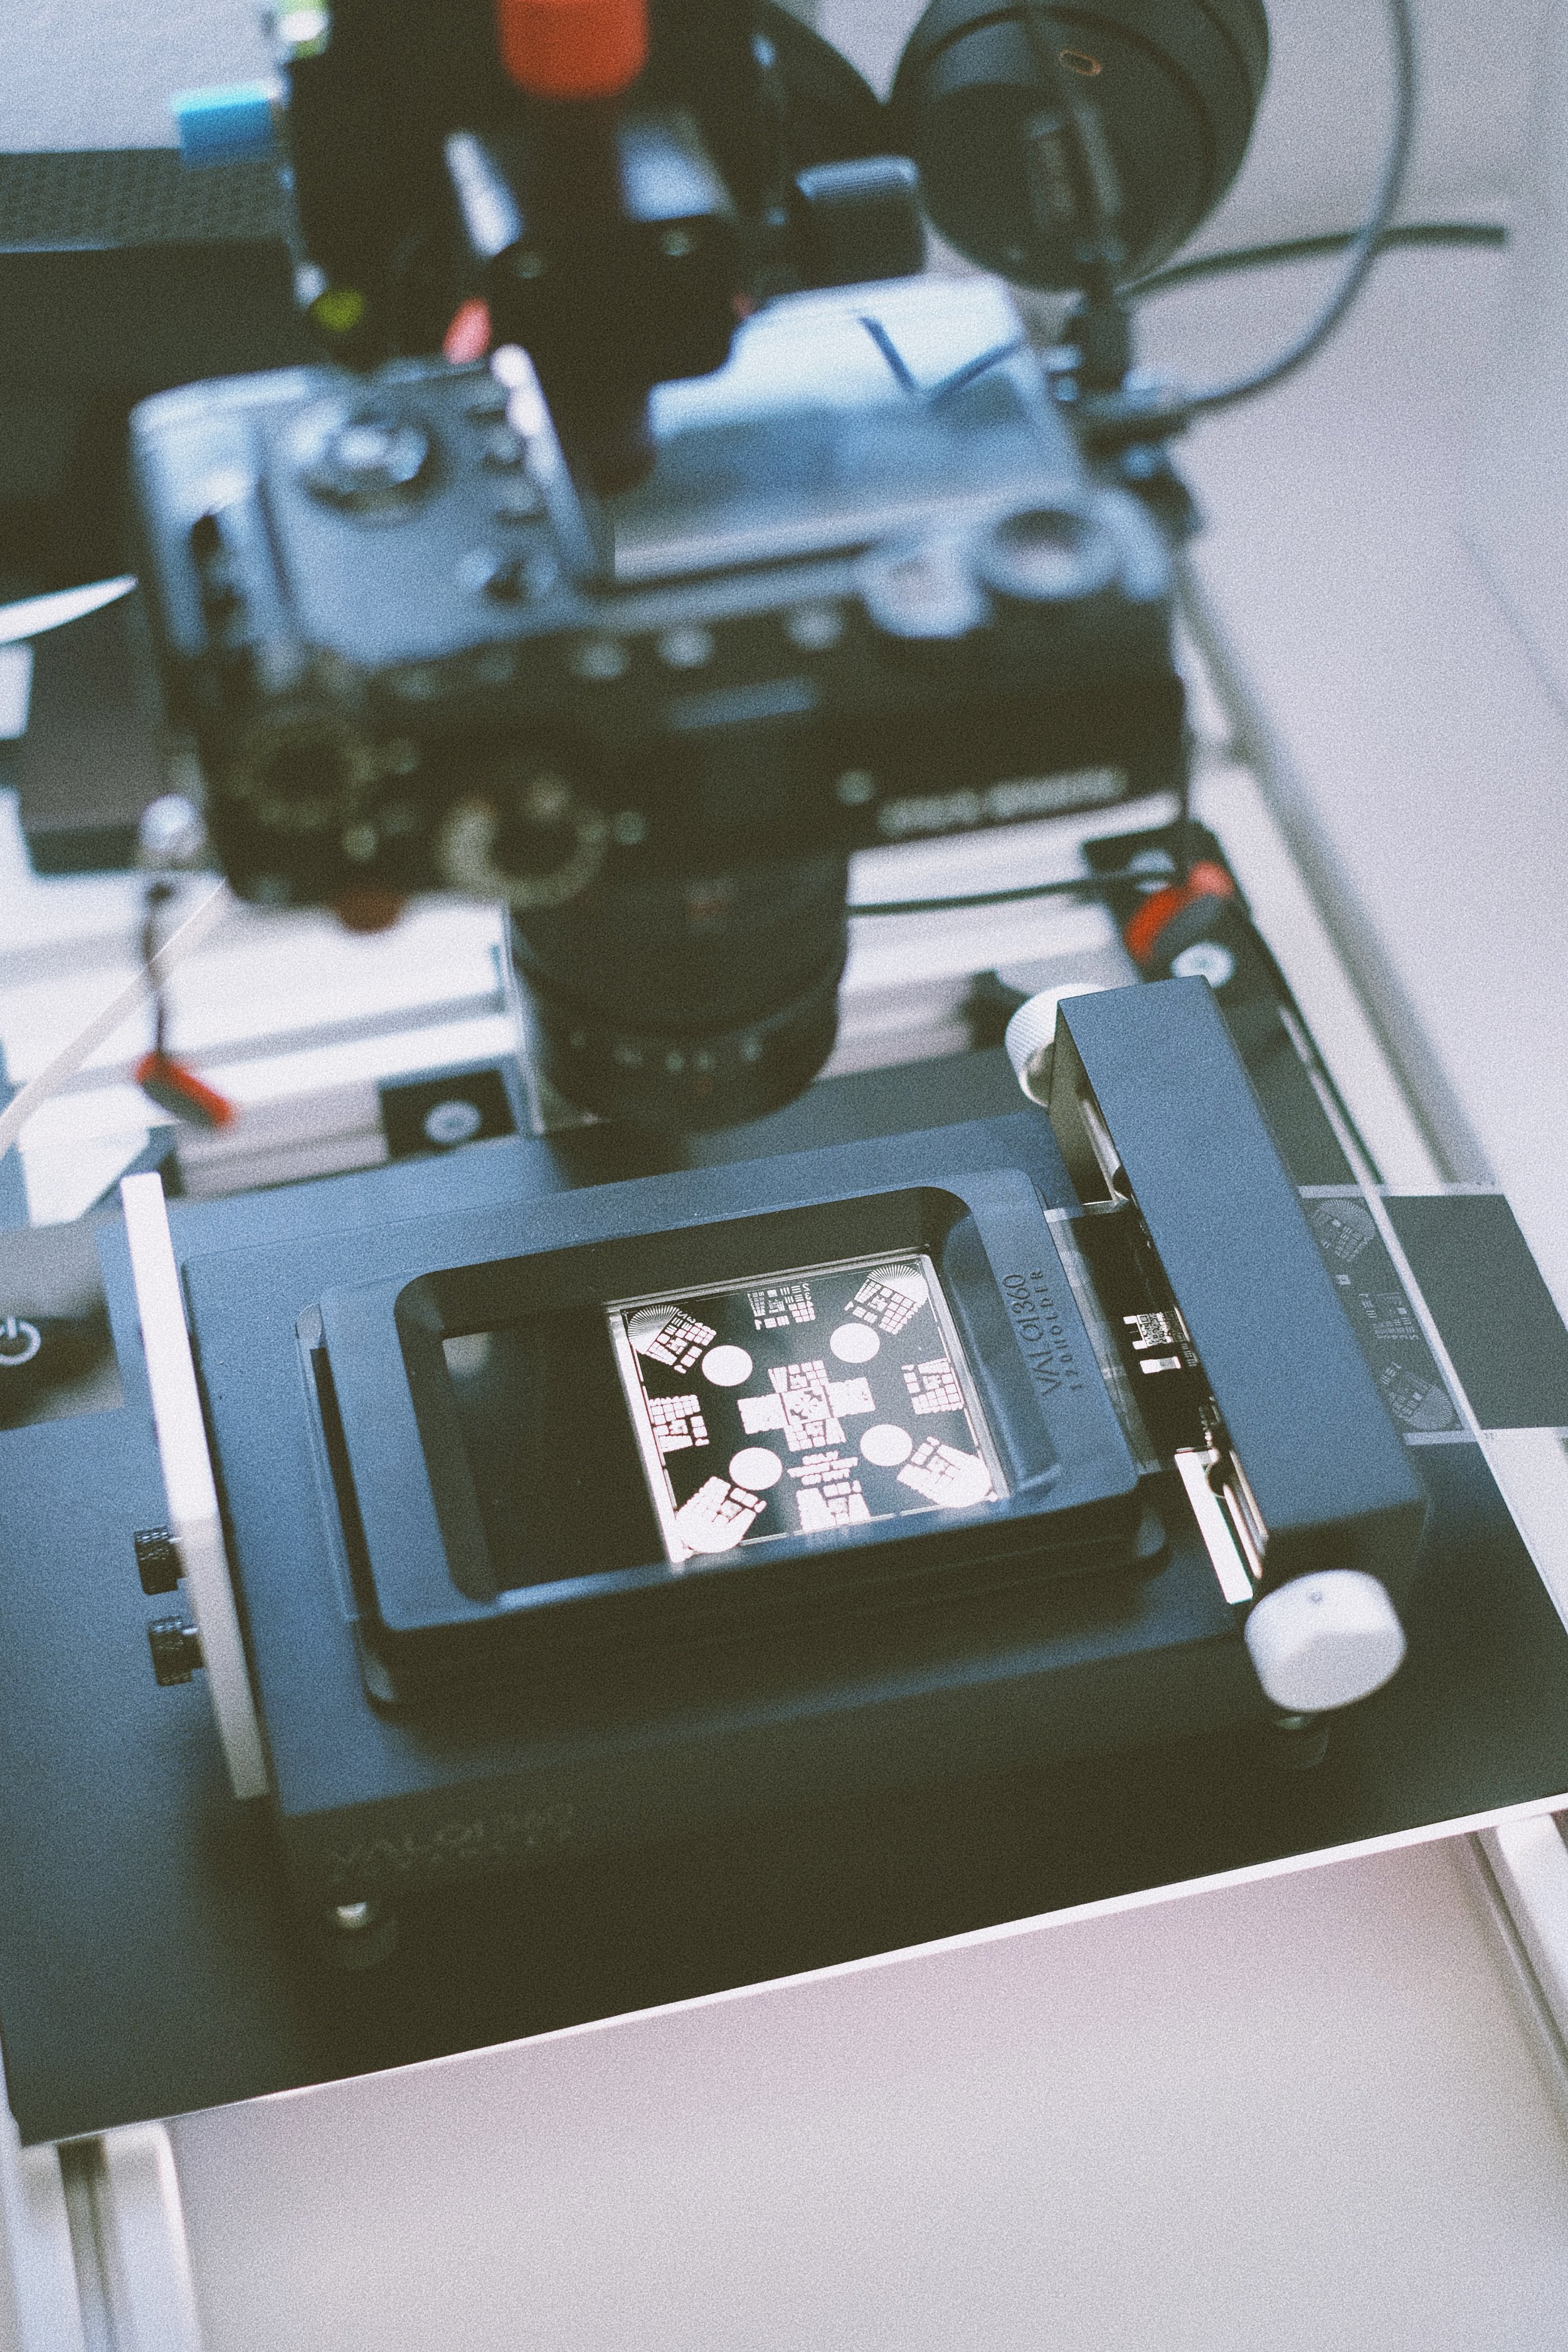
In my previous post on camera scanning I gave a first impression of my scanning rig and some initial thoughts on why I decided to give this technique a try. While I still believe that dedicated film scanners might give you the absolut best results when it comes to image quality and even mood of a scene, the artistic freedom provided by a process that is totally under your control is phenomenal. In this post I will talk about my own rig and I will explain why I have chosen certain pieces of equipment and compare their downsides and benefits. I even give an outlook of how my system could be upgraded in the future.
Every scanning rig consists of six important parts. Five of these elements are hardware and the sixth element is the required software to invert the scan. If you only scan positive film this can be as simple as a good photo editing software, but if you plan to do some negative film scanning the software you are using will make a huge difference on the final result.
The five hardware elements are:
camera
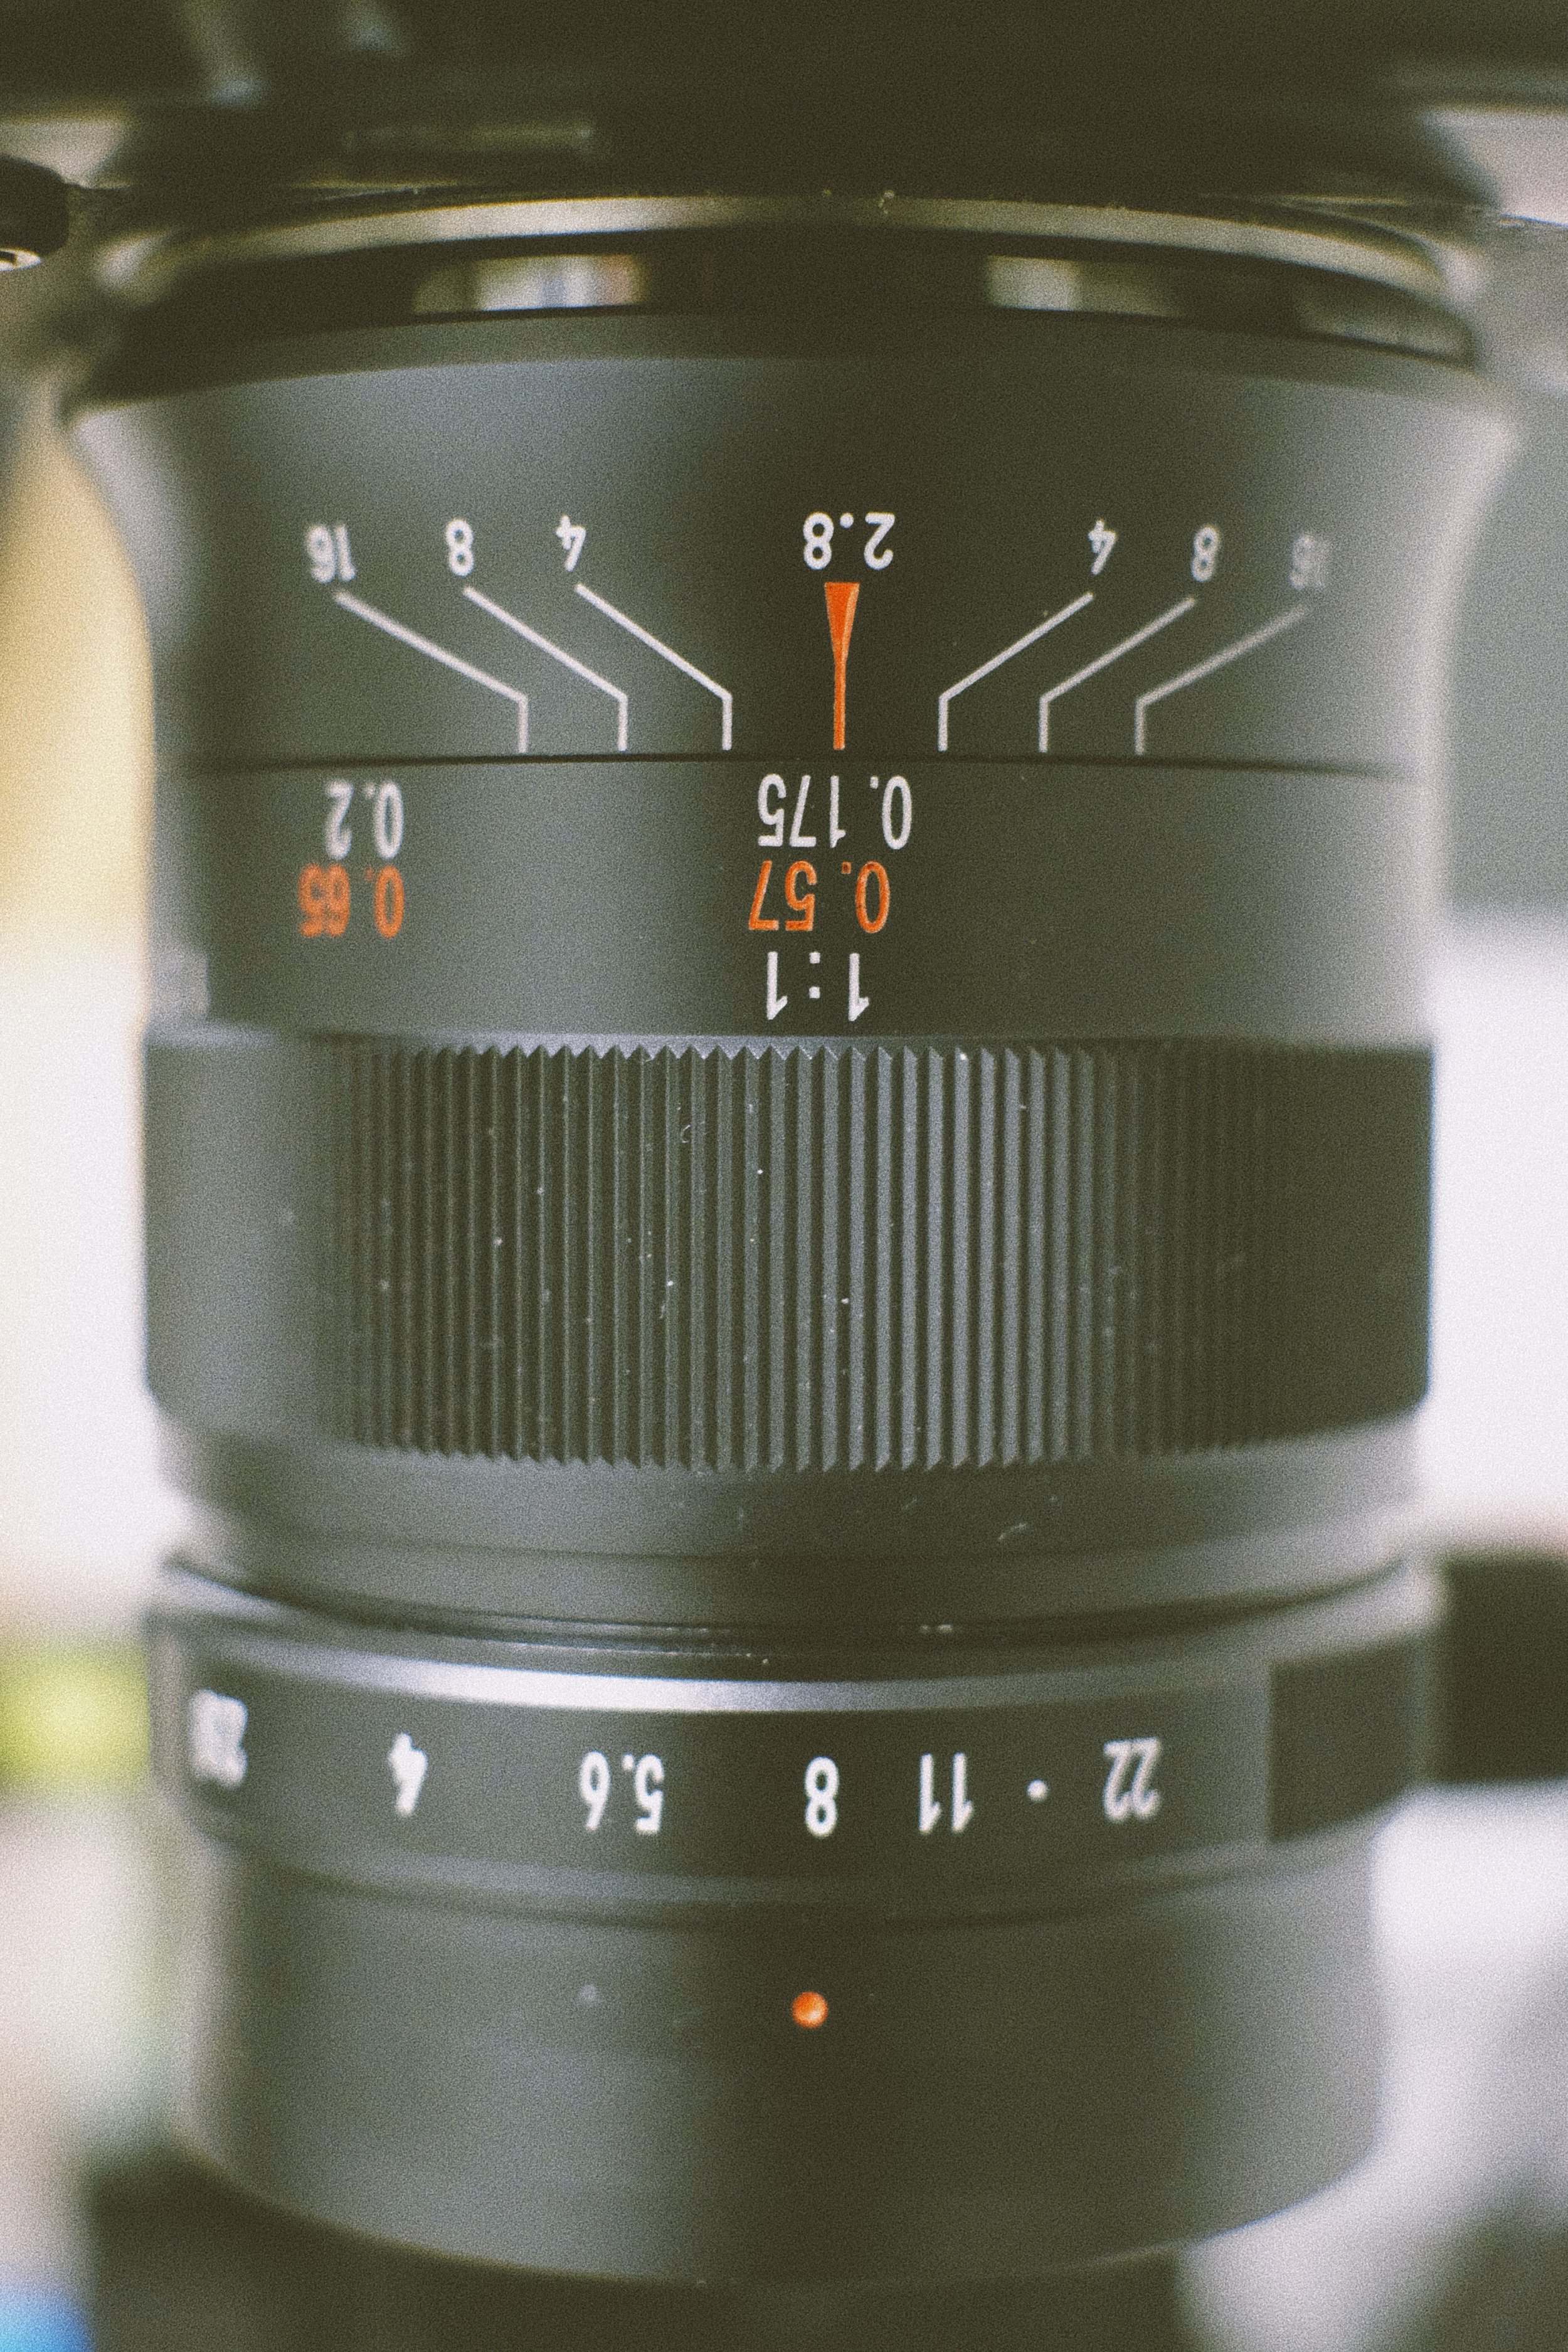
lens
copy stand
light source and
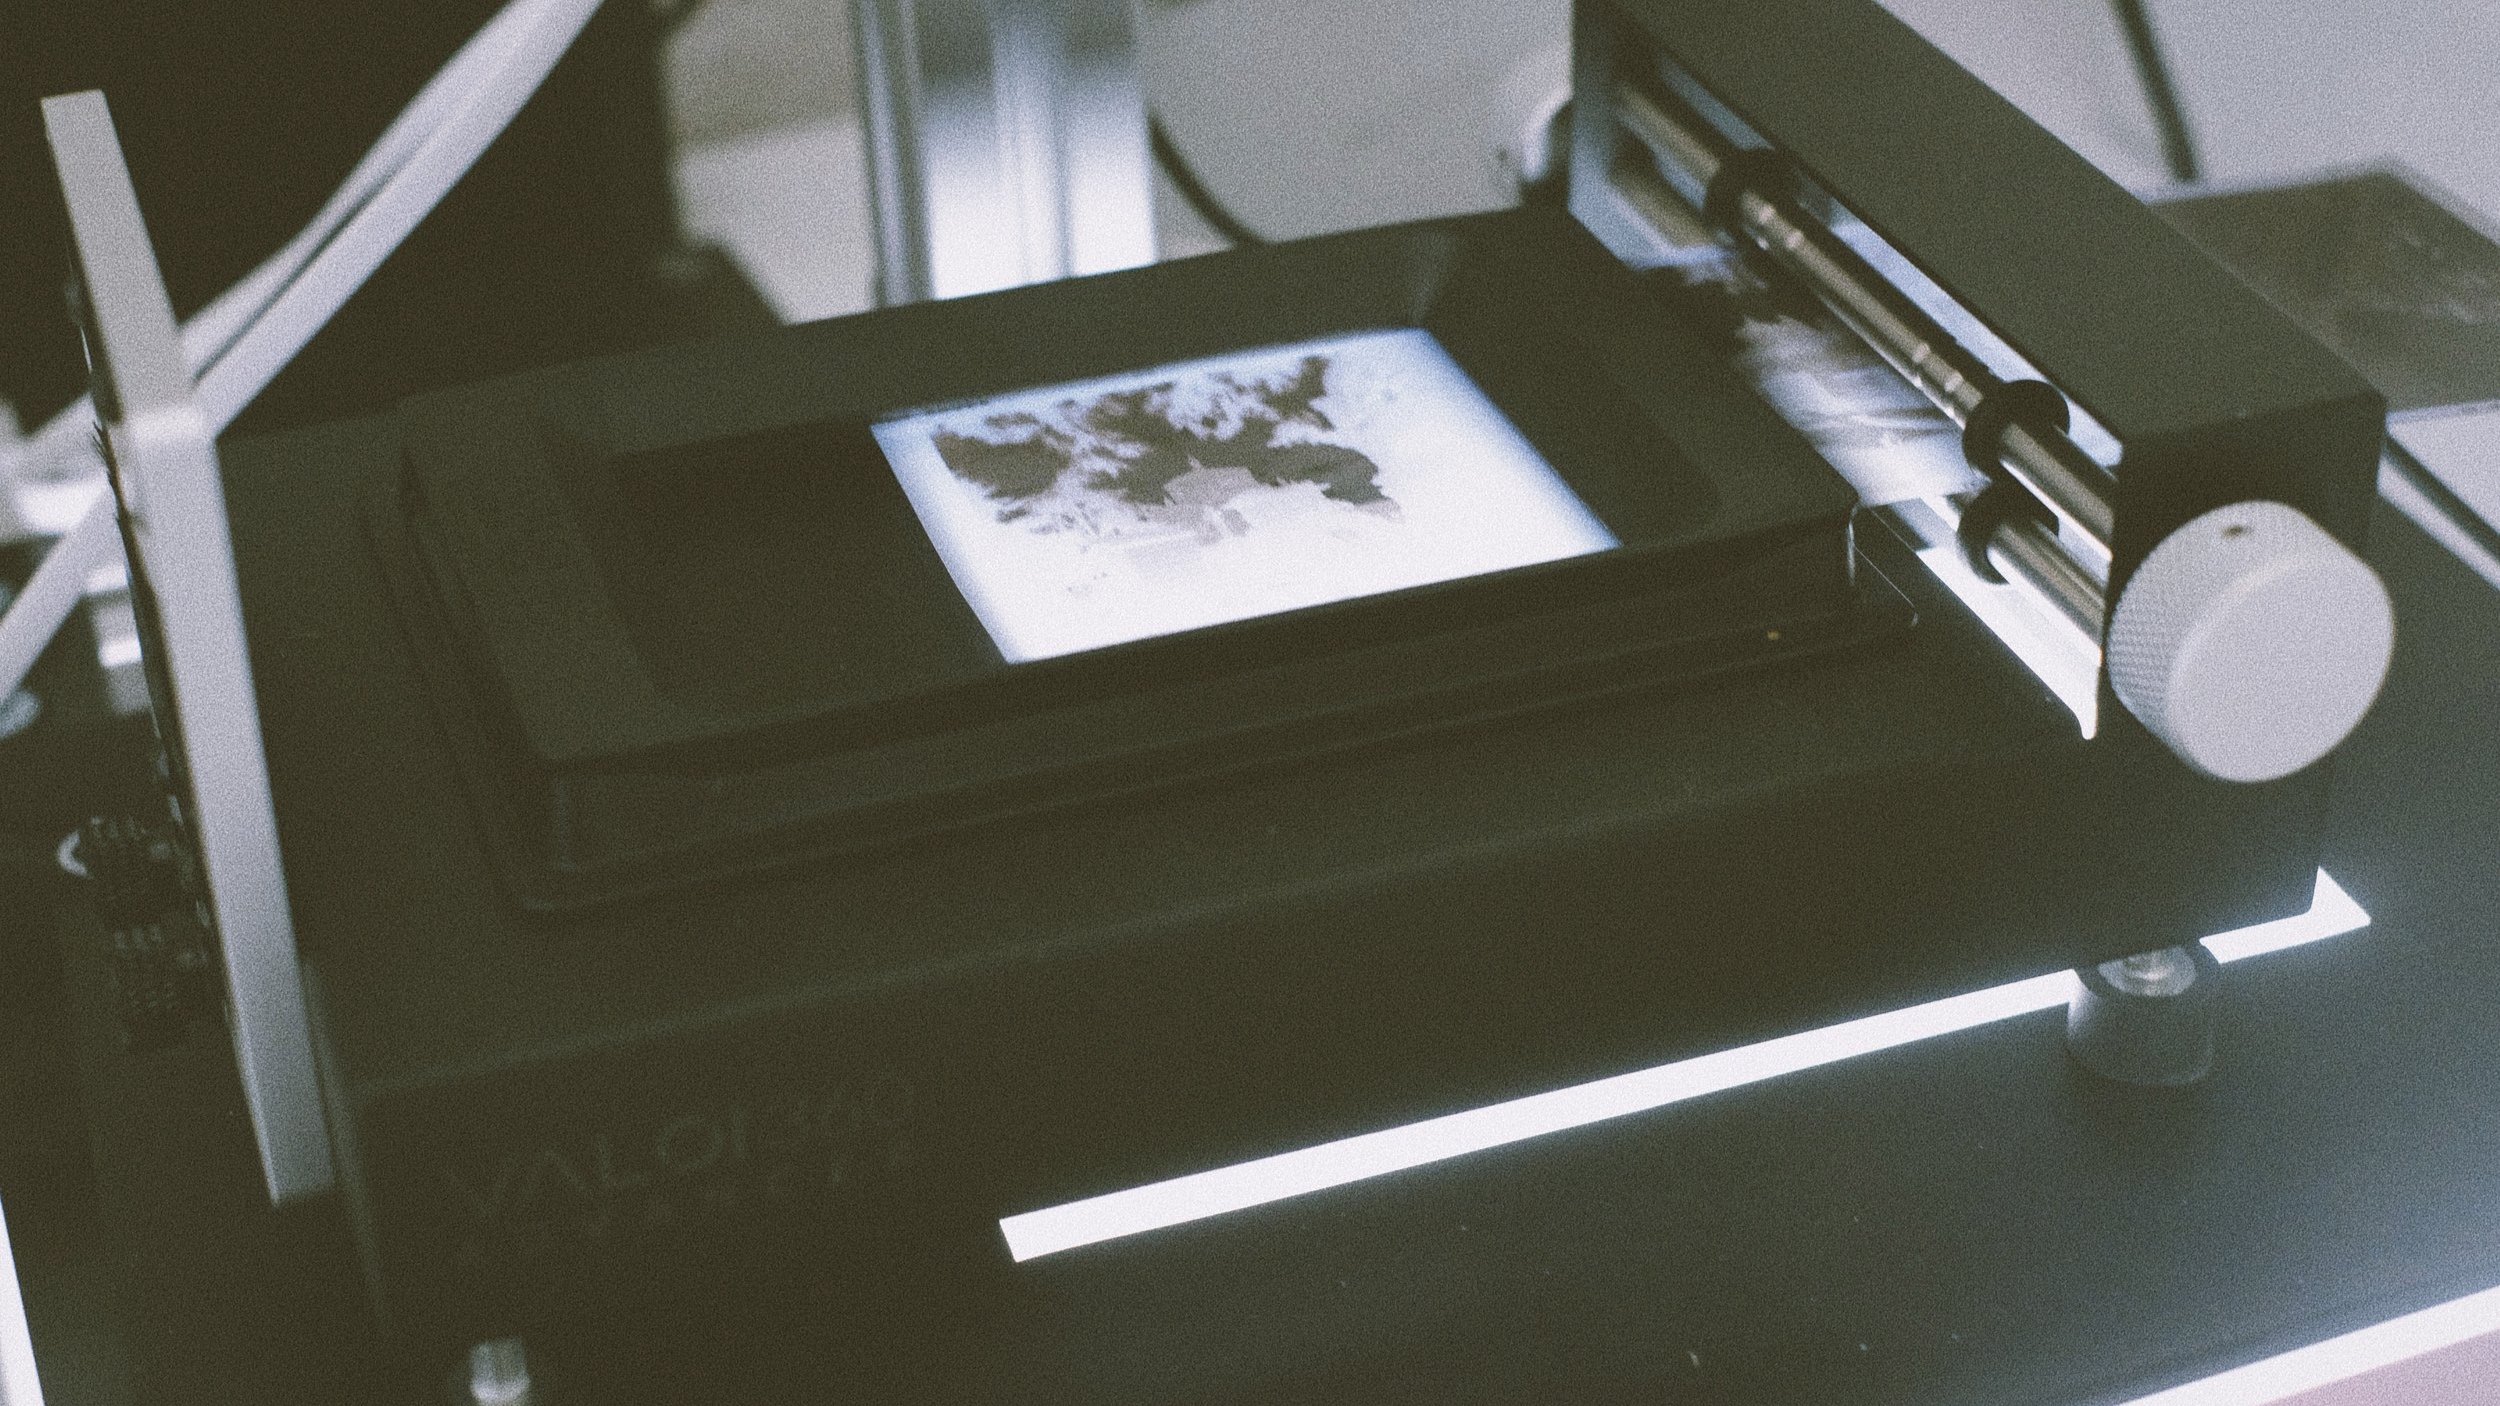
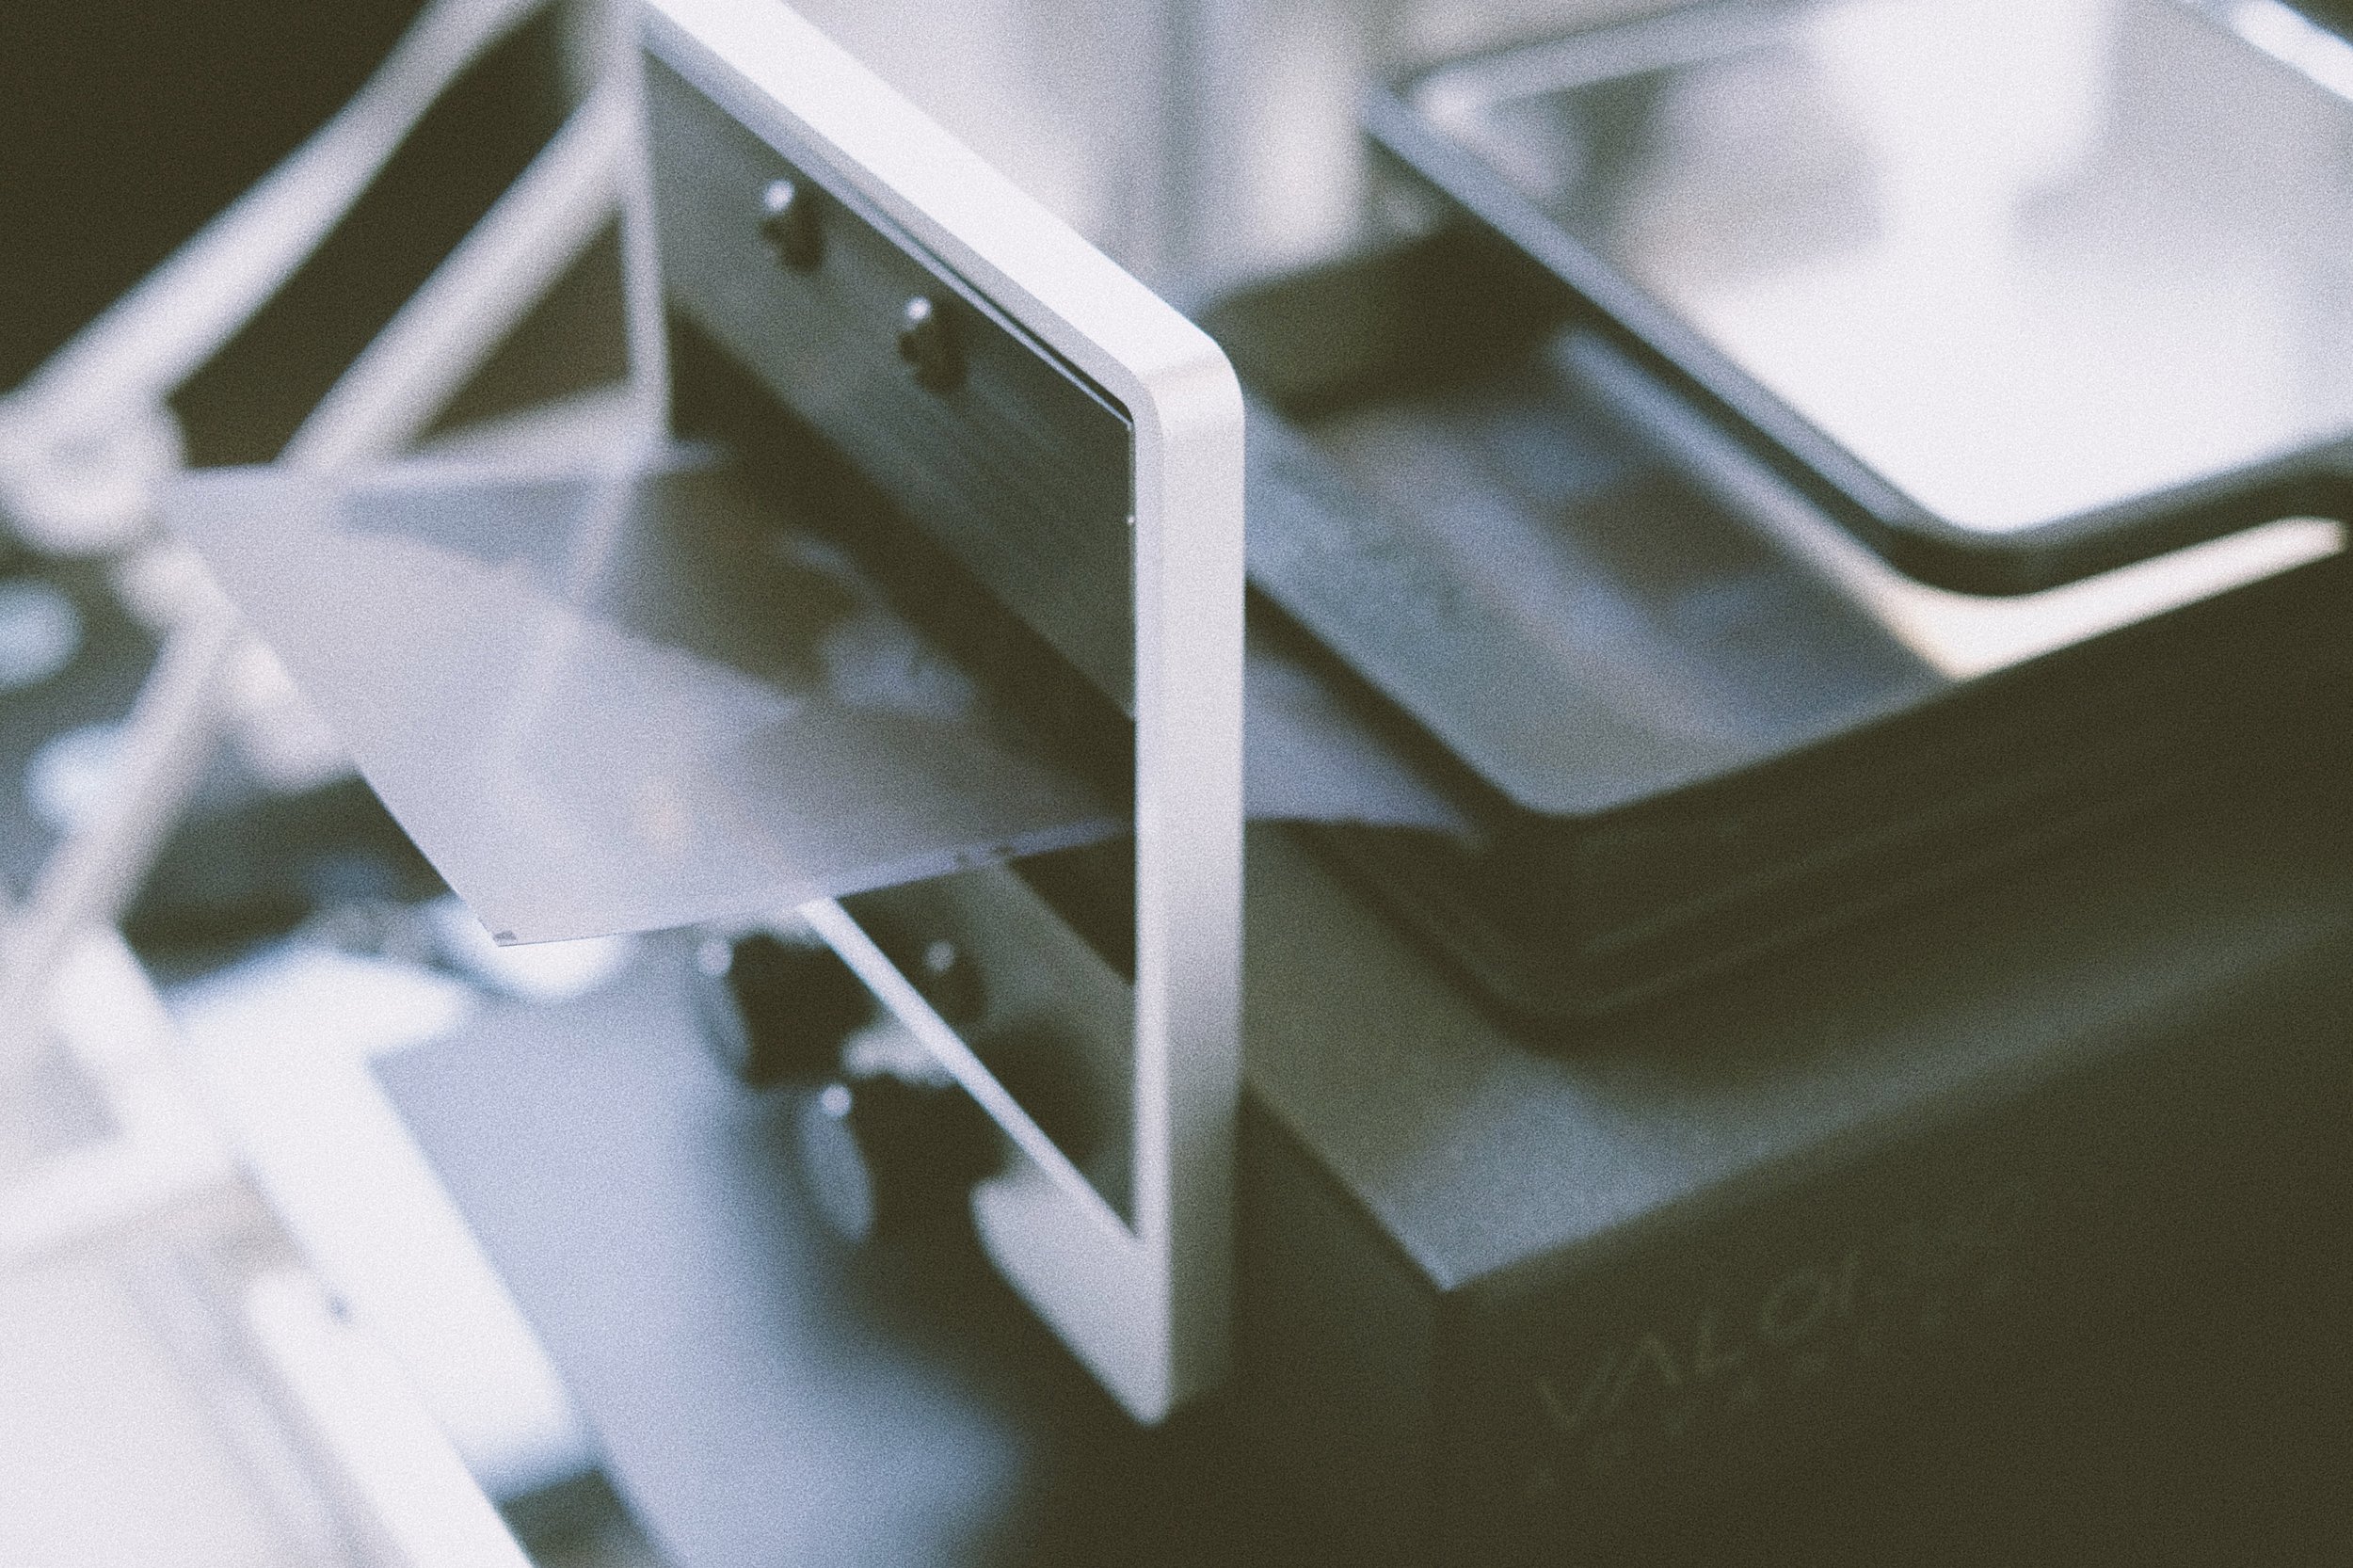
film holder
Let’s have a closer look
Camera
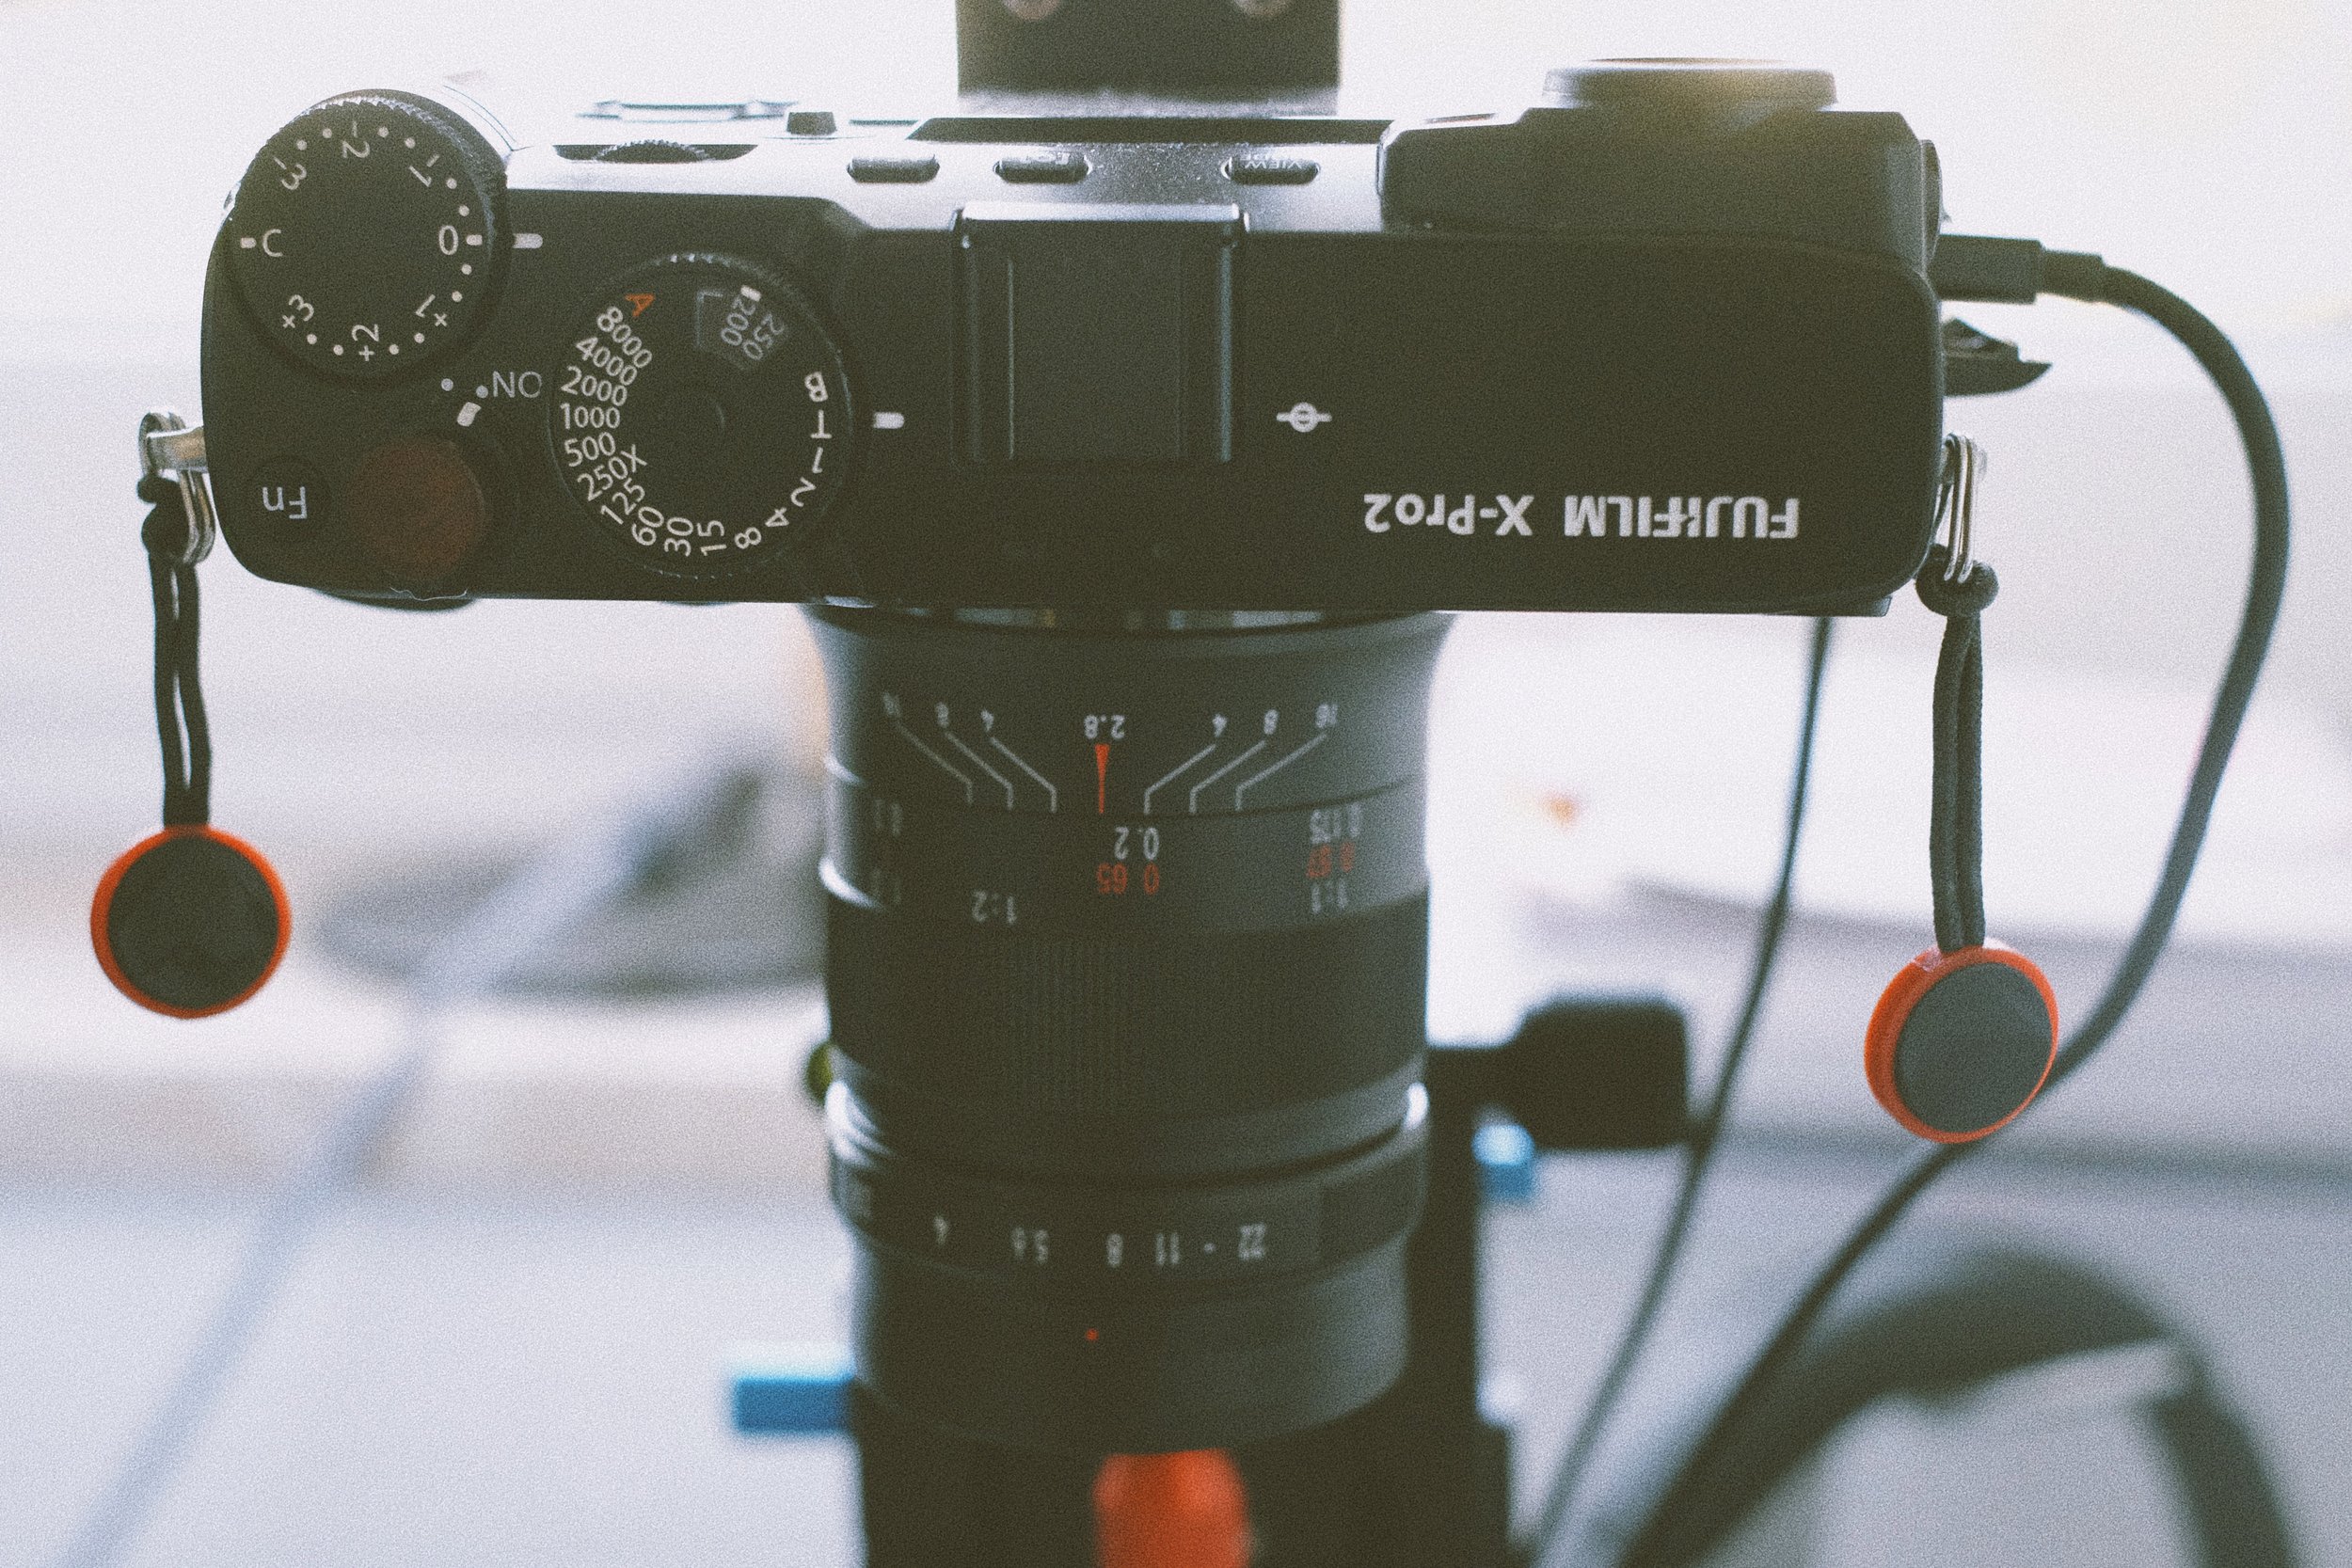
Chances are that you already own a capable digital camera that can be used for camera scanning. Depending on your personal needs for image resolutions and scan quality, I recommend a modern mirrorless camera or DSLR with at least 16MP sensor. These can be bought for a fair price at second hand camera stores and will not compromise scan quality. I decided to use my good old Fuji X-Pro2 for scanning. It’s a marvelous camera with many stunning features like the hybrid viewfinder, but this obviously is nothing for scanning film. It features a 24MP sensor that gives me enough resolution for scanning medium format film in a single shot. For 35mm film it is even better. Unfortunately it also has some downsides, which I should mention here. The Fuji X-Trans sensor still challenges Adobe Lightroom and other raw editors when it comes to de-mosaicing the raw data. You have to deal with worm like artifacts and unpleasant grain reproduction. Fortunately Adobe now offers a feature called “Enhance Detail” that reduces this problem significantly. But this also means an additional step when processing the files and a larger file size of the DNG raw file which will be produced during this additional step by Lightroom. I plan to explain this in an upcoming post about the scanning workflow.
The X-Pro2 also lacks a tilt-able screen so focusing the camera and looking at the screen can be a bit tricky at higher camera positions. Luckily the camera features tethering, which makes your life a lot easier. There are payware plugins which allow you to change camera settings remotely and even provide live preview, but there is also a free version from Fujifilm called Fujifilm Accquire. You can setup Lightroom to automatically import files from a watched folder. For now I decided to stick with the simple Fujifilm plugin but I really consider the upgrade to the Pro version as I especially hope for improved focusing with a manual lens. Other benefits of the X-Pro2 are the really good image quality and color rendering, the electronic shutter, focus peaking and a large lens choice especially when adapting older macro lenses with an adapter.
Today there are tons of other camera options available. Obviously I decided to go for the camera I already use and live with the downsides for now, but if I was looking for an upgrade I would consider a Sony APS-C camera like the A6000 or even a full frame camera like a modern A7 III or IV. Generally I think APS-C is the better solution for camera scanning, as the sensor can give you really good image quality with a higher depth of field (something that helps you to get your image plane in focus). Nevertheless pixel shifting features would be something that easily increase the resolution of the final scan. The 24MP of my X-Pro2 are presently more limiting as the resolution of my macro lens. So a camera upgrade is definitely something I consider in the future.
Lenses
With my very first rig, I used the Fuji XF 35mm f/1.4 lens together with an extension tube. This was a good starting point to see whether I like the results in general. Researching a bit and doing some test scans, I quickly realized that a better lens would increase image quality especially in the corners of the scan. A dedicated macro lens would not only ensure a better detail rendering and handling of the lens but also decrease vignetting. Light quality is surely something we need to consider. Macro extension tubes reduce light, increase flare and cause vignetting which can cause issues when converting the negative.
When it comes to macro lenses for the Fuji X-series there are several options. Fuji makes the XF 60mm f/2.4 lens and the XF 80mm f/2.8 lens. The 60mm however would only give me 1:2 magnification as the 80mm would shine with true 1:1 macro capabilities. Unfortunately the XF 80mm has a rather steep price tag and this would definitely be an option once I have gathered more experience with camera scanning. Both of those lenses would feature autofocus which is surely something nice to have. However when reading articles from people who already have more experience in camera scanning than I do, they often mention avoiding auto focusing and rather rely on a precise macro rail to fine tune the focus by adjusting the distance to the film plane. When it comes to AF lenses the Sigma 70mm f/2.8 macro would be another option for a possible future upgrade. I decided to go for an manual lens and had the choice between the 7Artisan 60mm f/2.8 macro and the Laowa 65mm f/2.8 macro lens. In a future blog post I will talk more about my decision to choose the 7Artisan lens and a test I have conducted.
Light Source
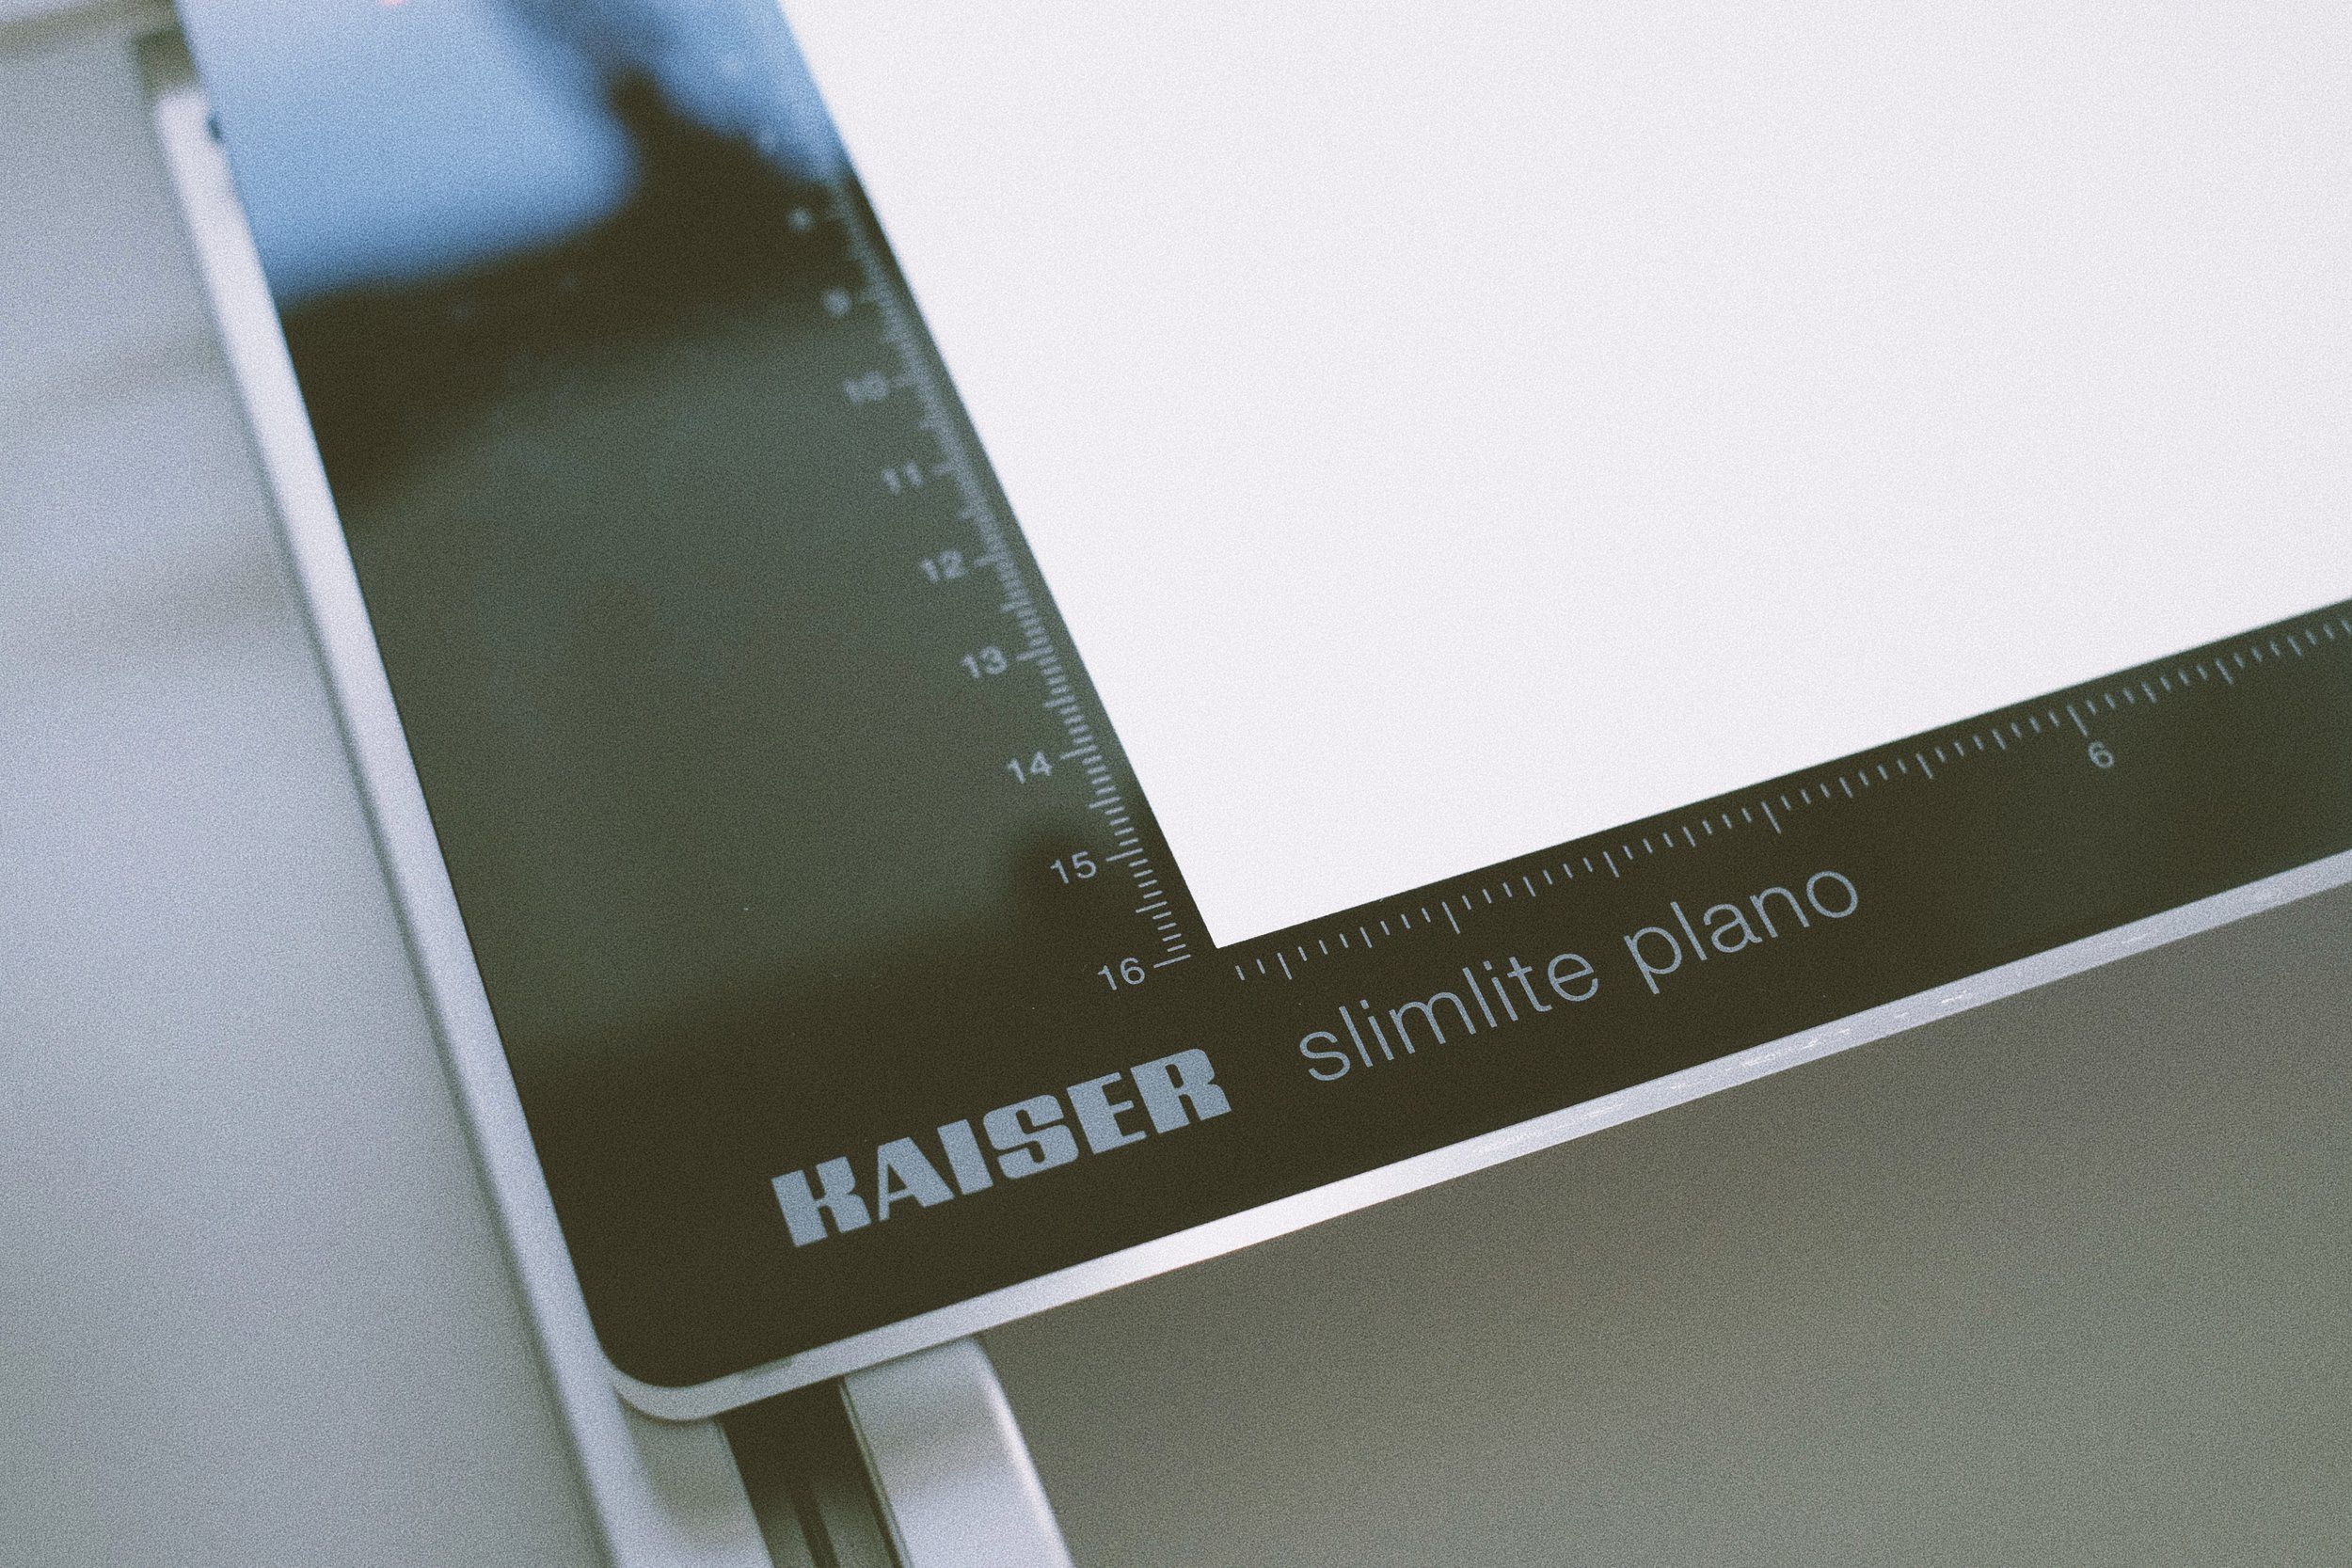
An often overlooked piece in a good scanning rig is the light table which will be used to backlight the film. You can basically use any kind of light source. It can be as simple a cell phone, a tablet or a computer monitor. Many people get really good results with a flash light and others rely on video lights. The most import aspects are light quality and diffusion. Light from LCD screens often shows the small pixels of the source. A simple diffuser can solve this issue. I already owned a Kaiser Slimlite Plano with a CRI of 95. The color rendering index or CRI value describes the accuracy of the light source compared the light from the sun. This value has nothing to do with light intensity. Negative Supply has a CRI 99 light table in their line up which claims to almost perfectly render colors for scanning. A simple an cheap solution is the Raleno 104 video light. However this light source requires some kind of creative solution to ensure proper and flat placement of the light due to its rounded back.
That’s it for today. In order to make this blog post not unnecessarily long I decided to split it into two parts. In the next installment I will talk about the other 2+1 elements of a good scanning rig, so stay tuned.

