This is going to be the final part of my intro post on camera scanning. Once I have covered all the basics and concepts of camera scanning I will have a closer look on the workflow itself.
In the last part I talked about the six main elements of camera scanning and I have covered camera choice, lens options and light source. Now it is time for the oremaining three items which are copy stand, the film holder solution and finally the required software for negative conversion.
Copy Stand
Maybe this could is the most neglected part of the system but it is really worth to have closer look on how a good copy stand can largely improve your results. Basically any kind of tripod will do the trick. As mentioned in the last part it is very important to achieve perfect parallel alignment of the camera with the film plane. Therefore it is very helpful if you can align the tripod head precisely and make small adjustments to fine tune the position. It is also important to have enough space at the bottom to place the light source and film holder. This is not easily achieved with all kind of tripods therefore a dedicated solution would be best. There are good quality solutions from companies like Kaiser or cheaper options from other brands. Of course it is essential that it is sturdy and doesn’t allow any kind of camera movement during the capture. Needless to say that a remote control cable is also required to ensure the highest degree of damping. Some solutions are better than others.
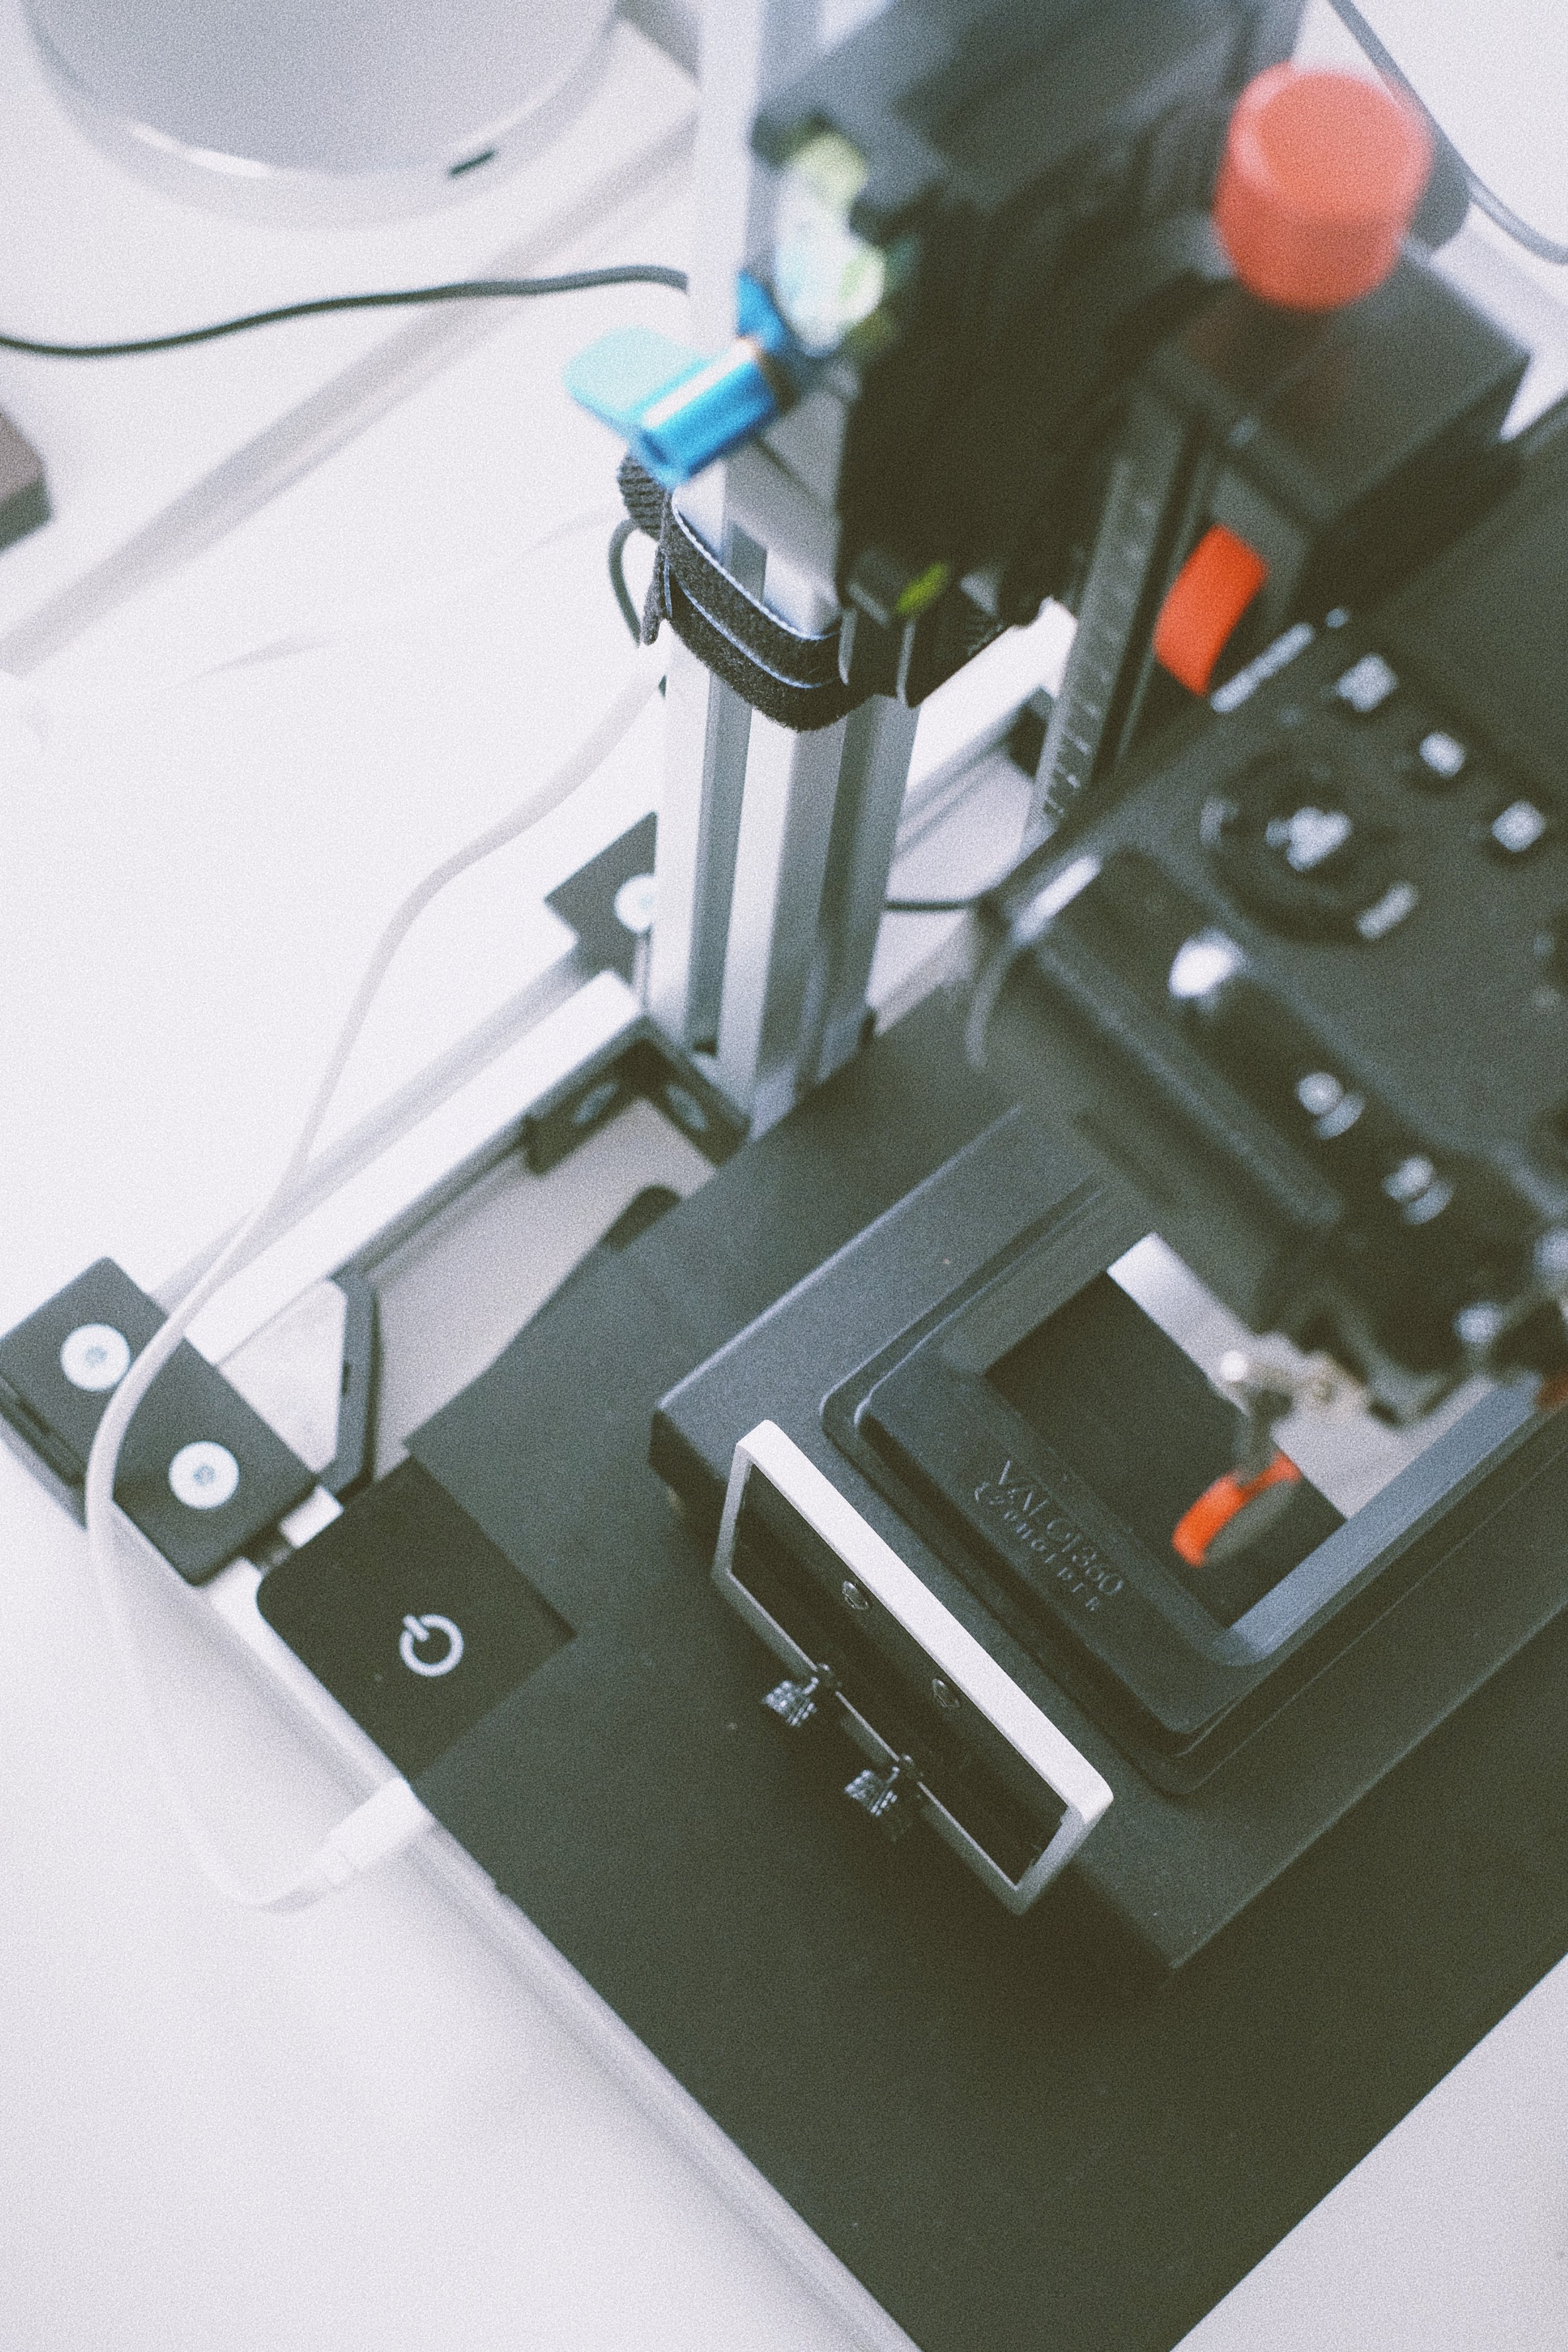
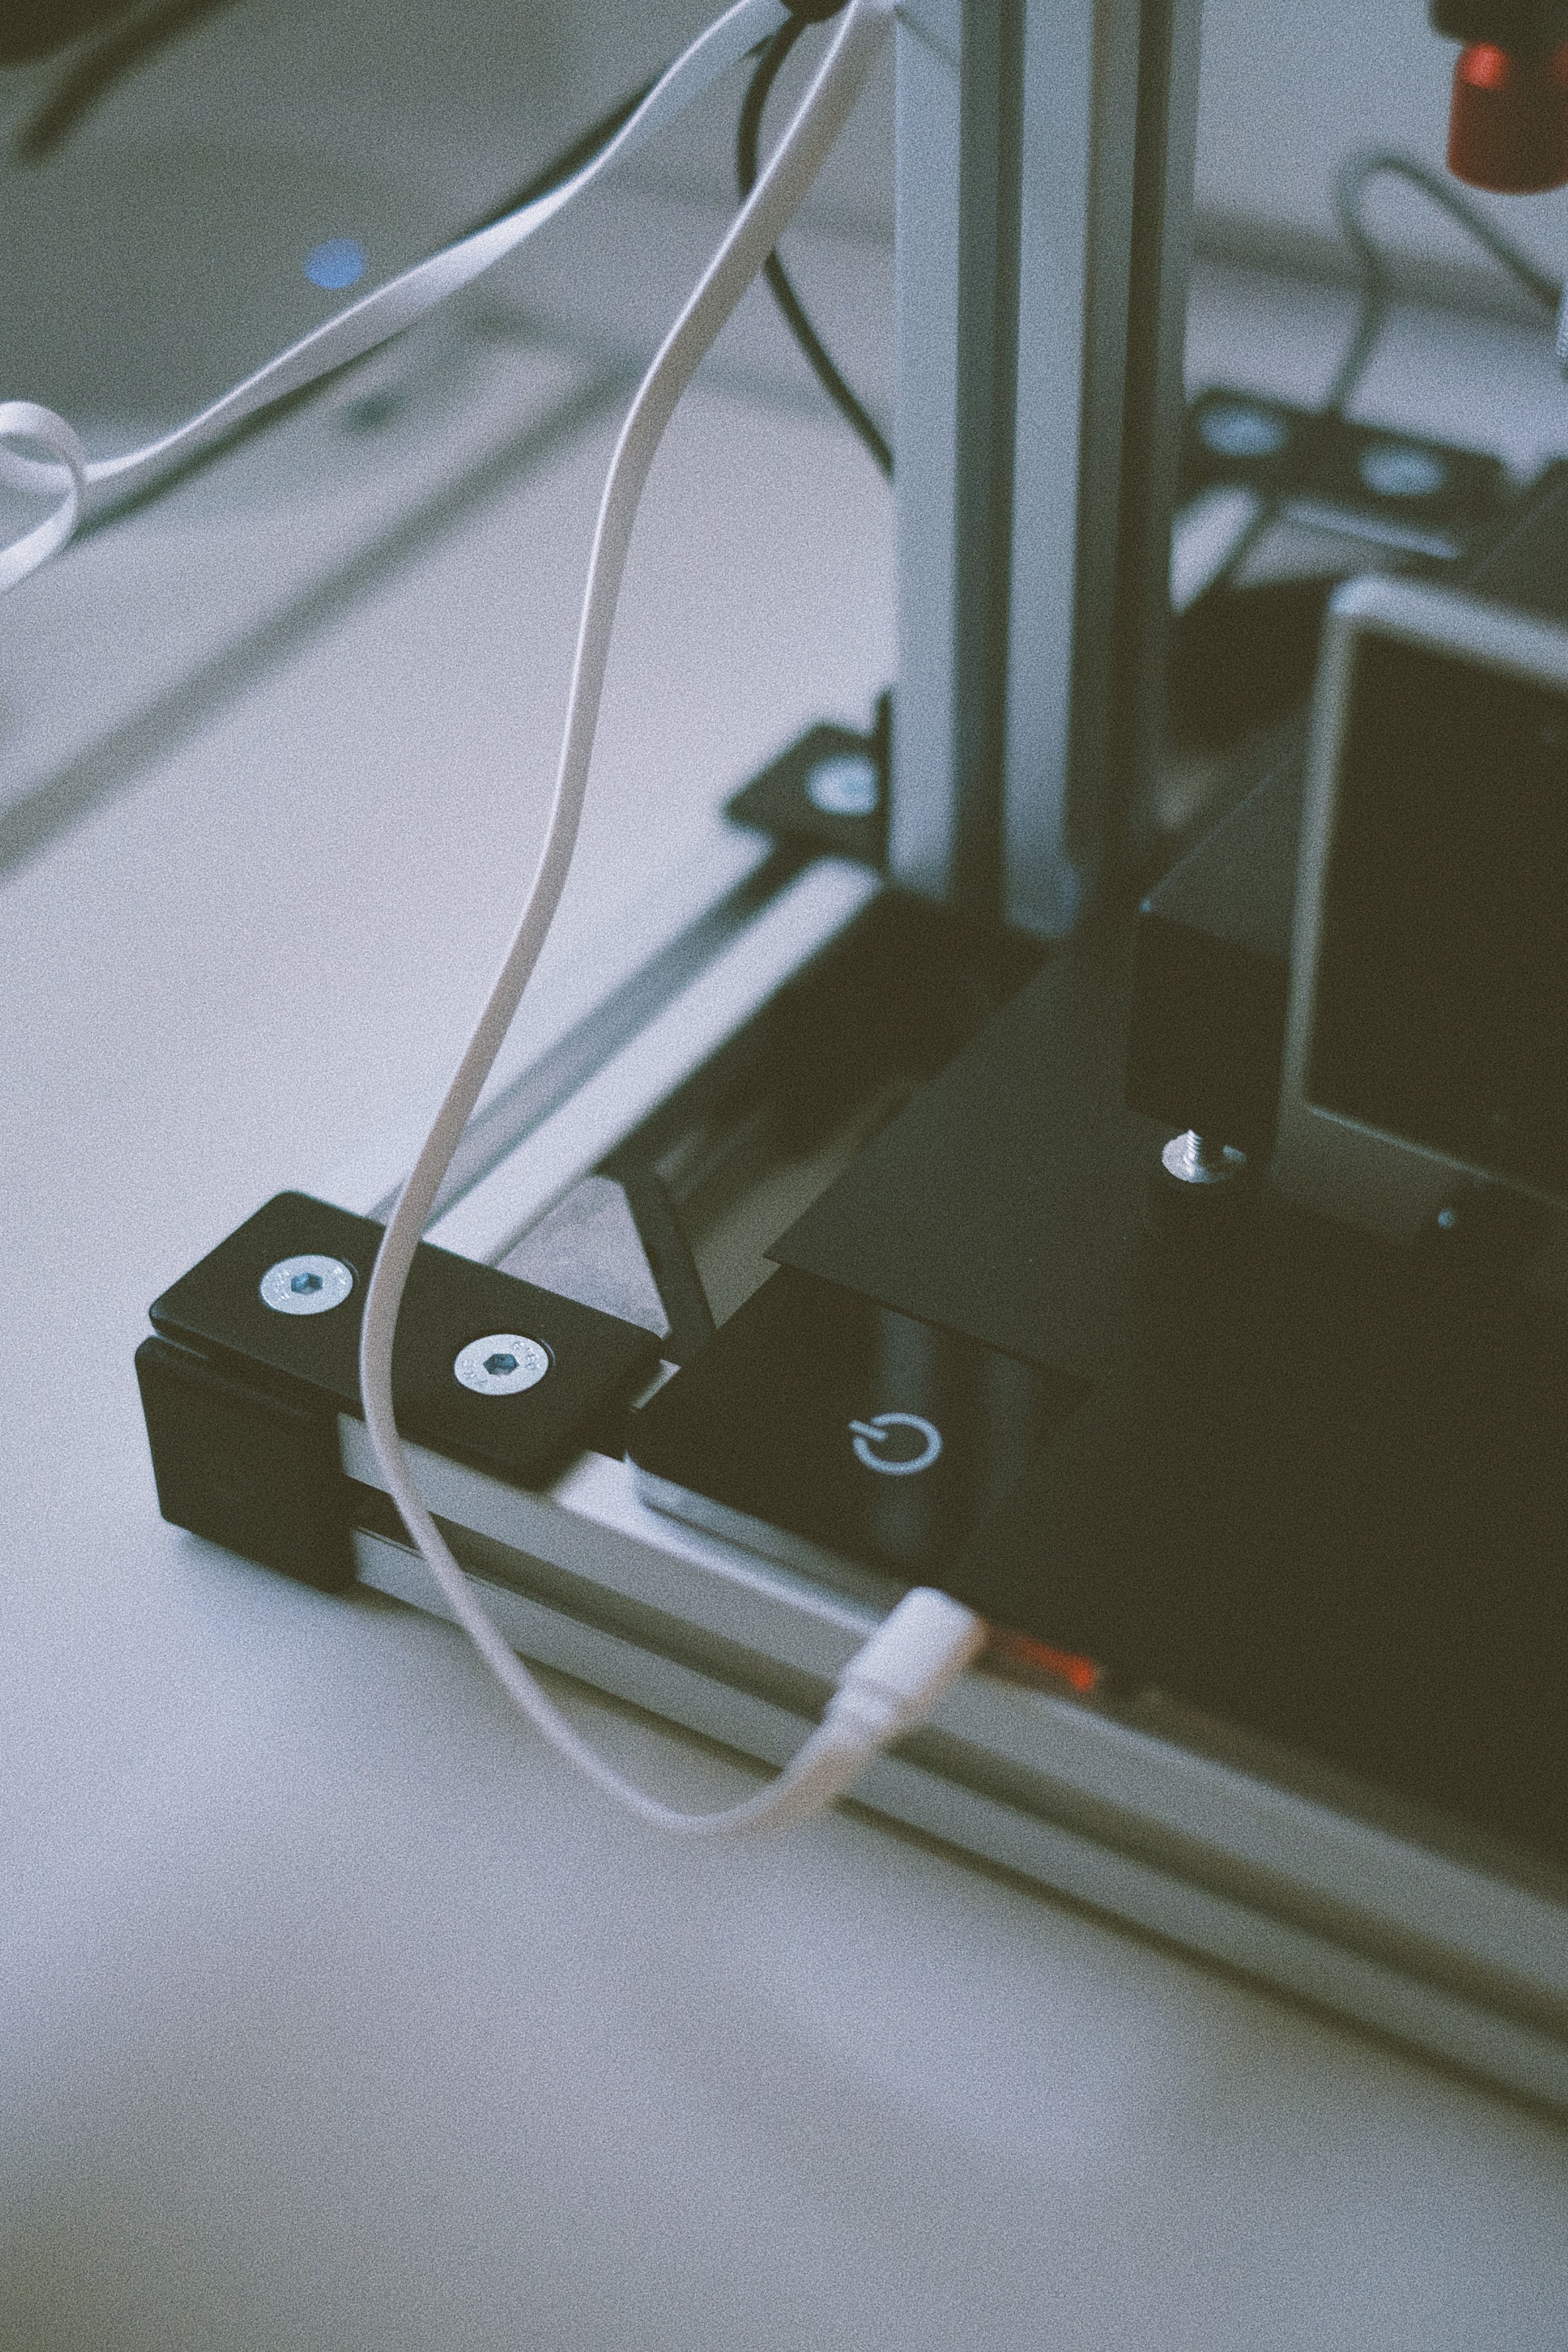
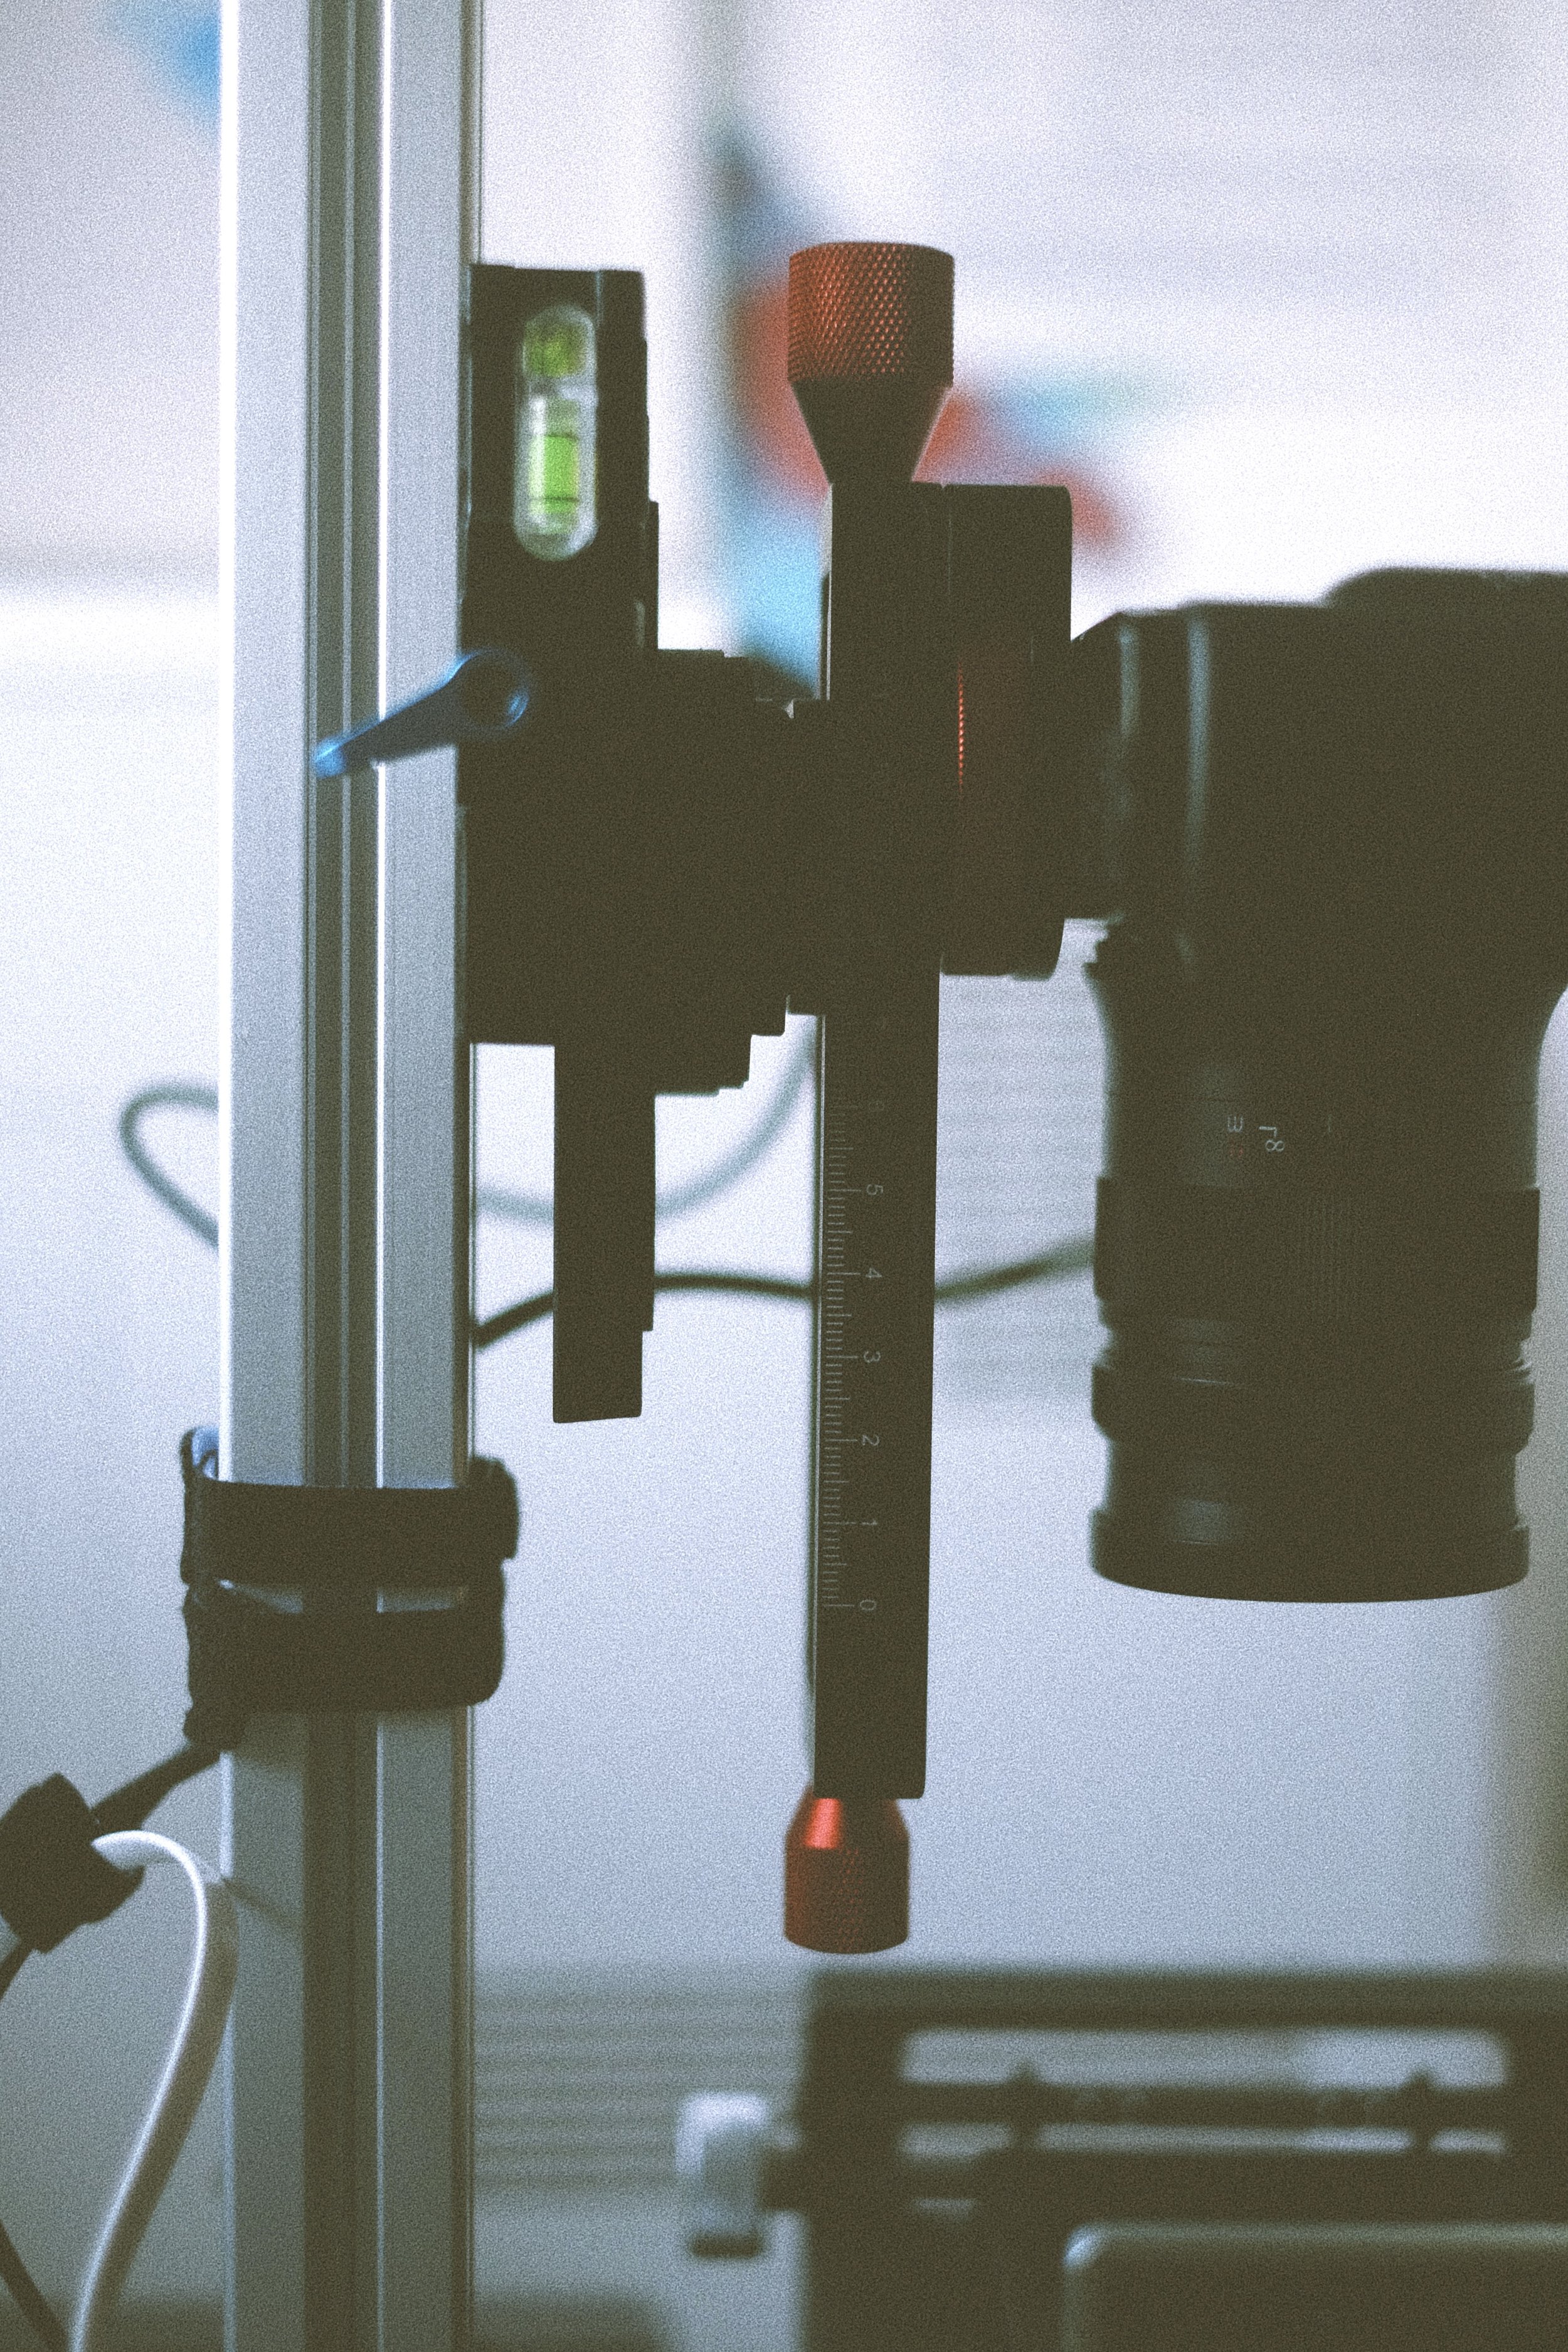
I decided to build my own copy stand with Aluminium profiles from a company called DOLD Mechantronik. It is a cheap option that requires a little bit of work to built it. It is great for two reasons: cheap and versatile. It can even be adopted to personal needs and I have already some ideas how I can upgrade mine. The structure of the copy stand is extremely sturdy however minor imperfections in aligning the parts when assembling the stand can lead to some problems when positioning the camera as well as some issues with vibrations. With some small tweaks using rubber feet or felt slides below the profiles will help to cure this problem. Besides the profiles you also need a camera mounting solution. I decided to go for a combination of a macro rail and a ARCA Swiss plate. The macro rail allows for super fine adjustments of the distance between the camera and the film plane. This is perfect for precise focusing especially with a manual lens as I use in my rig. So again, this follows the mantra: “Use what you have and then upgrade if needed”. This approach is quite compelling as it requires smaller investments to get things started.
Film Holder
When scanning film, regardless whether you use a scanner or a camera, film flatness is super important. Keeping the film flat is not as easy as it may seem. The construction of the film holder must be user friendly and easy to use. Nobody wants to fiddle around with a solution that simply doesn’t work. Some solutions use anti Newton glass to ensure flatness and while this definitely works very well to keep the film flat, it can reduce optical quality. High quality glass is required to avoid Newton rings and similar artifacts. Most modern film holder avoid using glass layers. The two most widely known companies which produce scanning equipment are Valoi.co and Negative.supply.
Negative Supply is probably the best equipment you can get for this kind of purpose but it is quite expensive. They offer professional solutions for any kind of film. They do a magnificent job in designing all kind of equipment for camera scanning. Make sure you check out their website.
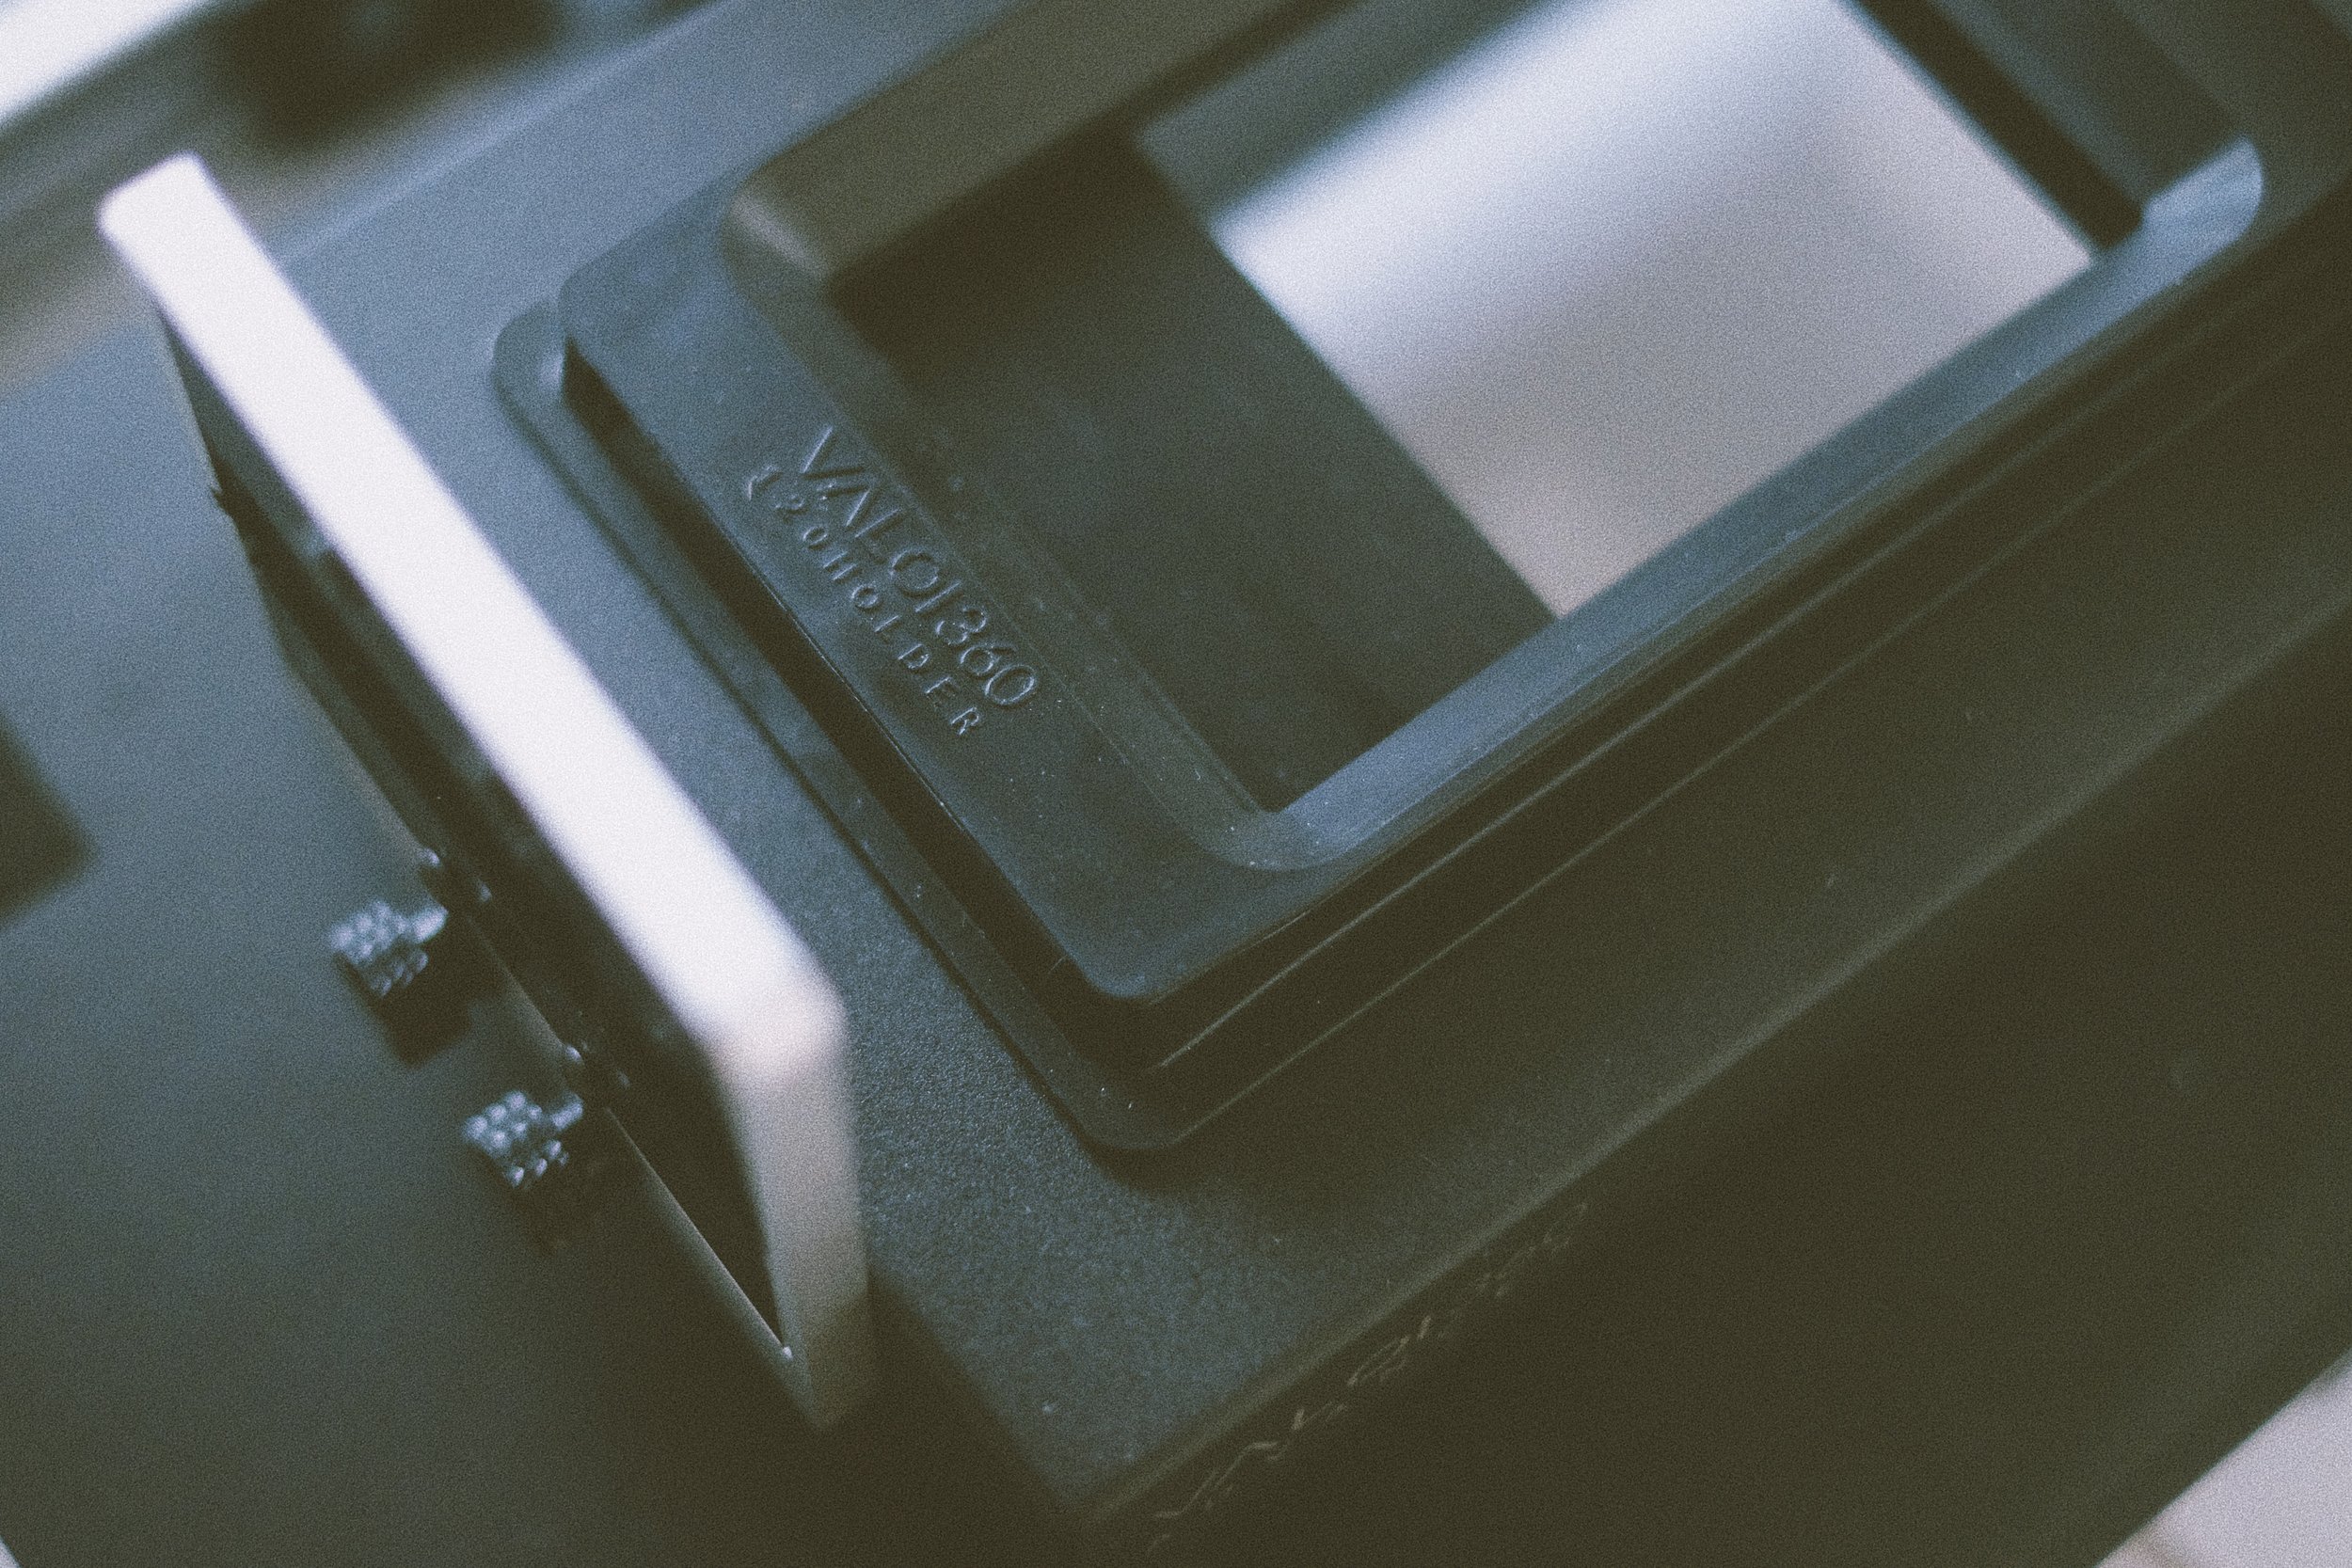
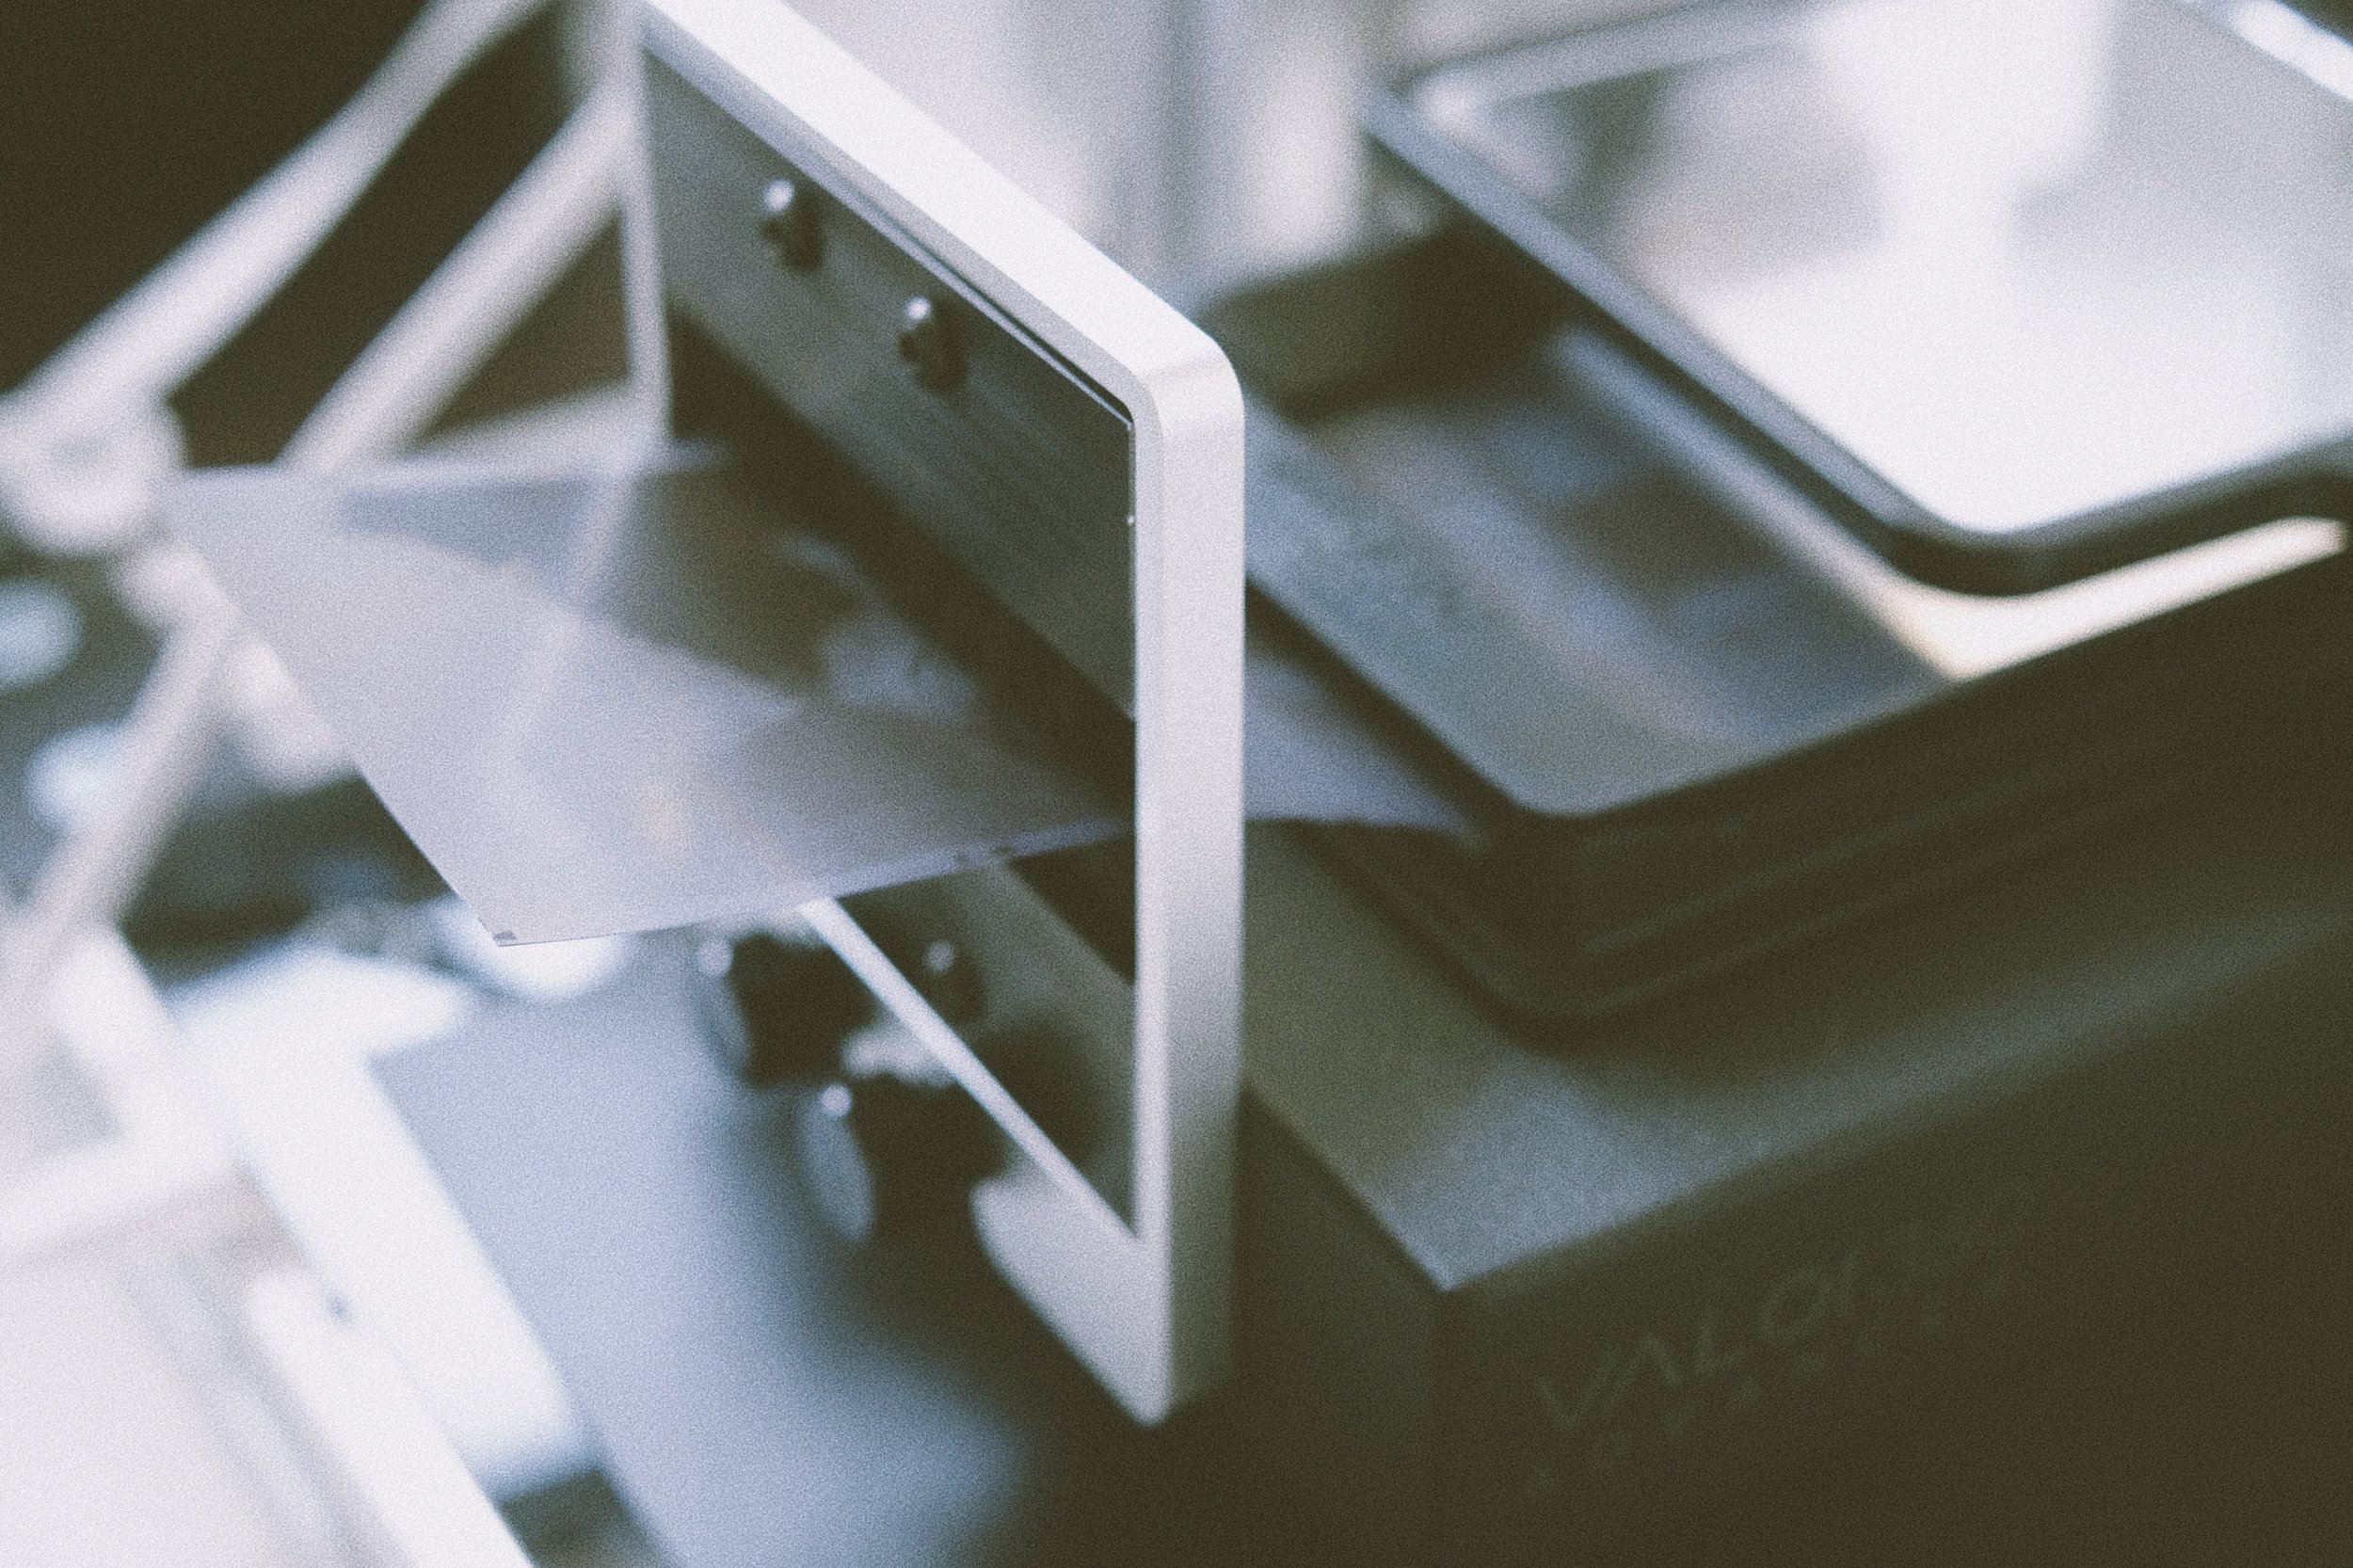
Valoi is a smaller company from Finland and their film holder and film advancer is quite a bit cheaper than the products from Negative Supply. As I didn’t want to break the bank I decided to opt for this solution and after quite some time using it, I am super happy with the results. The key benefits are: great customer service (more about that later), good quality material, excellent film flatness, masking solution to avoid flare and an option to adjust the height of the film holder to align the film plane. This is what convinced me in the first place. Initially I had problems advancing the film with the advancer mechanism. Luckily the design has been modified by the company and a free upgrade helps to cure that problem. I had a brief conversation with Arild and he helped me to tackle all issues. This kind of customer support is really outstanding! Besides the praise, there is still some room for improvement in the design: advancing the film and inserting the film into the holder is a bit tricky from time to time. The holder lifts from the advancer and needs to be put in place by hand again. This doesn’t happen too often but a stronger connection between the holder, the mask and the advancer would be a great step forward. However this doesn’t diminish the scanning experience and has no impact on the quality of your scans. It’s more a matter of convenience. The film holder is designed to avoid any kind of reflections. This works really well and if you avoid additional stray light from the light source by covering it with masks, flare and reflections should not be any problem. The company also offers a duster which can be mounted to the advancer in order to run the film through it before it enters the holder. This is an additional step but the anti-static brush super thoroughly does the job. This small addition will save you hours of time cleaning your scans digitally. A very welcome addition to my rig! For me this affordable and yet professional film holder really works well and helped me to get amazing scans!
Software
OK! This one is huge. In my opinion the wrong treatment of your digital files can ruin everything. Unfortunately converting negative film into a positive image is not simple. It is a quite complicated mathematical and as well artistic process. The software will do the math and you as a scanner operator have to do the artistic decisions. This is not easy as only a certain amount of experience can help you to learn color balancing and judging the right amount of contrast. On instagram and other websites you can often find unbalanced negative scans which are results of incorrect or poor color balance. Dont't get me wrong, sometimes wrong color balance is an artistic choice and works very well, but it has to be done on purpose. So what software option do we have to help us with this process:
Grain2Pixel
First, of course you can use Photoshop and learn how to properly invert and convert negatives there. The Grain2Pixel Photoshop plugin is one option to get good results in Photoshop (short disclaimer: so far I have not yet tested this plugin but I might give it a try in the future). It is a free plugin and seems to be an excellent choice if you happen to own a recent copy of Photoshop.
ColorNeg
I also used to work with ColorNeg from ColorPerfect. They claim to to offer a mathematically correct inversion of a negative but to my taste the results don’t hold up with other solutions and are visually less appealing.
FilmLab App
This is a standalone app that is perfect for someone who doesn’t want to go for an Adobe subscription. They offer two versions a mobile app and a desktop app. It can give you very good results with some basic and simple slider adjustments. However functionality is not yet perfect and it also requires a subscription. I see a lot of potential in this app but for now there is still some work to do.
Negative Lab Pro
So far Negative Lab Pro is probably the go to application wehen it comes to inverting scans. I have used it a lot and I am super happy with the results. The seamless integration into Adobe Lightroom makes it very easy to use. The interface requires a bit of experience but once you have wrapped your head around it is more or less straight forward. It is certainly not the cheapest option but in my opinion well worth the money if you will use it often.
NegMaster
Finally I came across a relatively new product which is called NegMaster and it promises some interesting features. There are several versions available including simple camera profiles for negative inversion in Lightroom. I feel tempted to give this solutions a try.
To be honest, while all this seems daunting at first, after a while everything falls into place and until now I am super happy with what my small rig can do. I like the idea of upgrading the process step by step. I have to admit that there is much more to discover like color filtering, different light source solutions, the various software options, lenses, calibration and much more. But Rome wasn't built in a day and I am sure I will dig even deeper into the process of camera scanning in further blog posts.


