Printfilm LUT for Photography
A cinematic way of interpreting film scans with the help of Film Print Emulation
I am starting this blog post with some new terms that maybe doesn’t sound familiar to a photographer, but don’t worry I will get you covered. We are going to explore how analog film is used in Hollywood and try to see what it has to do with film scanning and analog photography. Analog film has been used in cinematic film production over decades. Let’s see what we can learn from this knowledge and how we can use parts of this workflow to enhance our personal scanning results.
Cinematic Film Production
We all know these beautiful colors of Hollywood blockbusters like “Joker”, “Shutter Island” or “The Dark Knight”. Lets have a look on how these movies have been captured: “Joker” for example was released in 2019 and was filmed on a digital camera the ARRI ALEXA 65. However it was also distributed to movie theaters around the globe on 35mm and 70mm analog print film.
What is print film and what does all this have to do with photographic film scans?
Let’s start at the beginning by talking a bit about the cinematic workflow. The colors we associate with Hollywood cinema are all conotated to a handful of film stocks used over the last decades. Even today many blockbusters are shot on Kodak Vision2 or Vision3 film. This color negative film produced by Kodak is the standard for almost all cinema film productions and comes in various variations: from a daylight balanced 50D film to a tungsten balanced 500T film stock. Martin Scorsese’s movie “Shutter Island” was shot on a Panavision Panaflex Millennium camera, an Arriflex 765 65mm film camera and digital Arriflex D-21 camera. The film stock used was Kodak Vision2 100T and 200T and Kodak Vision3 500T. So it is quite common for modern cinema production to use both celluloid and digital footage to produce a movie. After developing the Kodak negative film in specialized film labs like CineLab in London it is scanned on phenomenal film scanners like the Spirit 4K or an Arriscan HDR. After the film has been scanned, it can be used in a digital workflow, combined with digital footage or even used for visual effects. Traditionally the negative film was transferred to a positive film for projection in cinemas. Even today the finished digital movie will often be transferred again to this so called print film, in order to show it in cinemas. The film mostly used for this final output step is Kodak 2383 Color Print Film. A true legend! In combination with the film stock used to capture the scene, the unique characters of this print film is what most people associate with cinematic colors.
Cinematic Film Scanners
The cinema film scanners output high quality digital scans in various bit depths and file sizes depending on the requirements of the production workflow. A common idea is to produce a flat scan, similar to the idea of using log footage in digital image production. A negative by its nature stores brightness values in logarithmic values. Usually these files were encoded in a unique file format designed by Kodak which is called Cineon Format. This is more or less a log format and directly represents the density of the original negative. This technique ensures, that all information from a negative is captured digitally.
As the scanned files are processed in a digital editing workflow it is important to preview how the footage will look like after printing it on film. Therefore it was necessary to digitally replicate the look of the print film. Look Up Tables or LUTs are perfect for this kind of task as it can be simply applied to any kind of image data. A LUT maps image data from one color space to another. Applying a Kodak 2383 LUT is a common way of color grading and previewing digital motion picture footage. Depending on how the preview LUT has been designed it often expects image data in the Cineon Log format.
Using Film Print Emulation LUTs
In order to understand how we can use this technique for scanning analog film we need to have a brief look on how color negative film works. Luminosity of a scene is transferred into densities of a negative. This process compresses tonal information. The result is a very flat looking negative in which the whole dynamic range is squished into a very narrow band of density values. During printing, both on paper or film, these values are expanded again and an image is created that matches human vision. A Print Film Emulation LUT can partially do this task for you. So basically a Kodak 2383 LUT could be the last part of a scanning workflow, very similar to the cinematic analog workflow.
In the RA-4 printing process which is used in darkrooms, the tonal values of a negative are expanded when printing. The gamma correction happens in the exposed paper triggered by the chemicals. When we substitute the chemical darkroom process by scanning we have to find a solution for the negative expansion. Of course we can let our scanner software do the job for us, randomly and often arbitrary. Alternatively we can try to establish more control over this process and maybe be even a bit more creative. Many old scanners have the option to directly apply an output LUT after scanning or we can apply a LUT in Photoshop using a Look Up Table adjustment layer. It is important to make a very basic and flat scan which should already be color balanced. I have experimented with this workflow over the last weeks and will show you some results.
Kodak Vision3 for Photographers
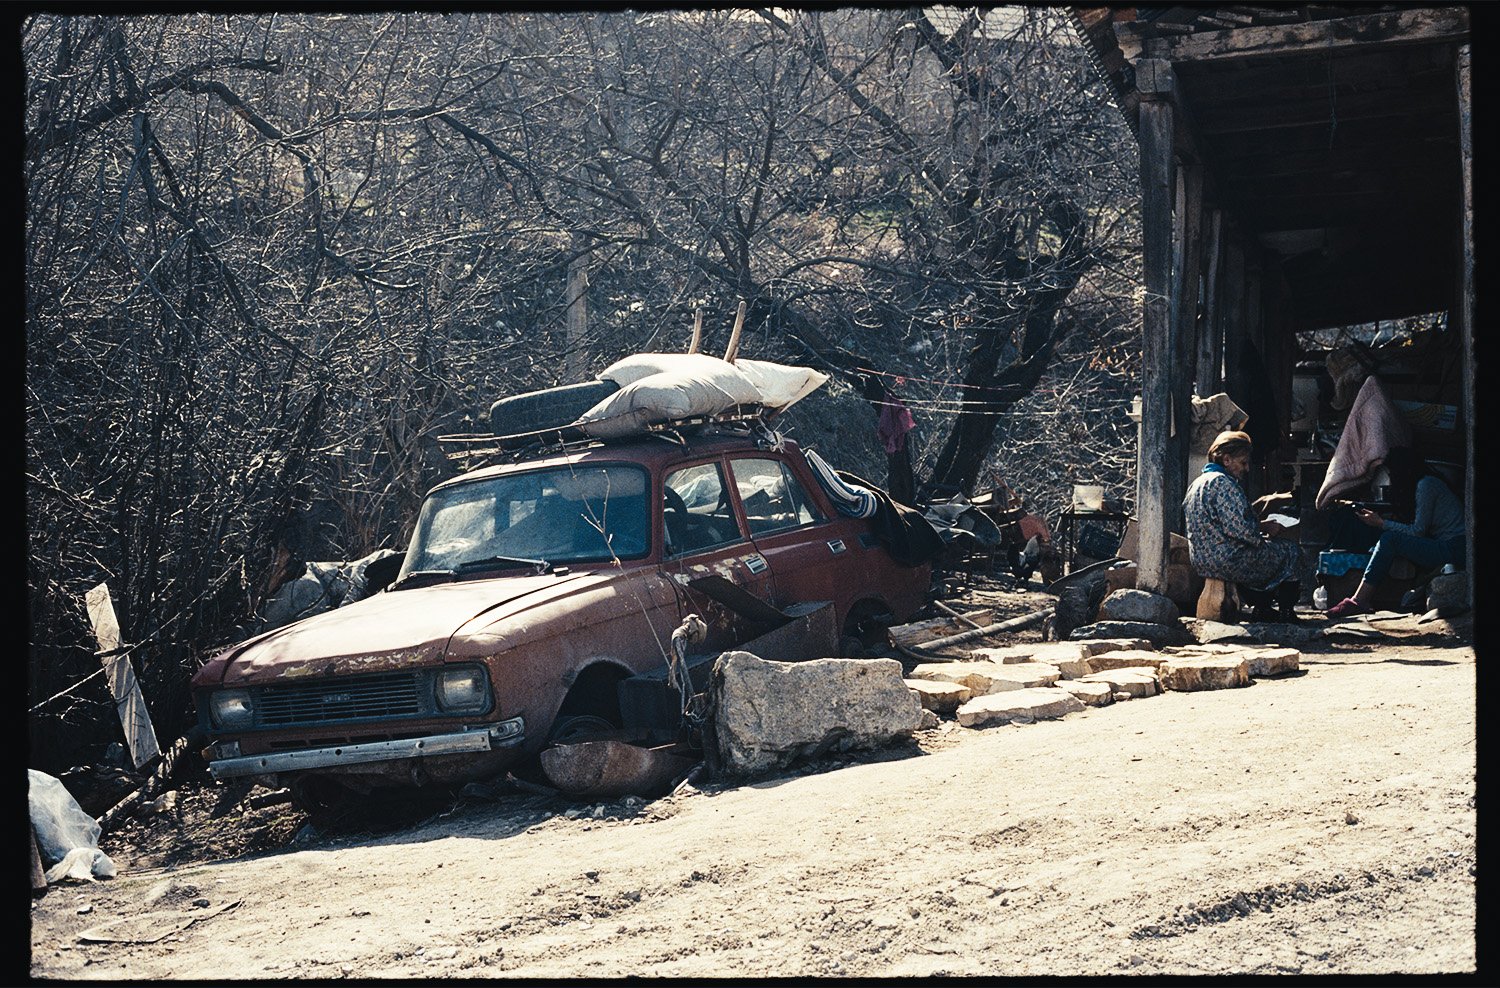
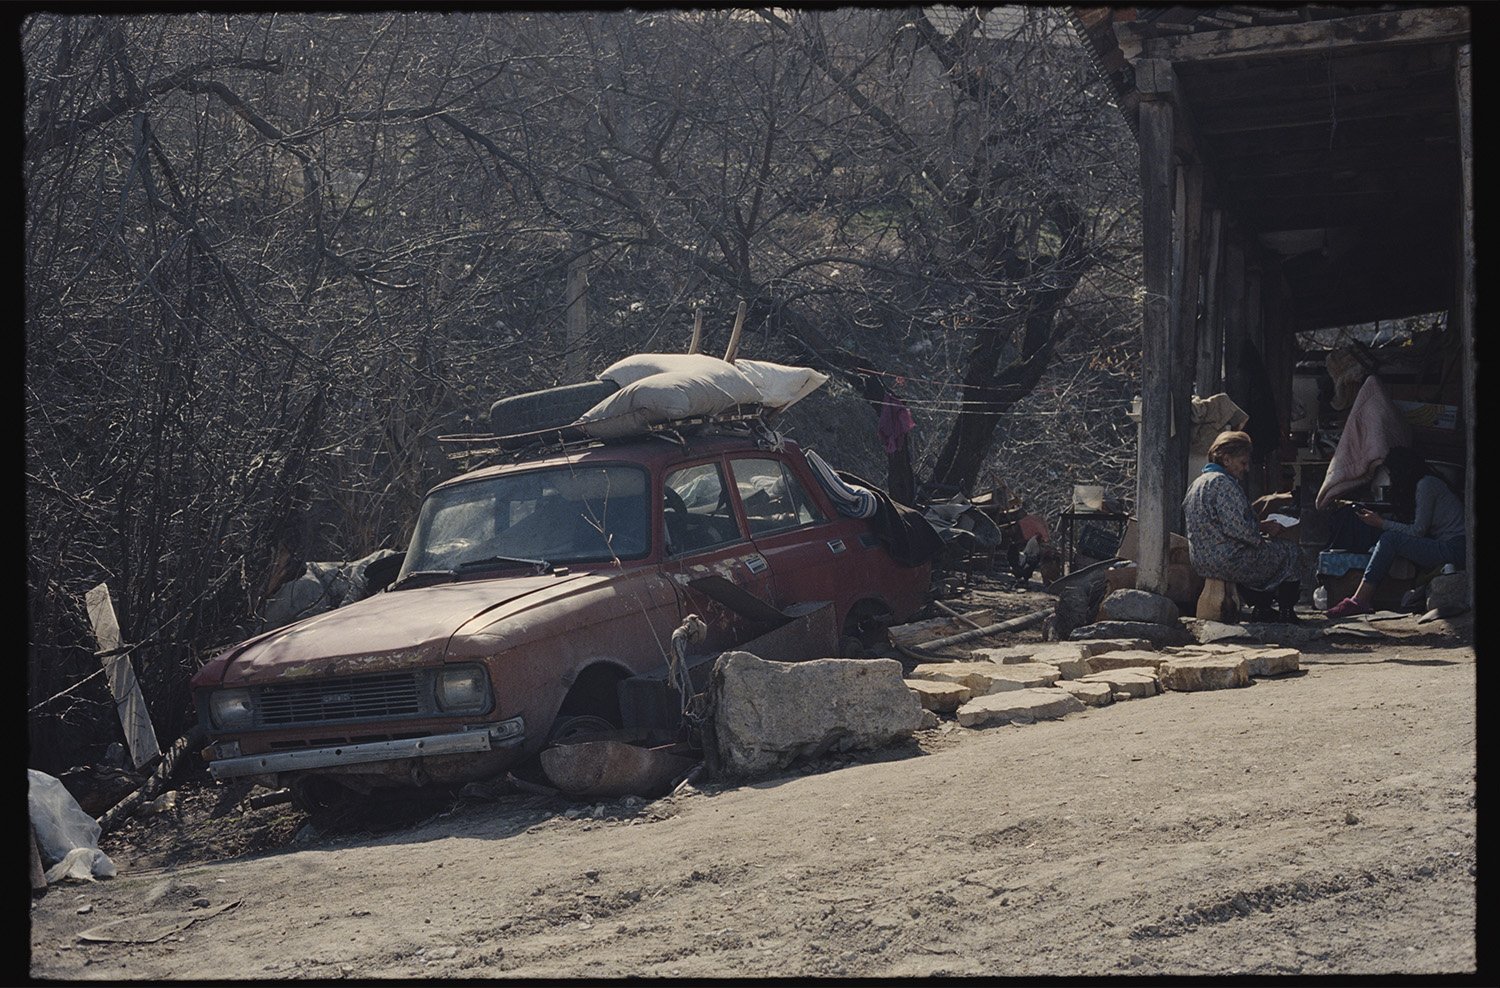
These images were captured on Kodak Vision3 200T film stock and have been processed by the Silbersalz35 film lab in Stuttgart. Kodak Vision film requires a special process which is called ECN-2 that is different to the common C-41 process used for photographic color negative film. Silbersalz provides also high resolution scans of the original material and these scans are delivered as raw data with a very flat look. While the scans are no real Cineon scans, they somewhat illustrate the way a flat scan will look like. Below you can see the difference of the pure film scan compared to a scan where a Kodak 2383 output LUT has been applied. This process is also known as Film Print Emulation (FPE).
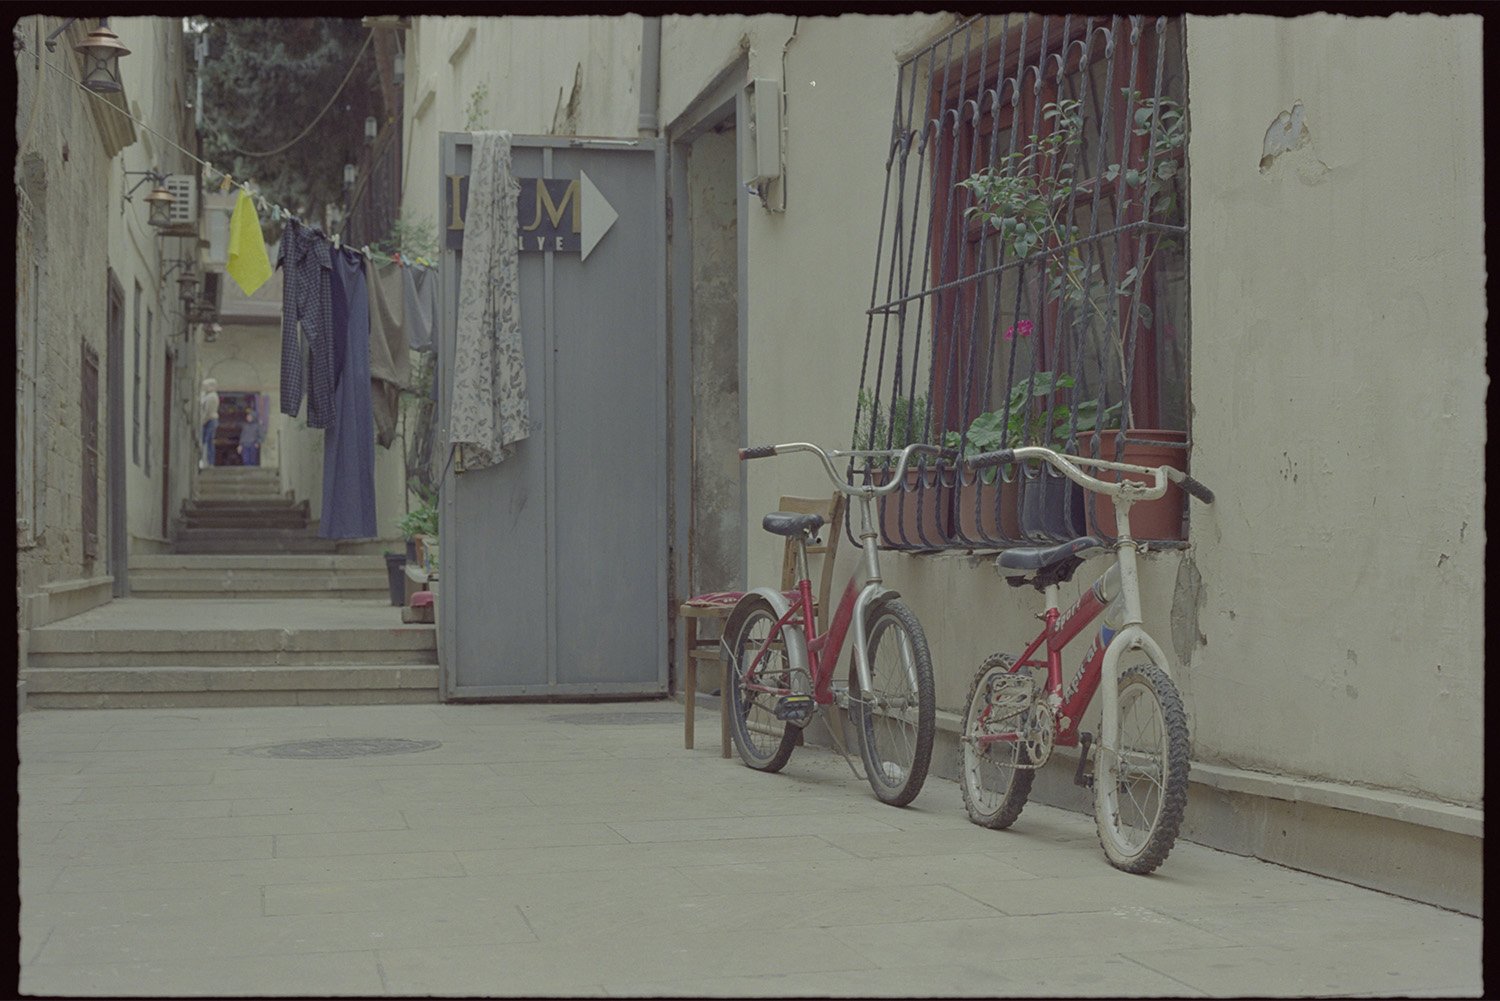
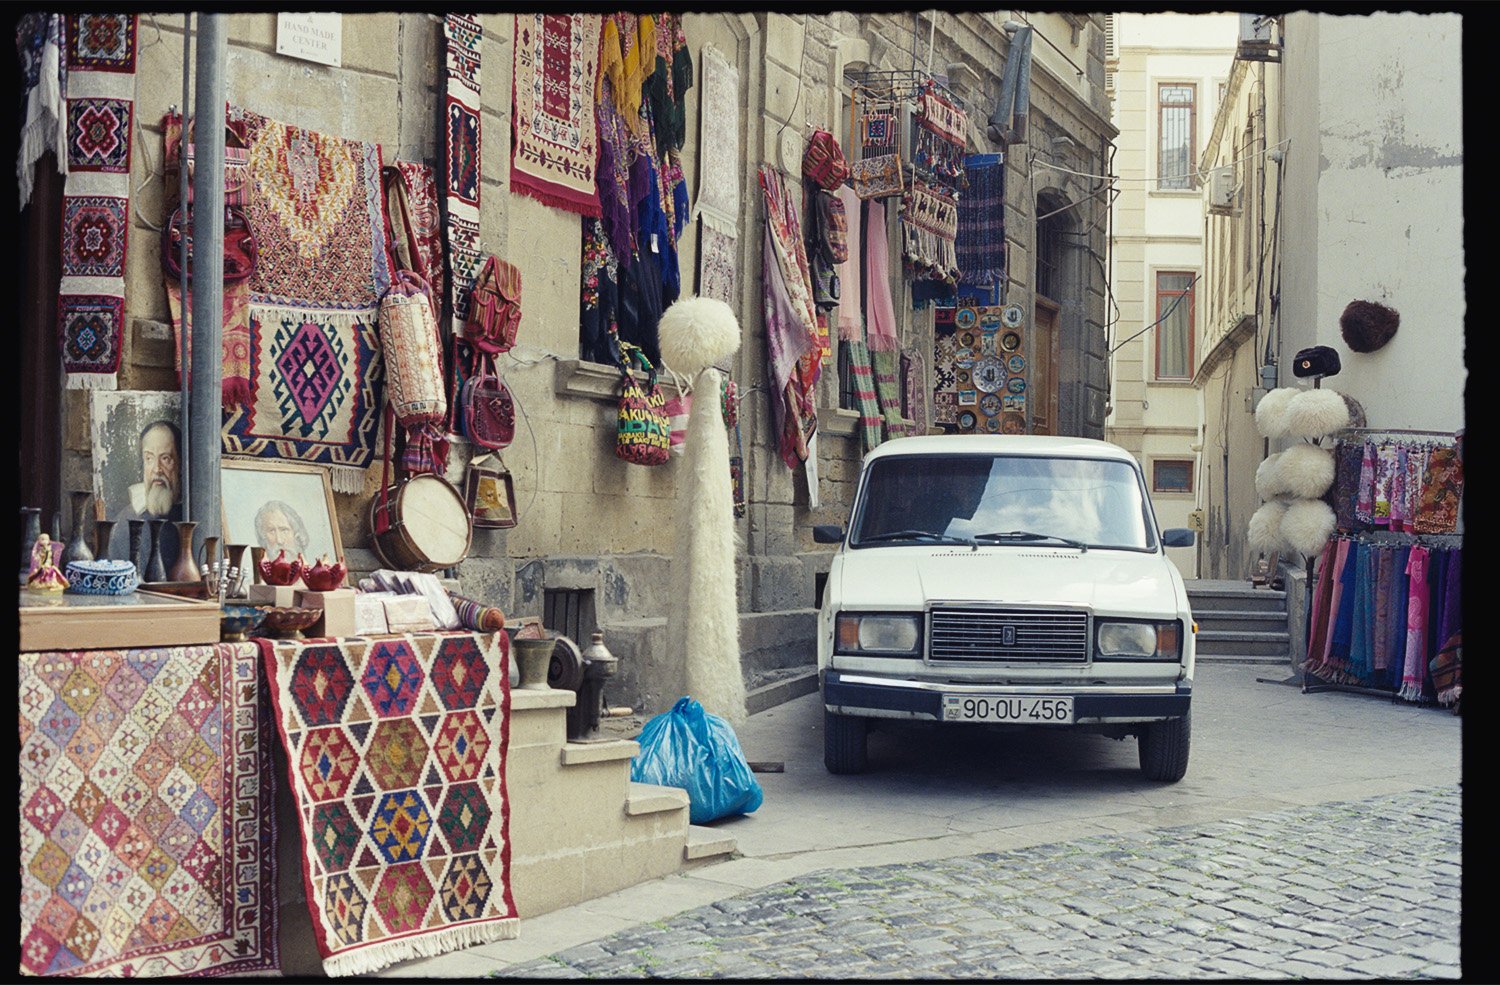
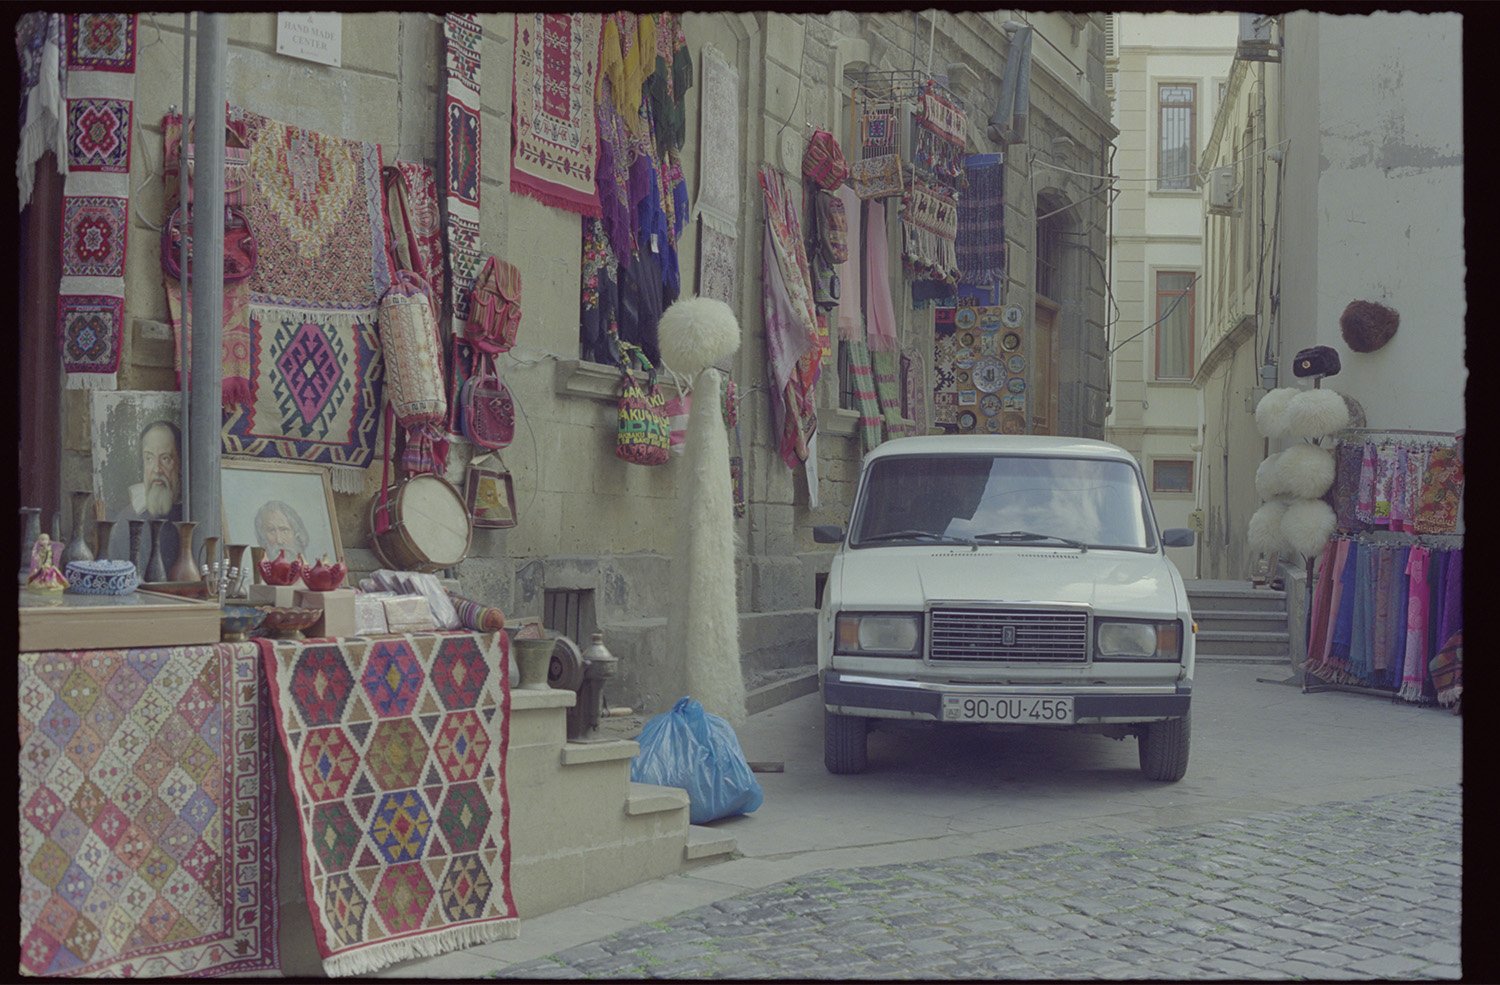
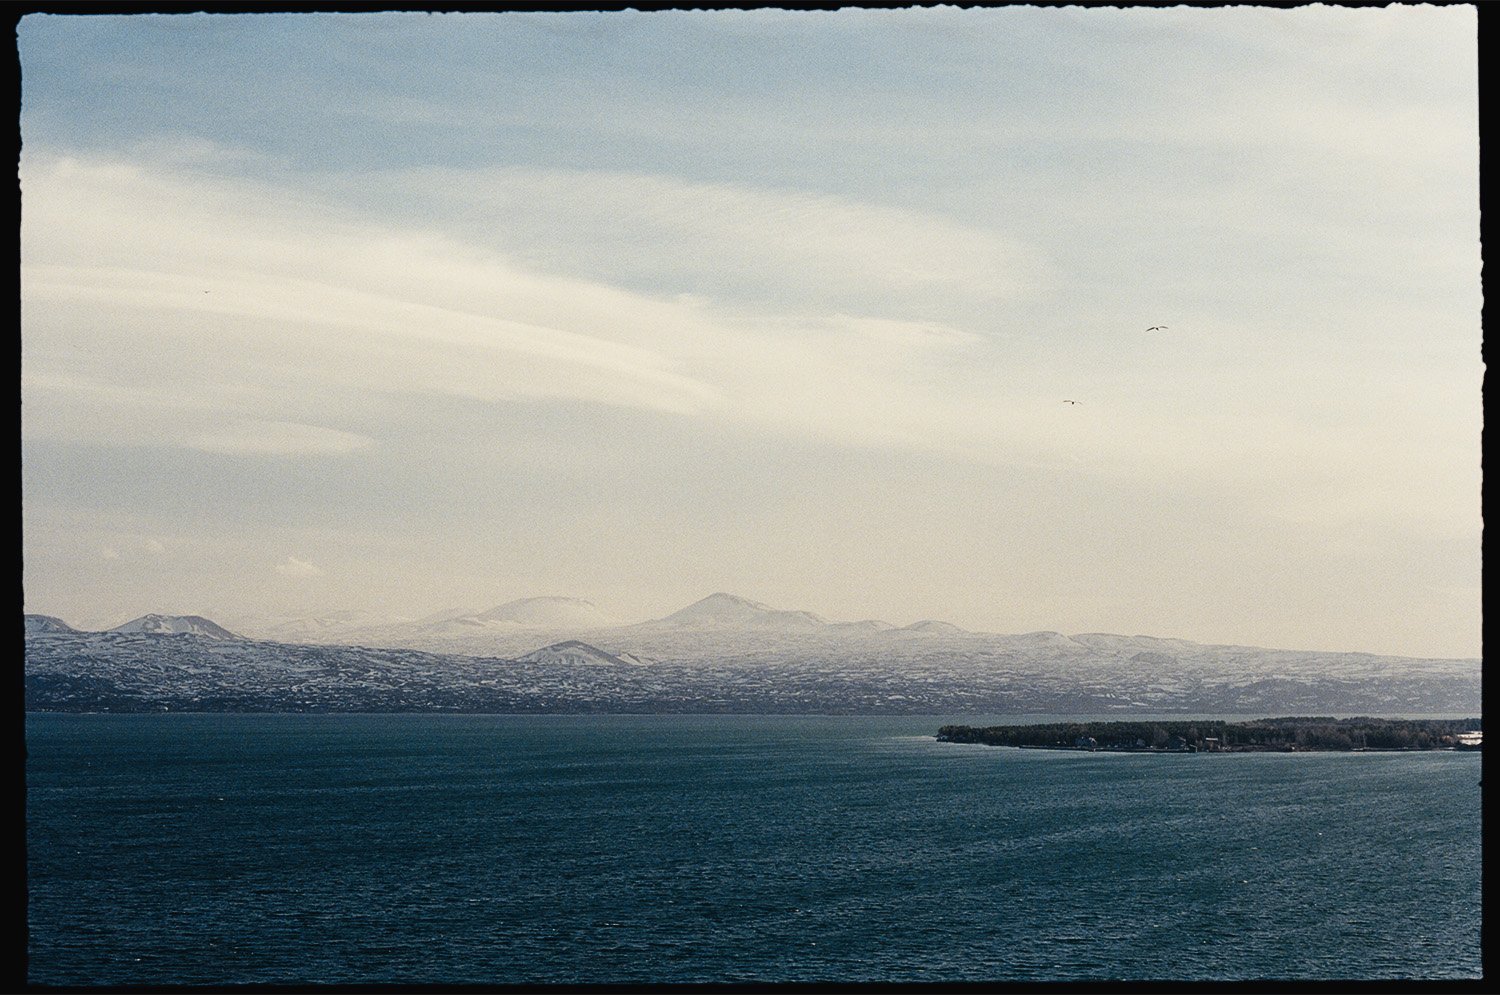
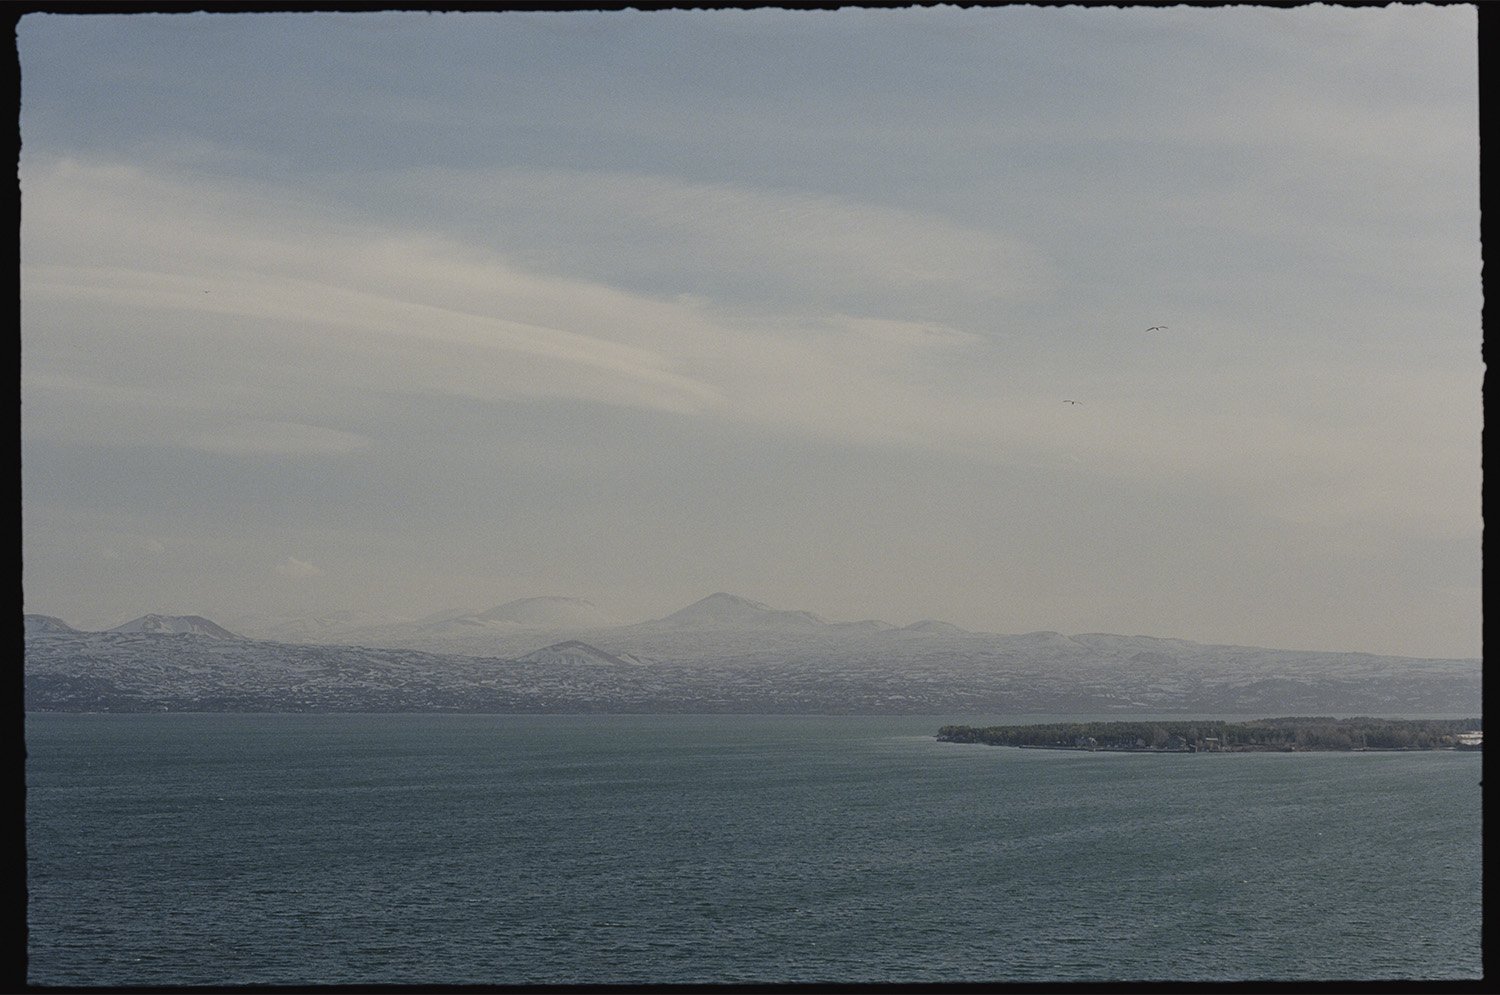
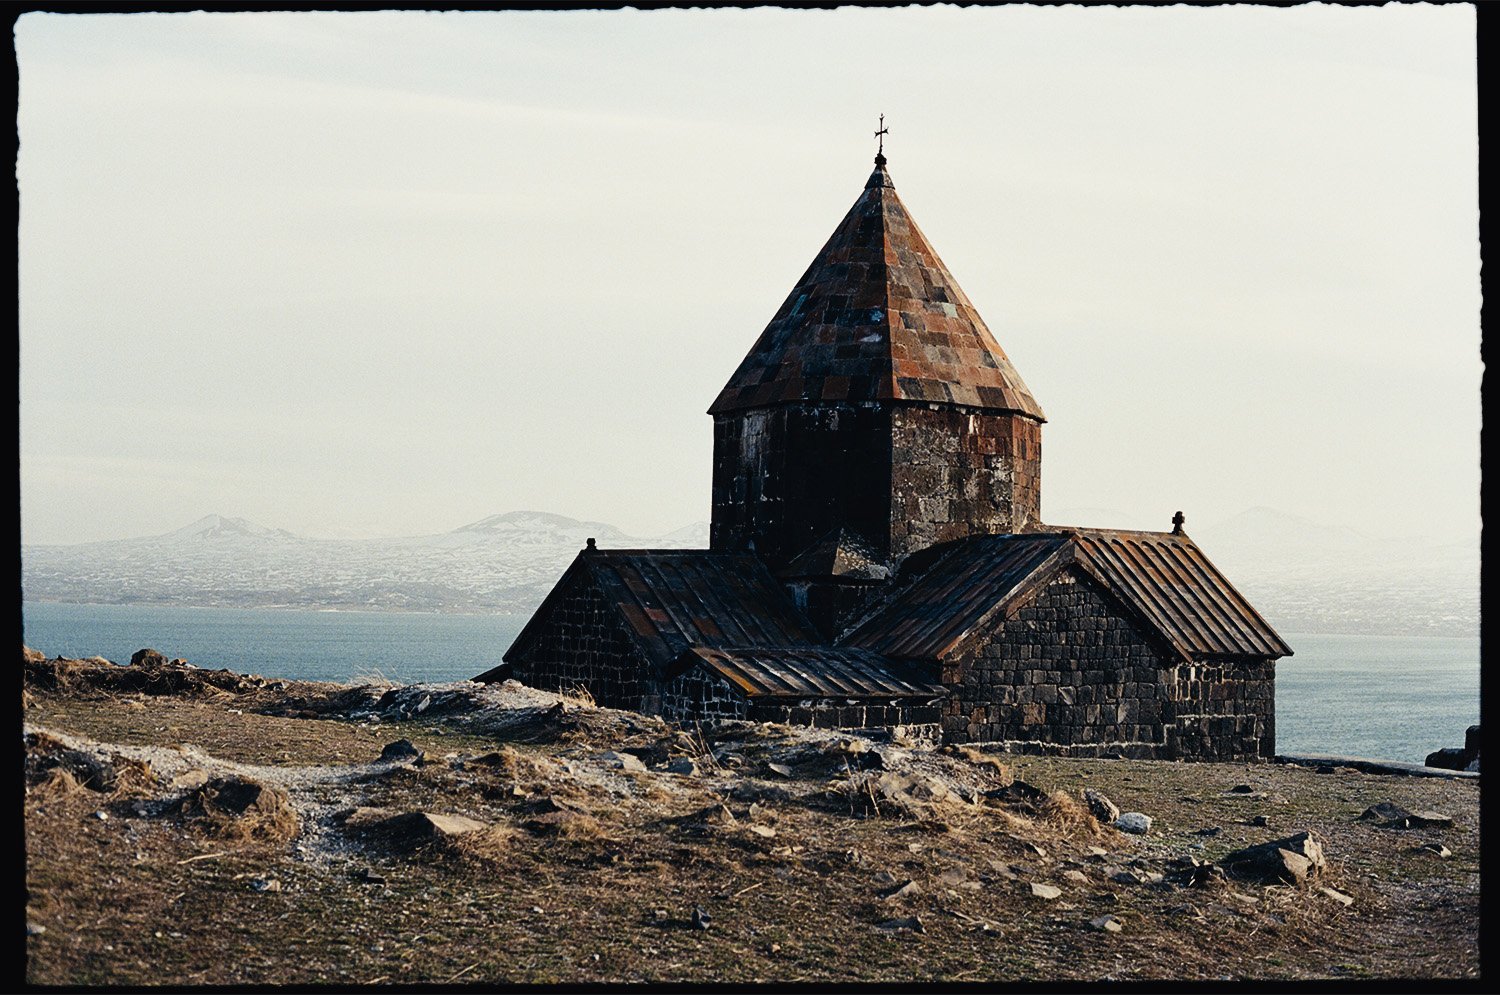
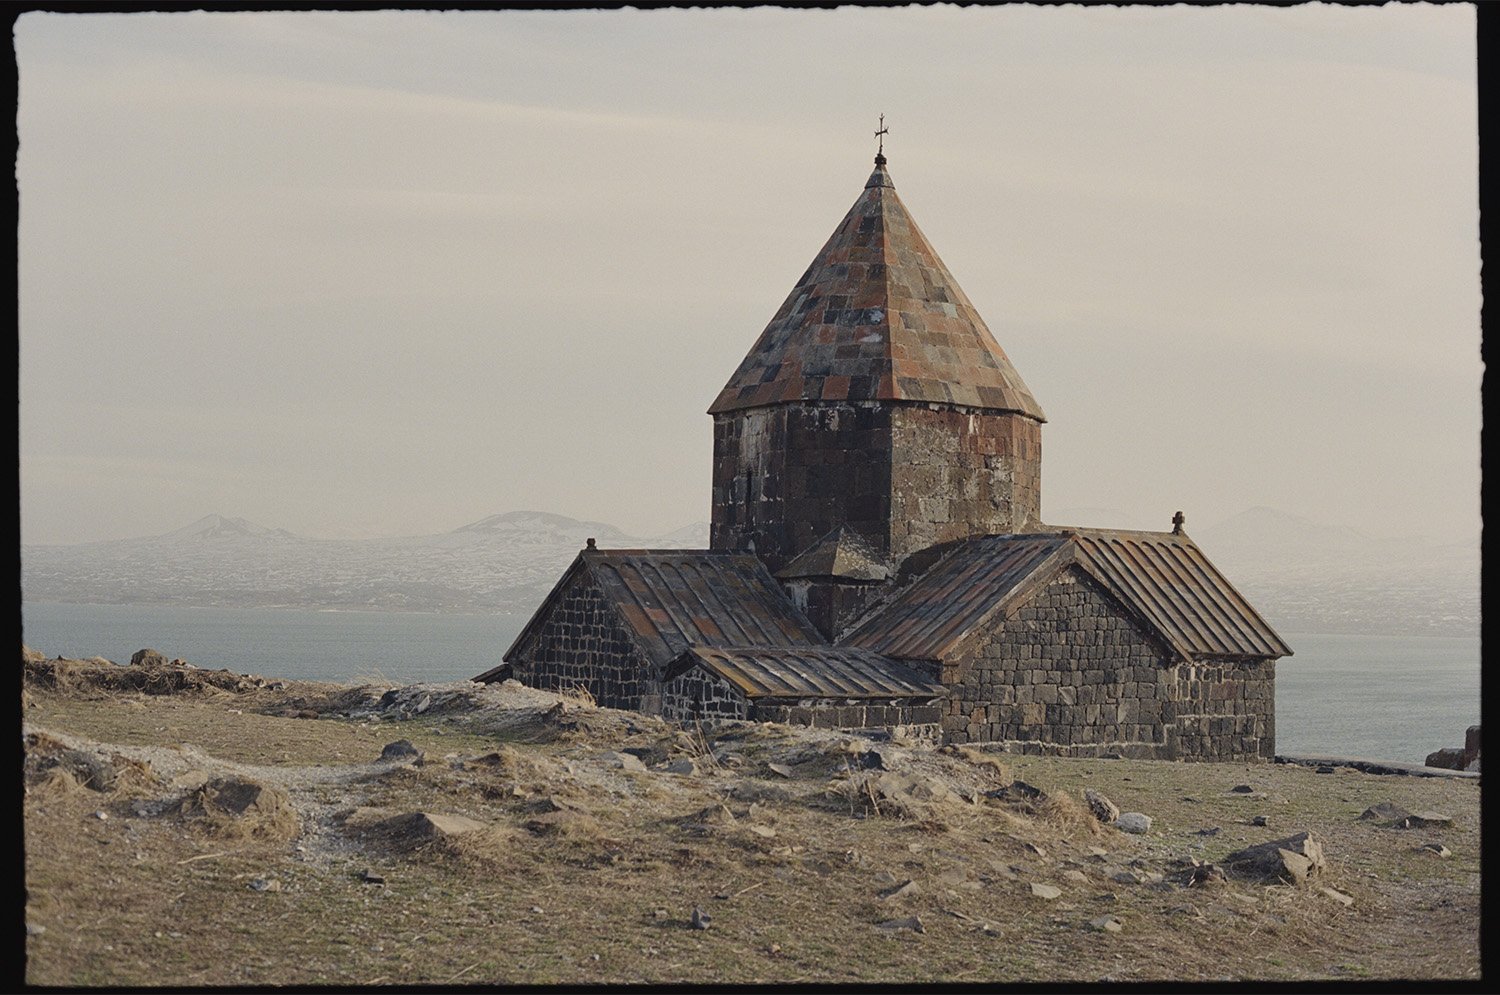
Original raw Scans of Kodak Vision3 200T (left) film stock compared to the same file with a Kodak 2383 FPE LUT applied (right)
The examples illustrate why this idea can be helpful for photographers. After making a basic flat scan, an output LUT will give your scans the final look. Of course most of the adjustments could be done either in the scanning software or in Photoshop, but applying a LUT gives you several advantages:
First, your final adjustments are the same for every scan which gives you a better consistency.
Second, a film print emulation LUT is very close to the analog process of printing your scans and provides a very organic and natural finish. You could of course use other LUTs, maybe LUTs that are closer to the RA-4 printing process.
Finally, LUTs can be fine tuned and adjusted in Lightroom or Photoshop to suit the requirements for each scan. This final step of a good scanning workflow.
Other Film Scans + FPE LUT vs. Minilab Scans
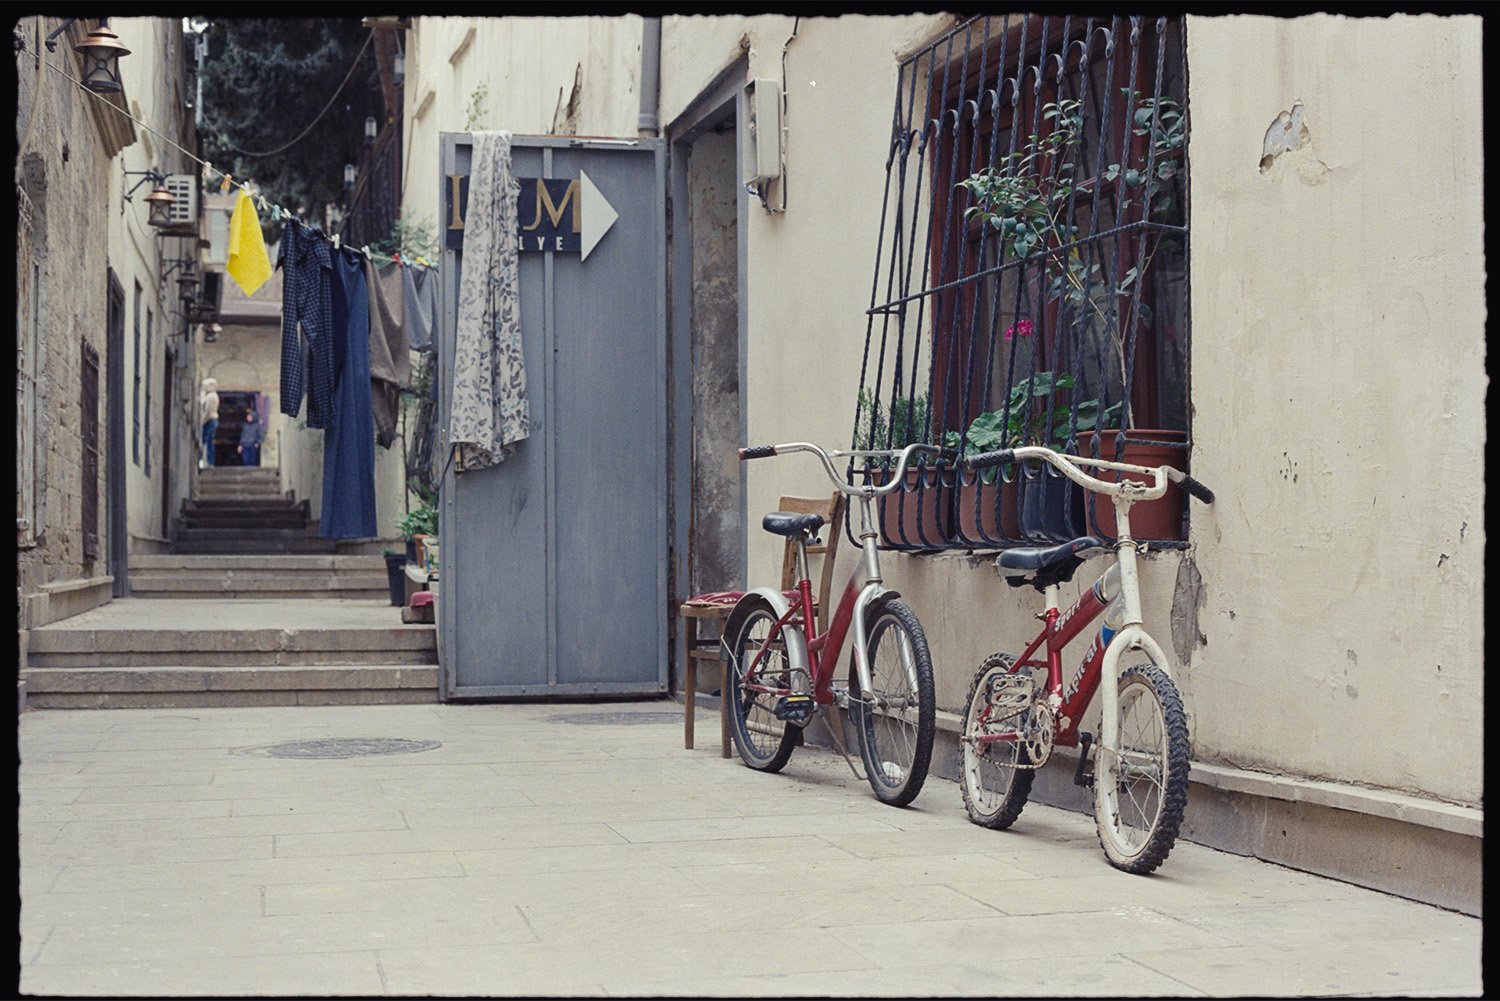
Now I show you some scans where I applied a Film Print Emulation LUT to flat scans done on my Epson V700 scanner and on a high end Hasselblad Flextight scanner in comparison to scans from a Noritsu or Frontier scanner. You will see that the look will not perfectly match, but you can also see that it will bring you closer to scans from minilab scanners.
Epson V700 scan (left) with a Kodak 2383 LUT applied compared to a Noritsu scan (right)
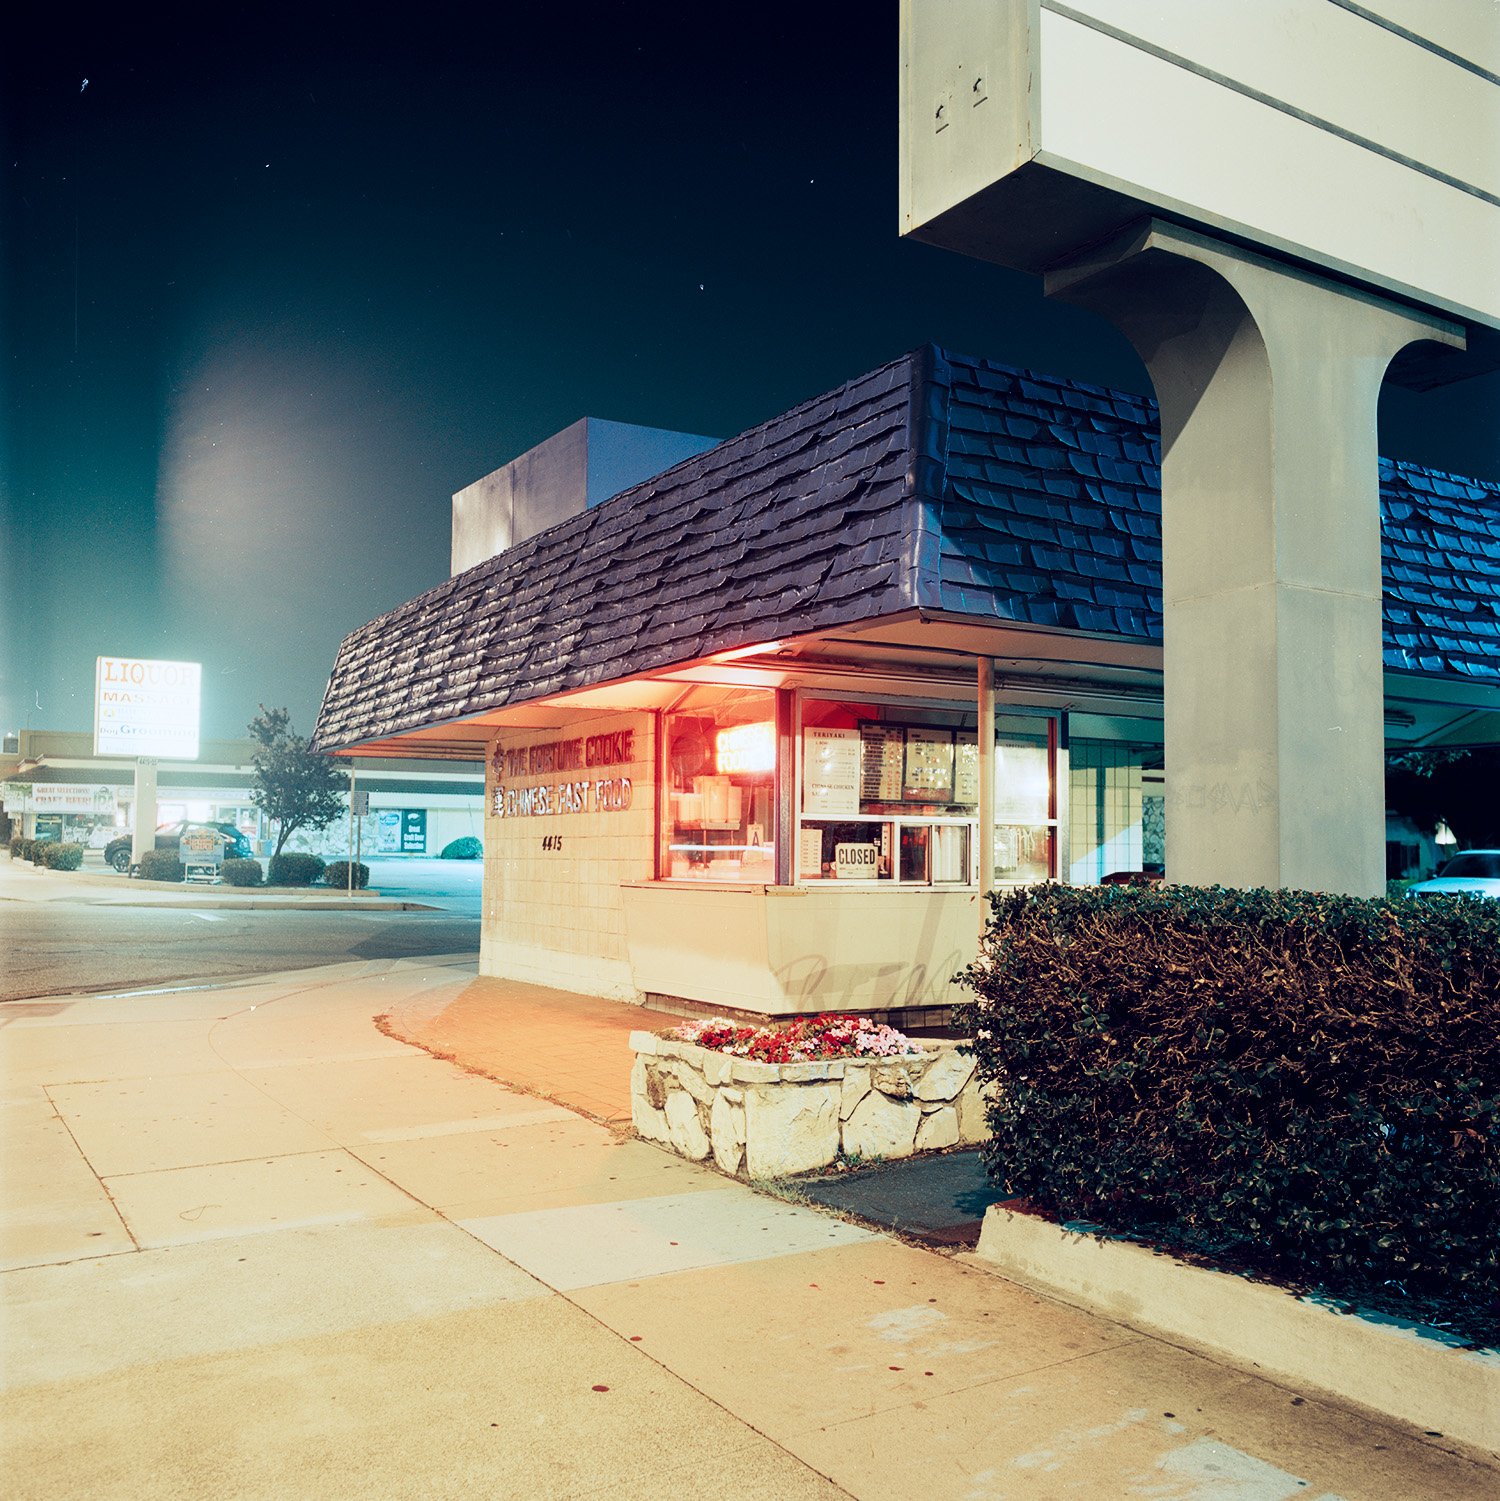
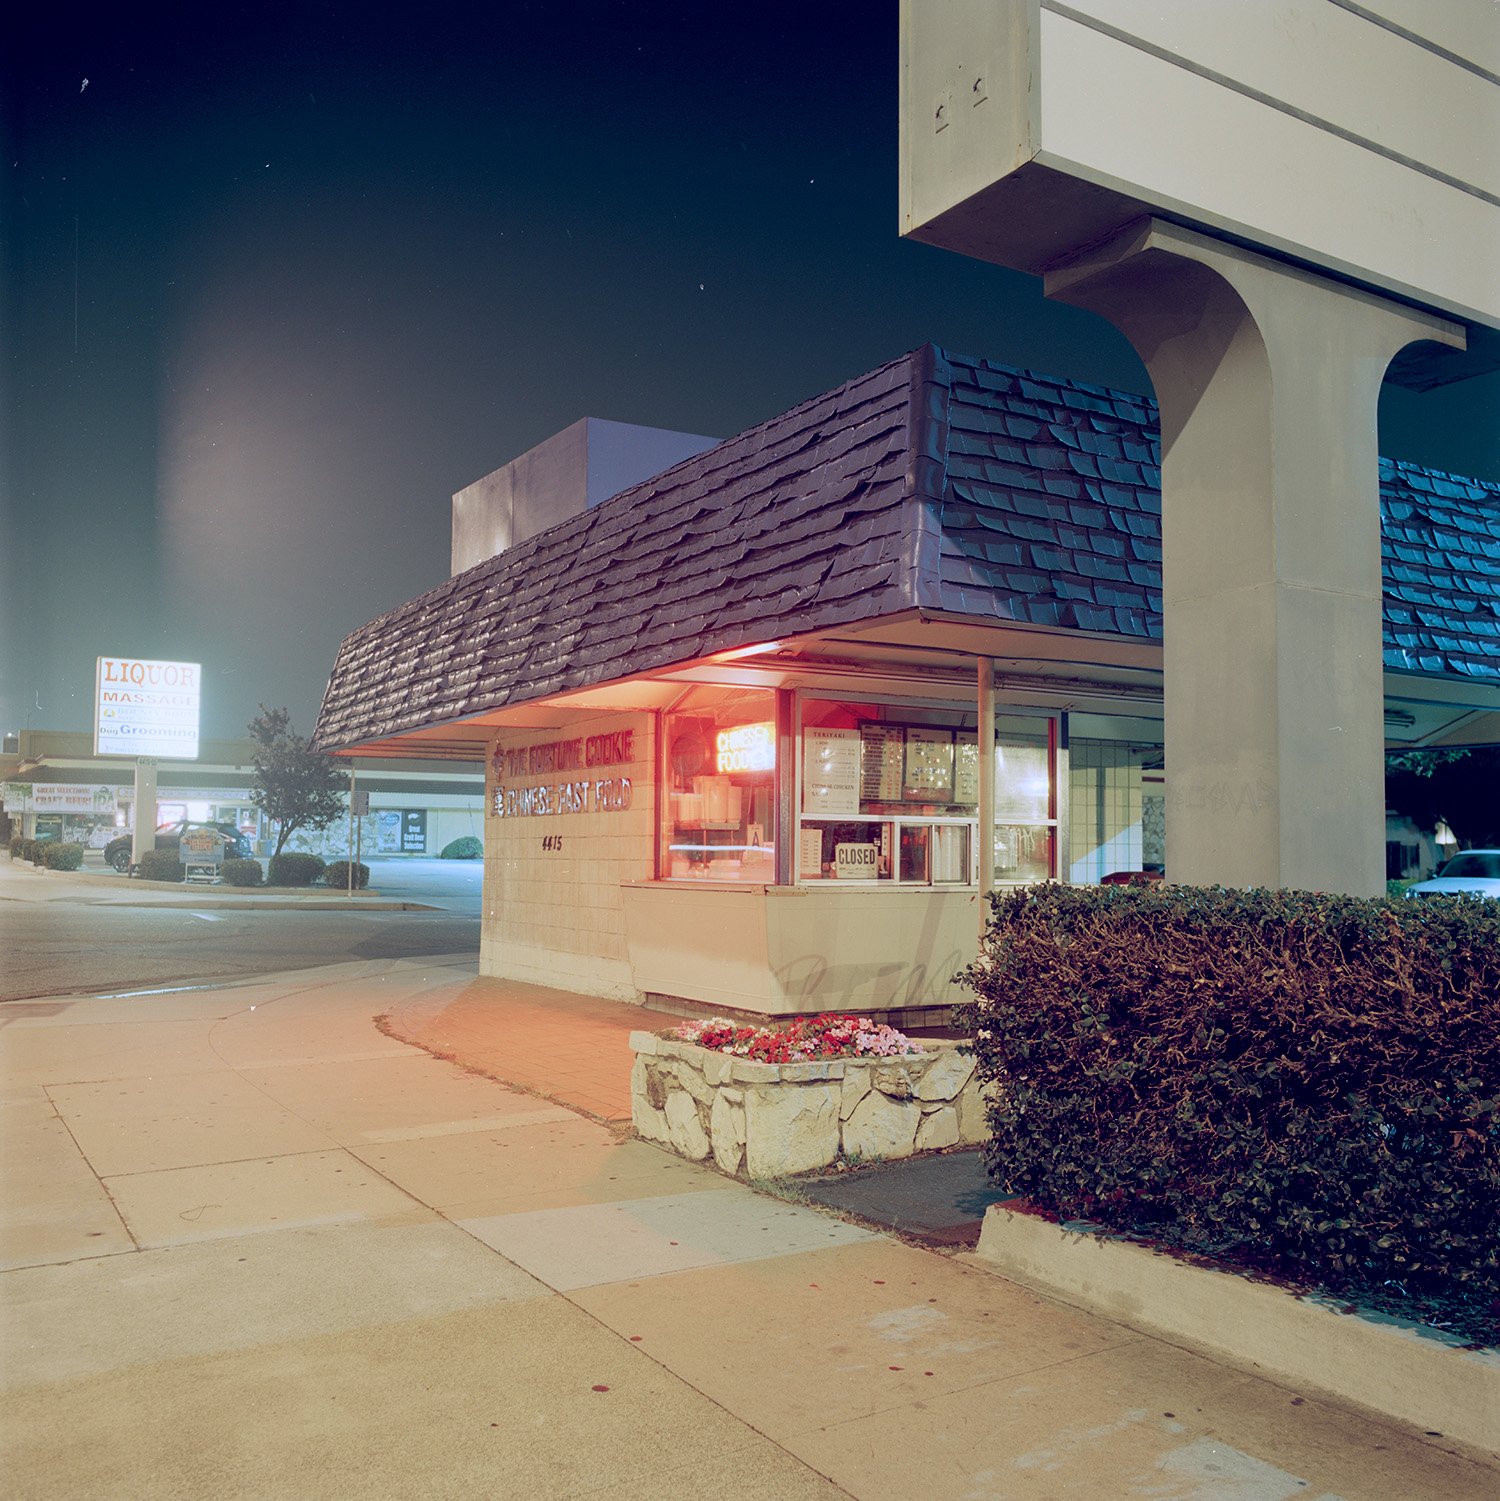
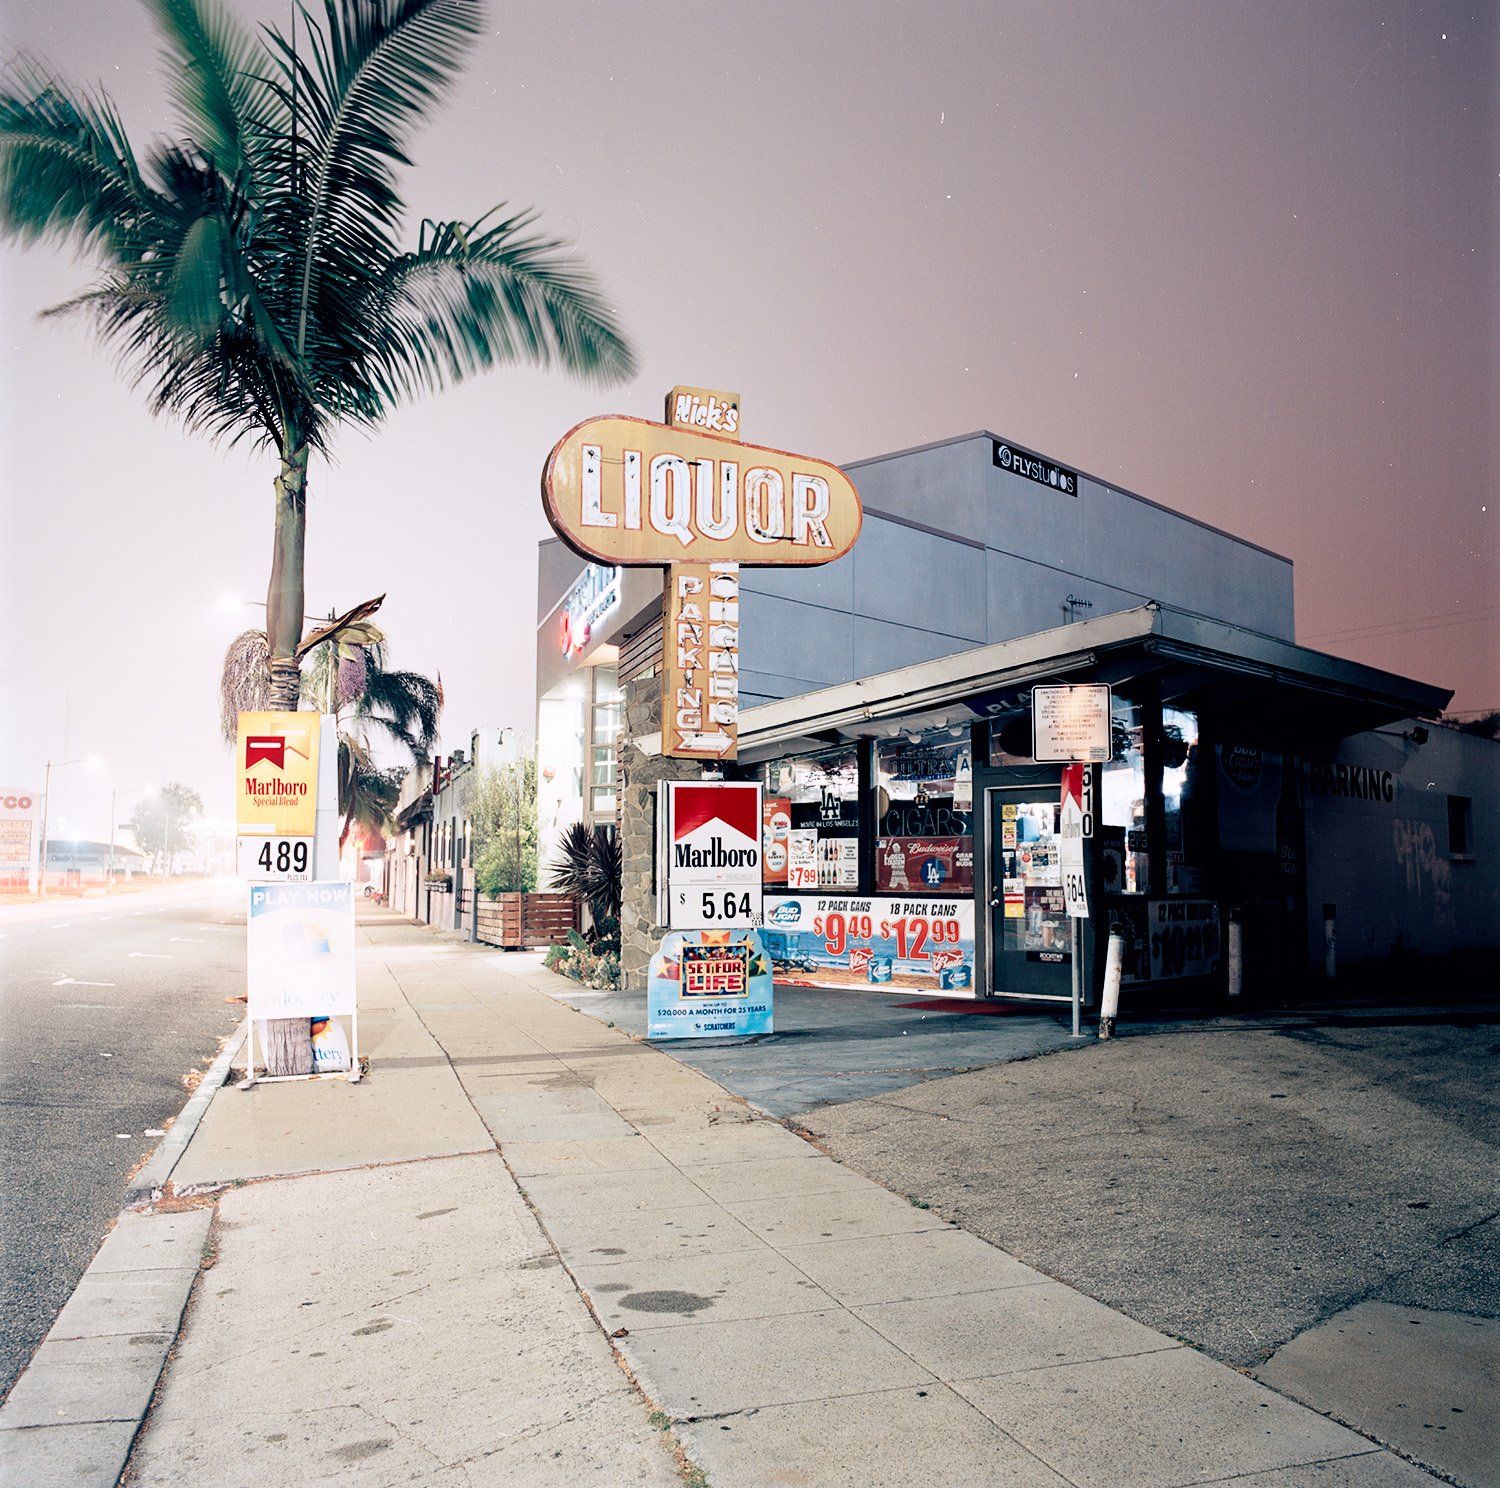
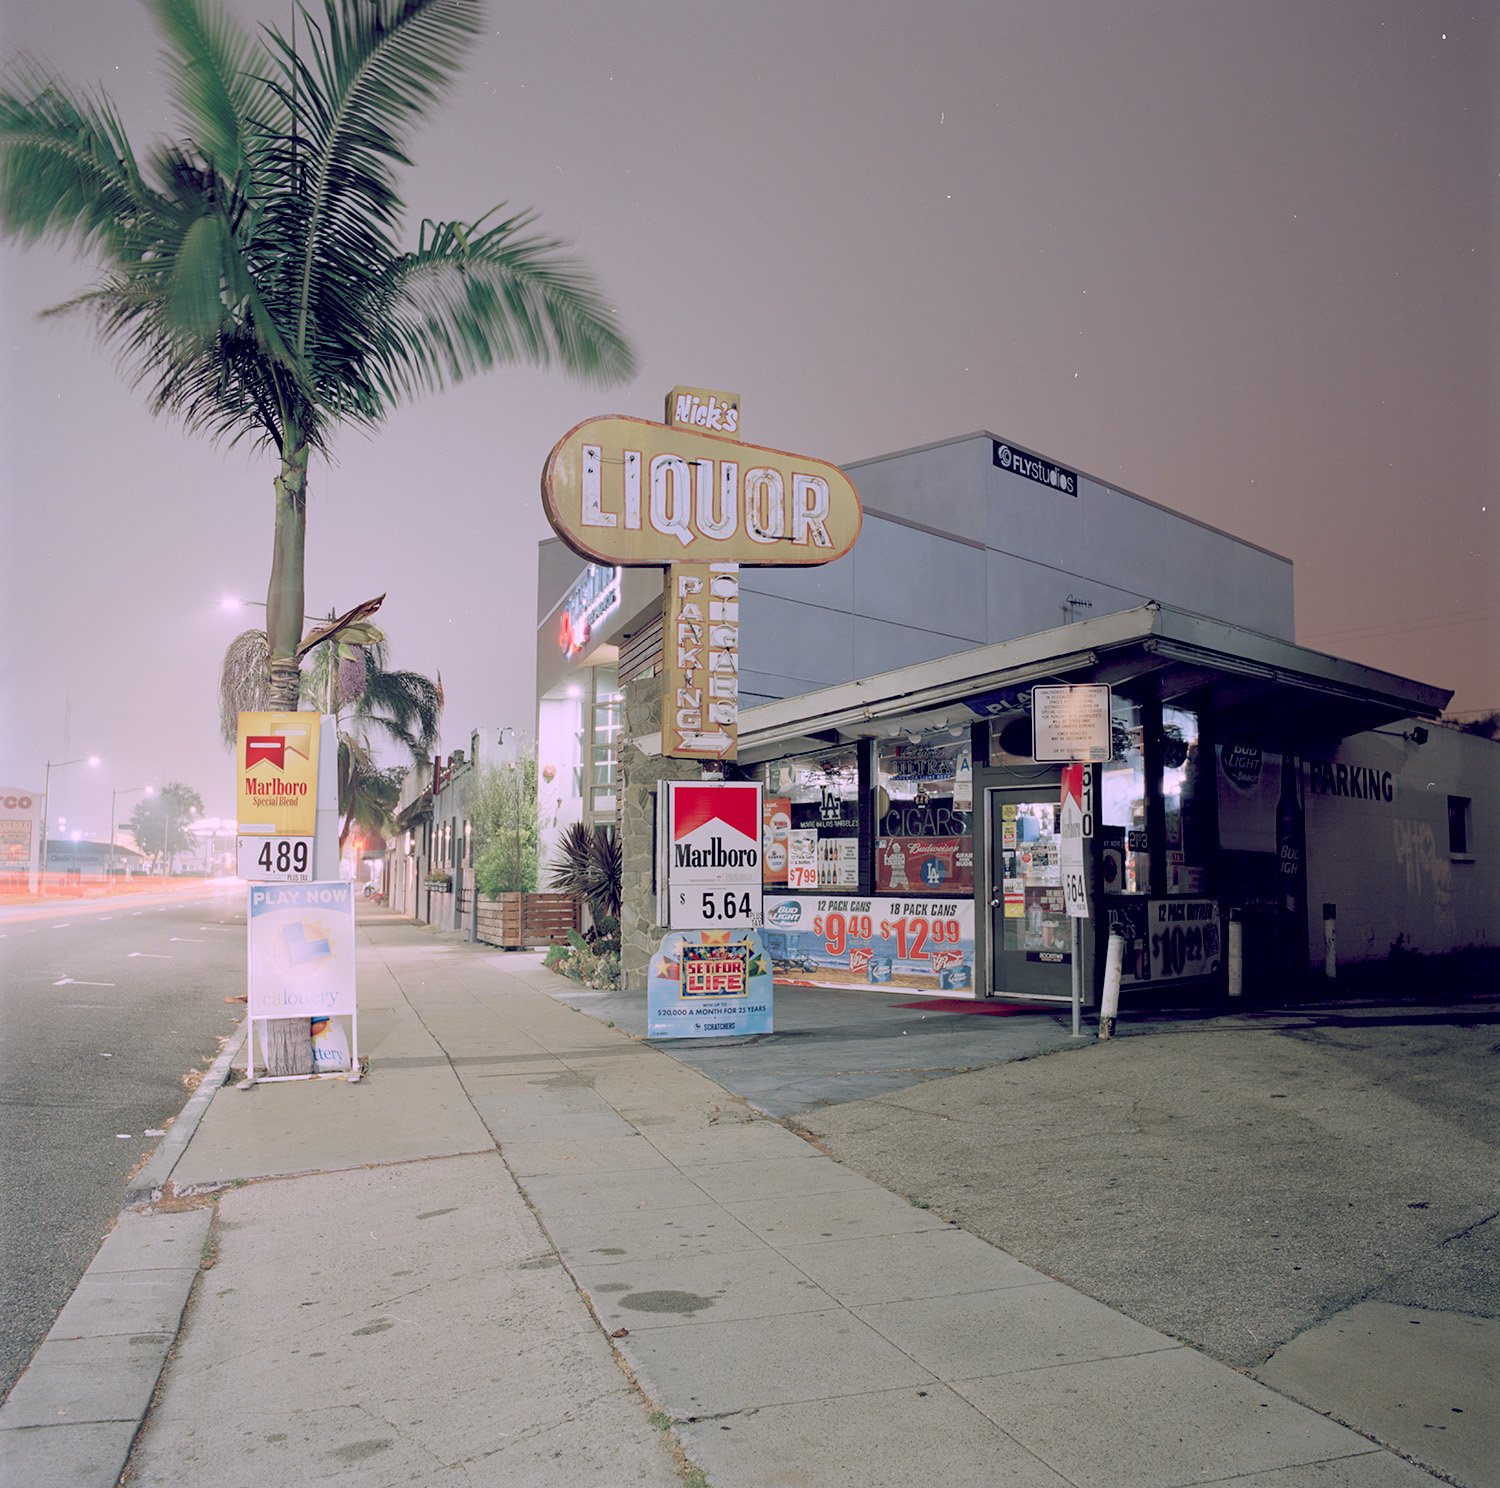
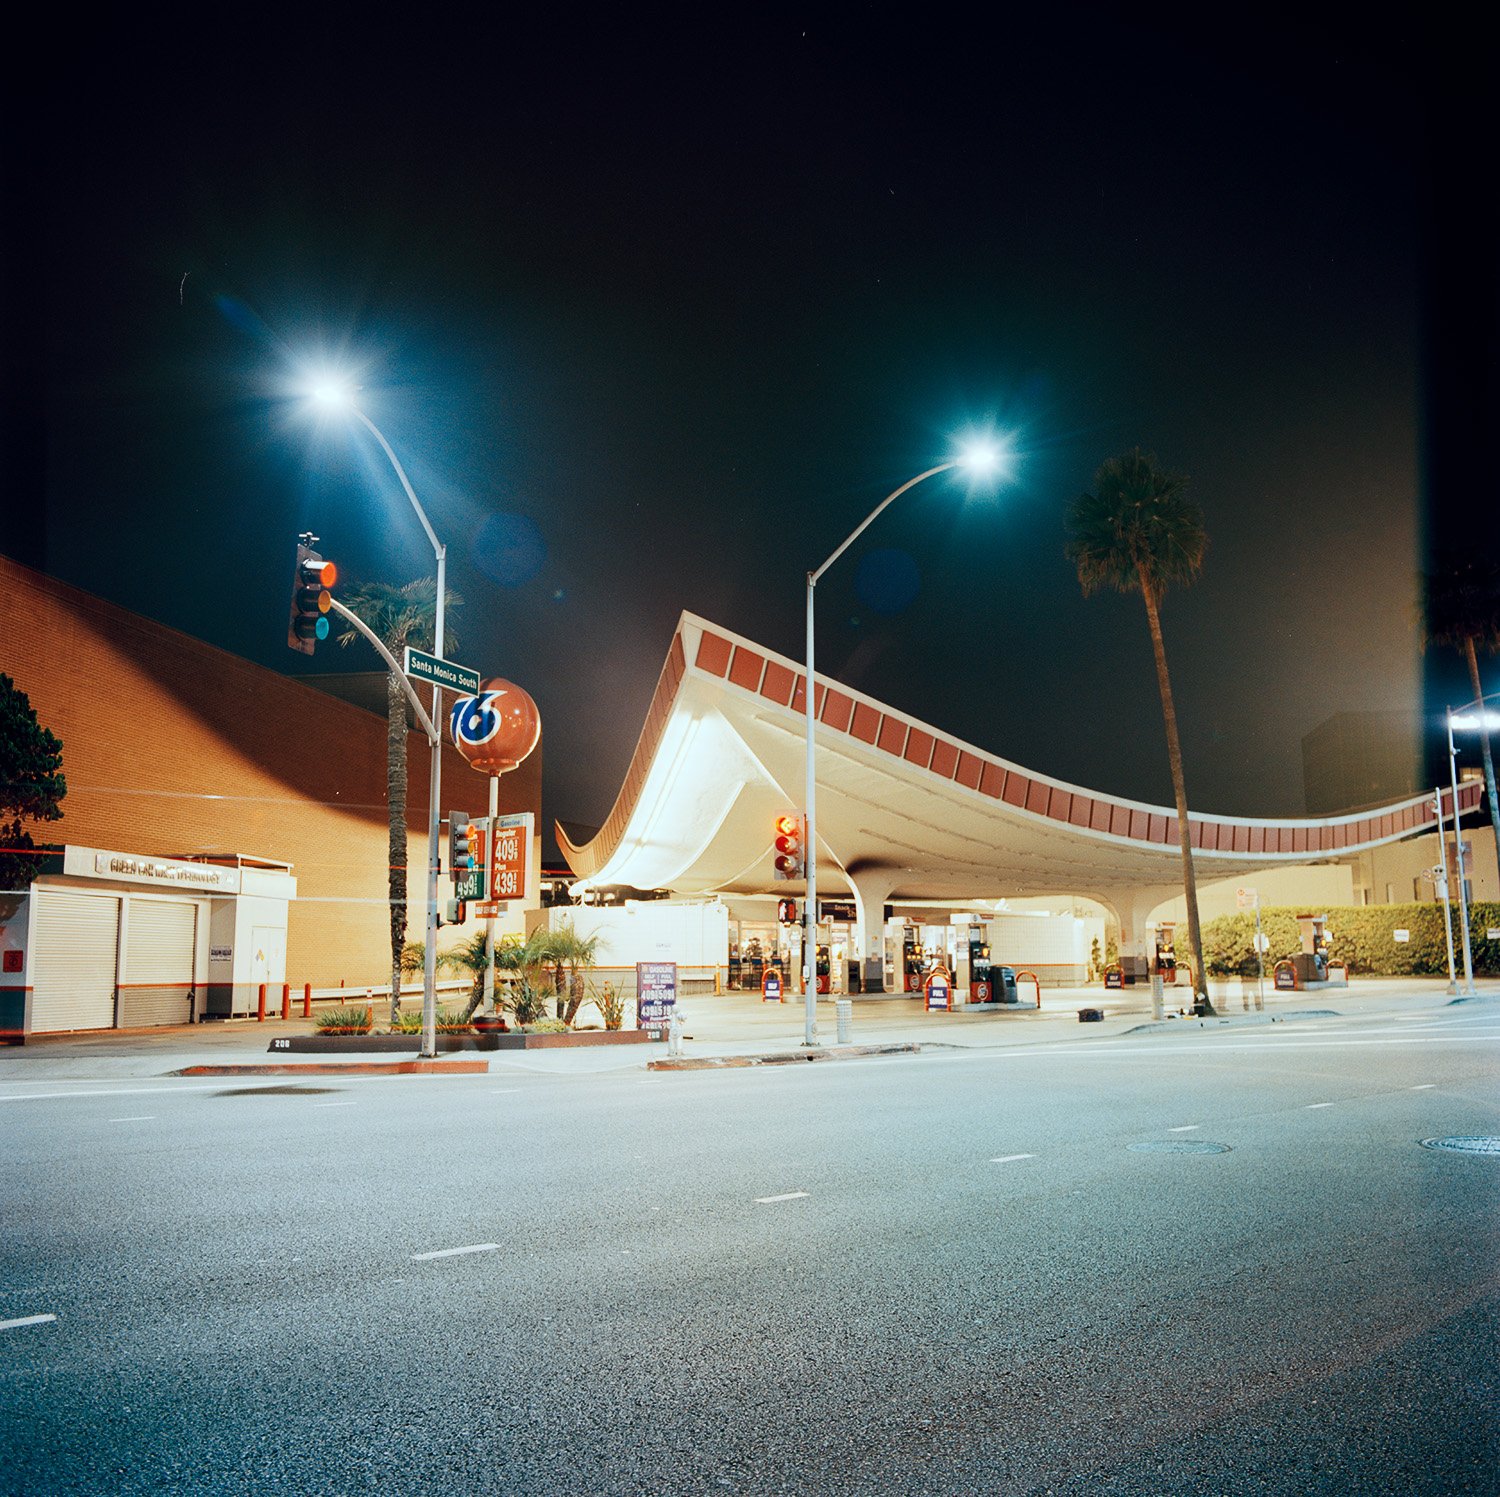
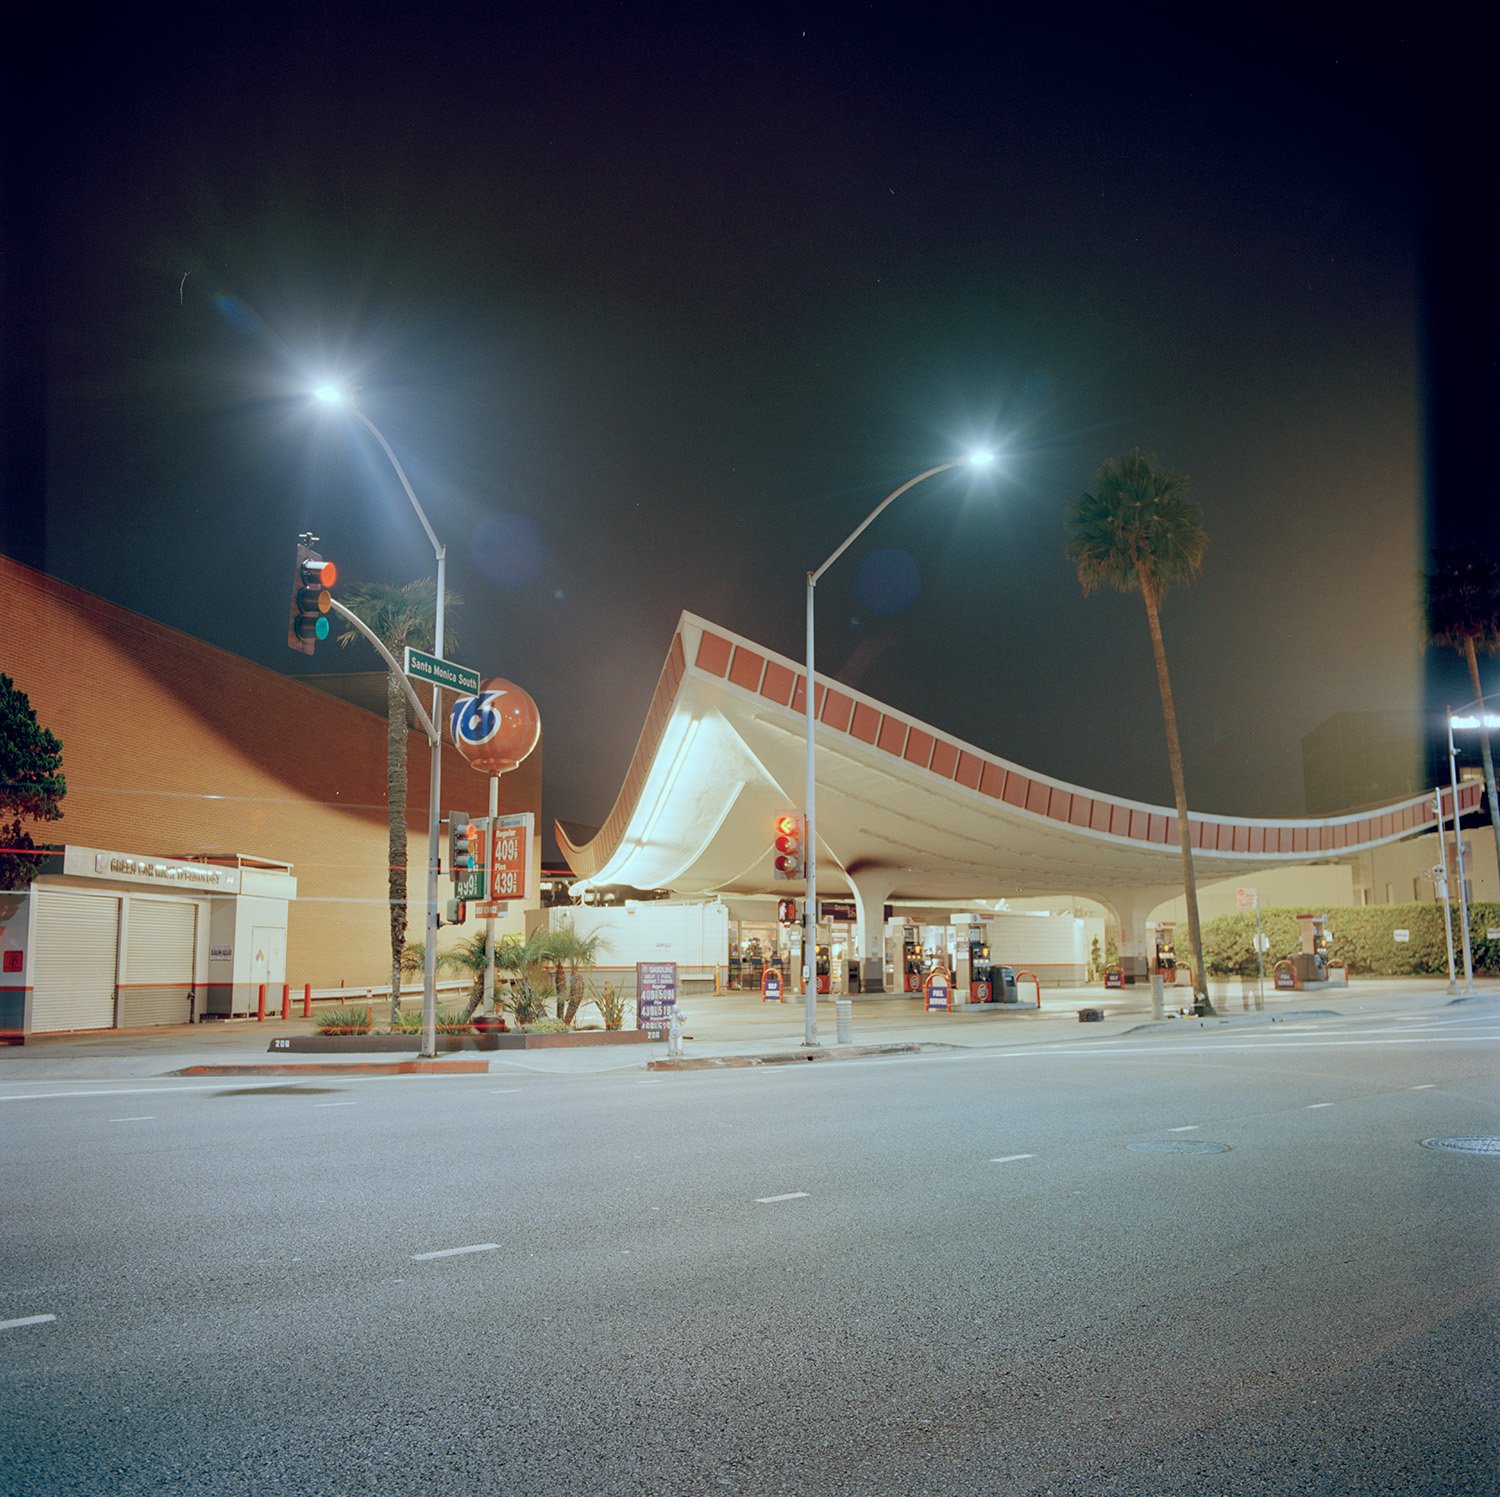
Hasselblad Flextight scan (left) with a Kodak 2383 LUT applied and on the right a Fuji Frontier SP-3000 scan (right)
As mentioned it is not a perfect match between the scans. I am not showing this comparison to demonstrate how a Kodak 2383 LUT can mimic the look of a minilab scanner. I am trying to show you how an output LUT can bring you closer to the desired film look of your analog scans. The Flextight looks pretty flat to begin with and the LUT lifts it into the right direction. A good starting point for further edits.
The LUT I have used here is normally used for video editing and expects a Rec.709 input color space. As sRGB and Rec.709 share a very similar gamut, it also works very well for still image editing. This specific FPE LUT was designed by an amazing colorist called Juan Melara and can be downloaded for free on his website. Click on the button and go to his website if you want to try the LUT.
With all this theoretical knowledge it would be nice to learn how this can be implemented to your scanning workflow. In an upcoming blog post I will show you how you can apply the LUT in Photoshop. Meanwhile have fun shooting and scanning your work!

