Finding my own setup
Introduction
What a year! Probably everyone had different plans for the last months and so did I. But here we are and I have new ideas and topics for upcoming blog posts which I want to share with all of you.
For those of you who follow this blog for a little while now, know that I have always been a big fan of various ways to scan negatives. Home scanning with a dedicated film scanner or a flatbed scanners is a big challenge but if mastered correctly it can provide you the artistic freedom over the final image which a lab unfortunately cannot do, simply because they have to guess your interpretation of the negative. You can make choices that dramatically alter the scan like color and tonal correction. Nevertheless a good lab can do this job for you if you manage to clearly communicate ideas and artistic vision. Most labs do a brilliant job and deliver an outstanding quality mainly due to the fact that they own the best machines for this job like the Fuji Frontier SP3000 or a Noritsu HS-1800. But over the last years or so a new method became more and more popular: camera scanning!
Why camera scanning
Modern digital cameras surpass the image quality of the mentioned scanners as sensor quality and even lens quality improved dramatically. So you maybe already have the best equipment for scanning at home. Sure you also need some special equipment to ensure a good quality of your scans but the basic equipment is often easily available. Even if you don't own a macro lens or a digital camera, prices for used equipment make the basic tools easily affordable. Go over to stores like KAMERASTORE in Finland, MPB or KEH to see what they have in stock. So affordability can be one of the main factors to get started with this method. What drove me into this direction was also the fact that I can start simple and cheap and improve my setup over time. Its fully modular, so if I happen to own a new camera body this will upgrade my system as well as buying a new lens etc. I don't have to deal with old software and equipment that is prone to fail or buy a new scanner once it becomes available. I can just easily incorporate my digital system into this workflow. For me that is one of the major benefits of camera scanning. At this point I also wanted to mention that I am quite disappointed by big manufactures that they just missed out the big desire for a good and modern film scanners. It seems like all systems on the marked are old and slow and nobody comes up with good and new solutions.
Benefits
The benefits of this approach are the low starting costs and the modularity of this approach. I highly appreciate that I now have all artistic decisions in my own hands! This is a challenge to be honest as this freedom can be overwhelming. Even with my limited experience in camera scanning I can already say that despite my somewhat aged Fujifilm X-Pro2 which I currently use in my setup, image quality is at least comparable with results I get from my scanners. With a better lens or even a higher quality sensor I am sure I can improve detail rendering even further. The last point I want to mention is speed! Scanning a roll of 35mm film is super fast. I would say it doesn't take longer than 5 minutes for the scanning process. Of course you also need some time to finally edit all those scans, but all in all, the time required is minimal.
Drawbacks
Unfortunately there are some drawbacks and it won't be fair to not mention them. First of all the highly praised image quality of a camera scan can only be achieved if some challenges that come along are tackled correctly:
You need to assure perfect film flatness and precisely align the camera parallel to the film. Otherwise you will see problems when it comes to image sharpness and distortion. However these problems can be tamed by getting some high quality scanning equipment from several companies that meanwhile specialized on such tools.
But even with the best tools at hand you still need to make yourself acquainted with the process and this learning curve can be frustrating initially. But I'll promise, once you have managed to get beyond the initial problems the results will be worth the hassle.
So image quality is not only described by perfect grain rendering and sharpness, it is also a matter of how the light that shines through the negative is rendered on the sensor. So far the esthetics of a Fuji Frontier scan are not yet matched and I even doubt that this is possible. So we need to accept that those camera scans have a different appeal and esthetic quality than the scans we get from our labs.
One other key problem is a good and consistent light source. Fortunately those are also available nowadays. LED technology makes them super precise when it comes to light quality. There are solutions with 99 CRI that provide almost perfect color consistency in the light source.
One last important drawback is the missing infrared channel which can be used for correcting image defects in many scanners. This technology is called digital ICE and is available in most scanners. However good and proper film handling can avoid most dust problems. Some final spotting and dust removal is mostly required.
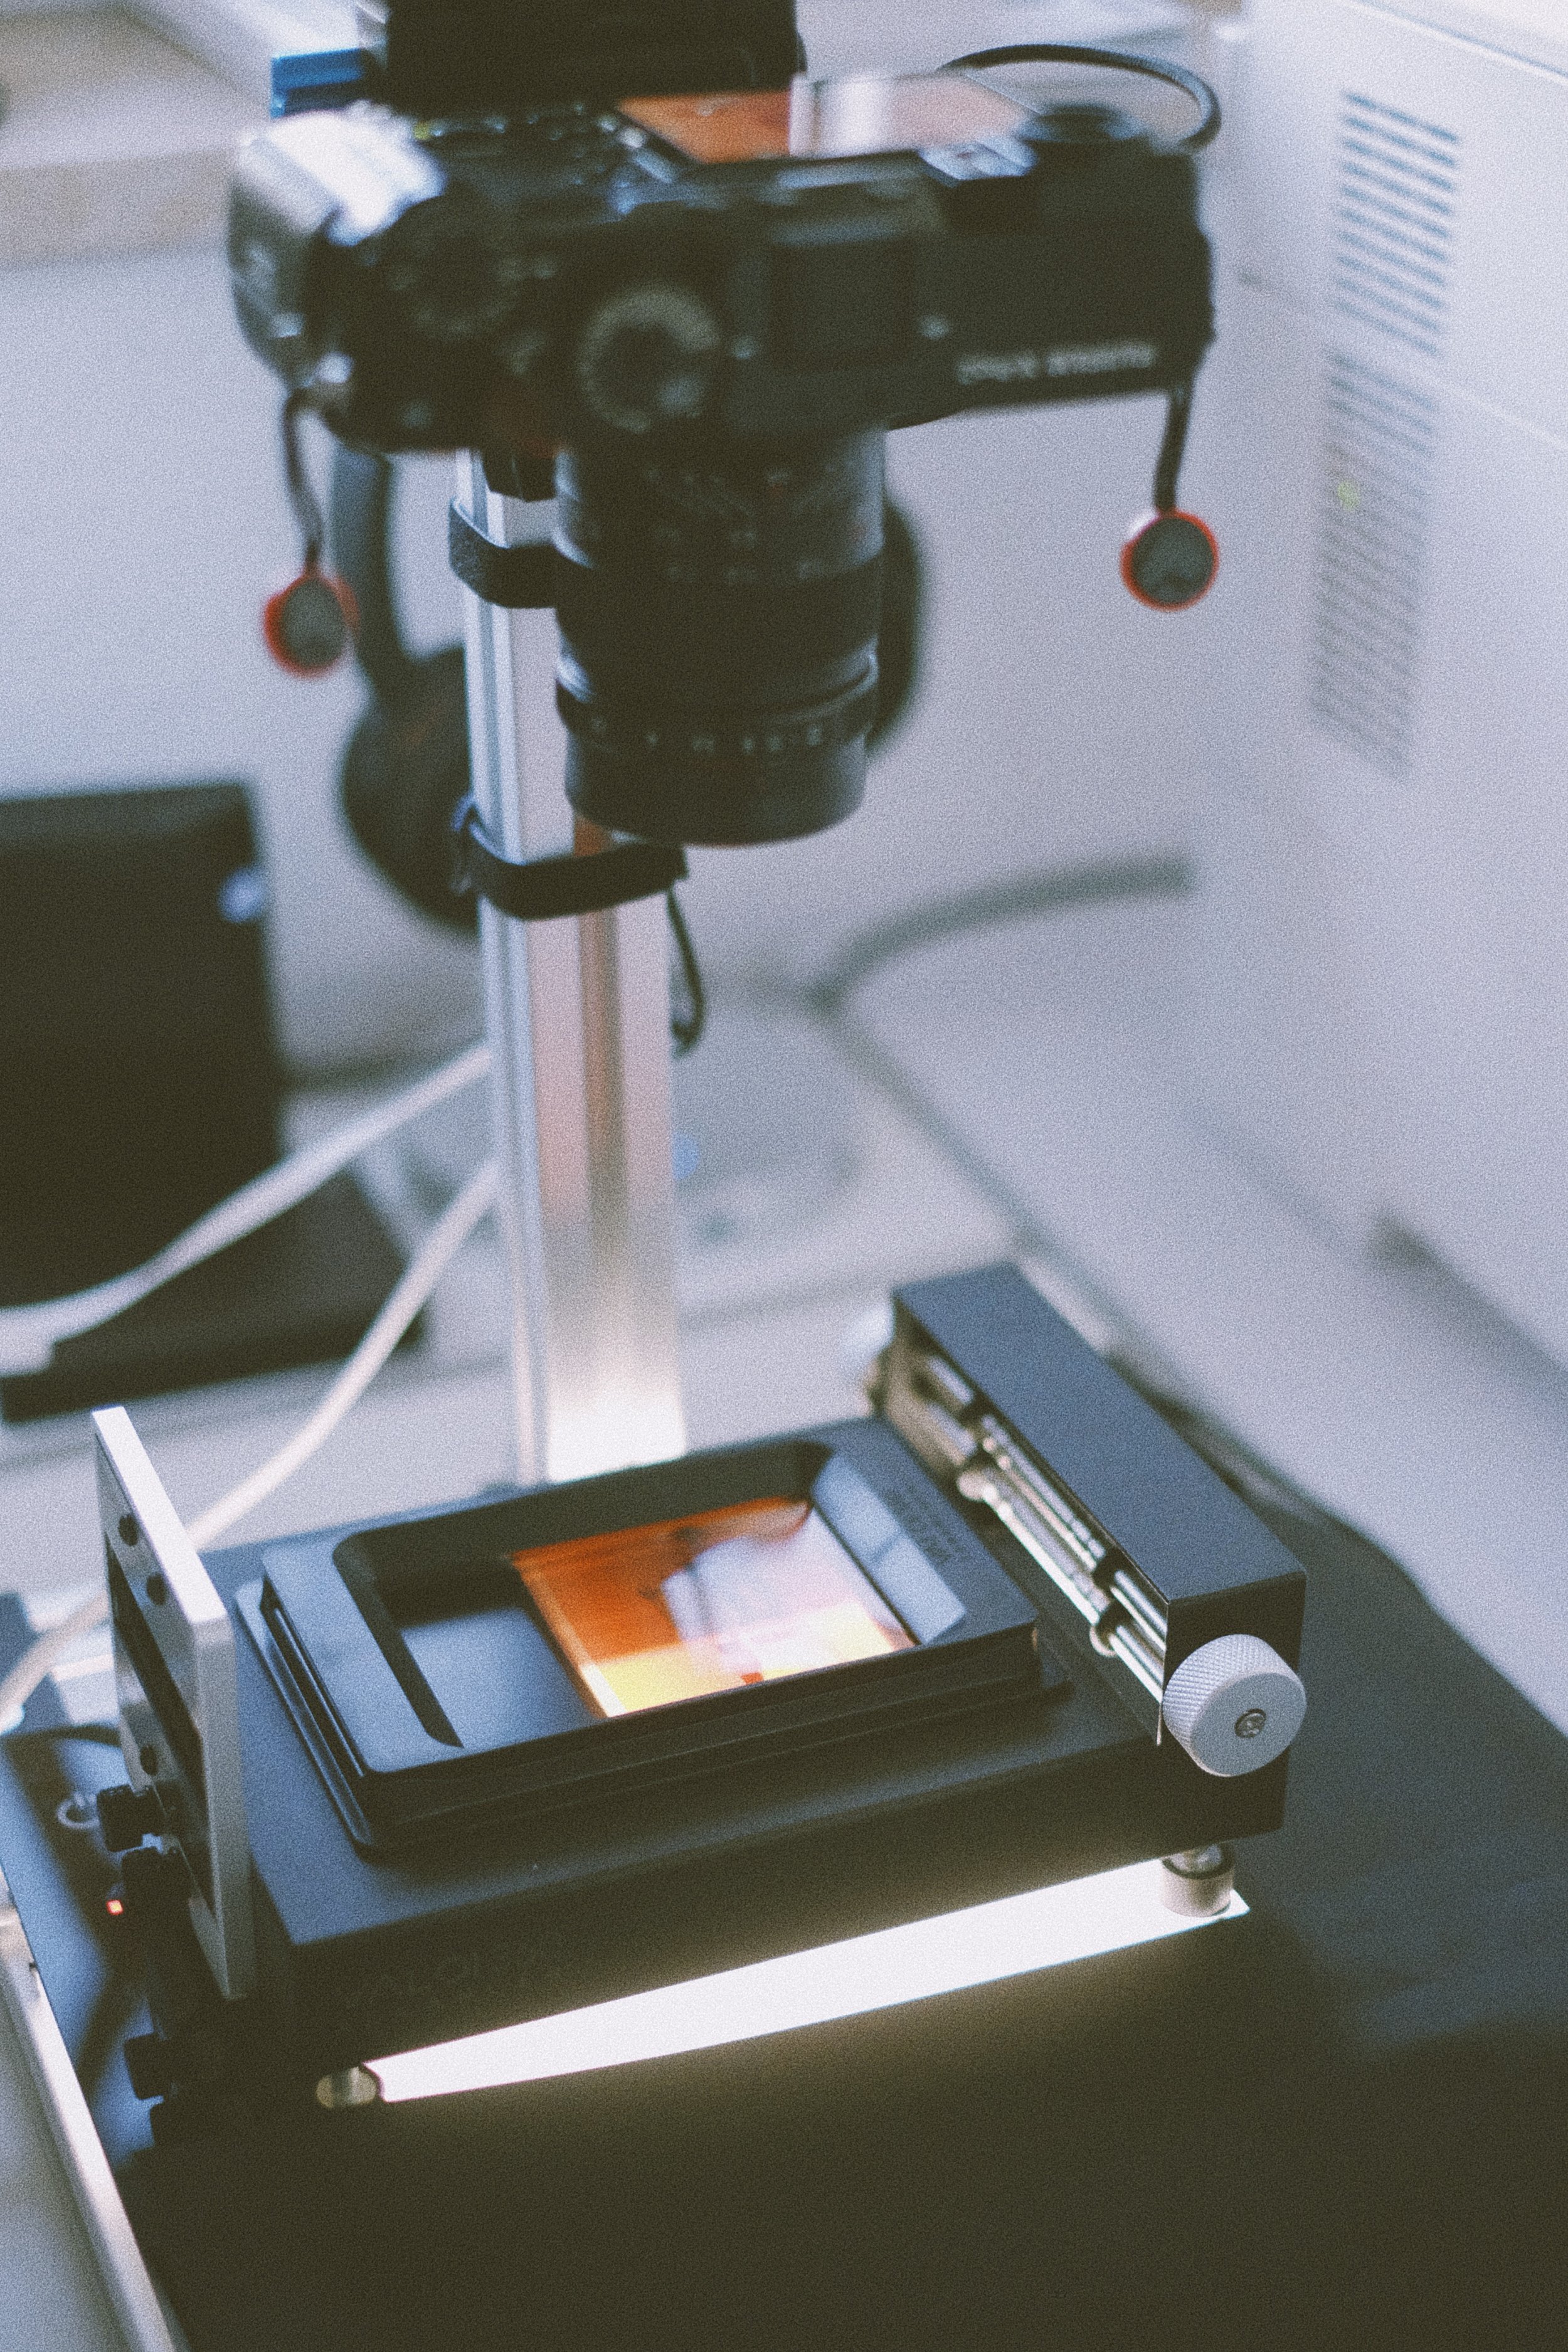
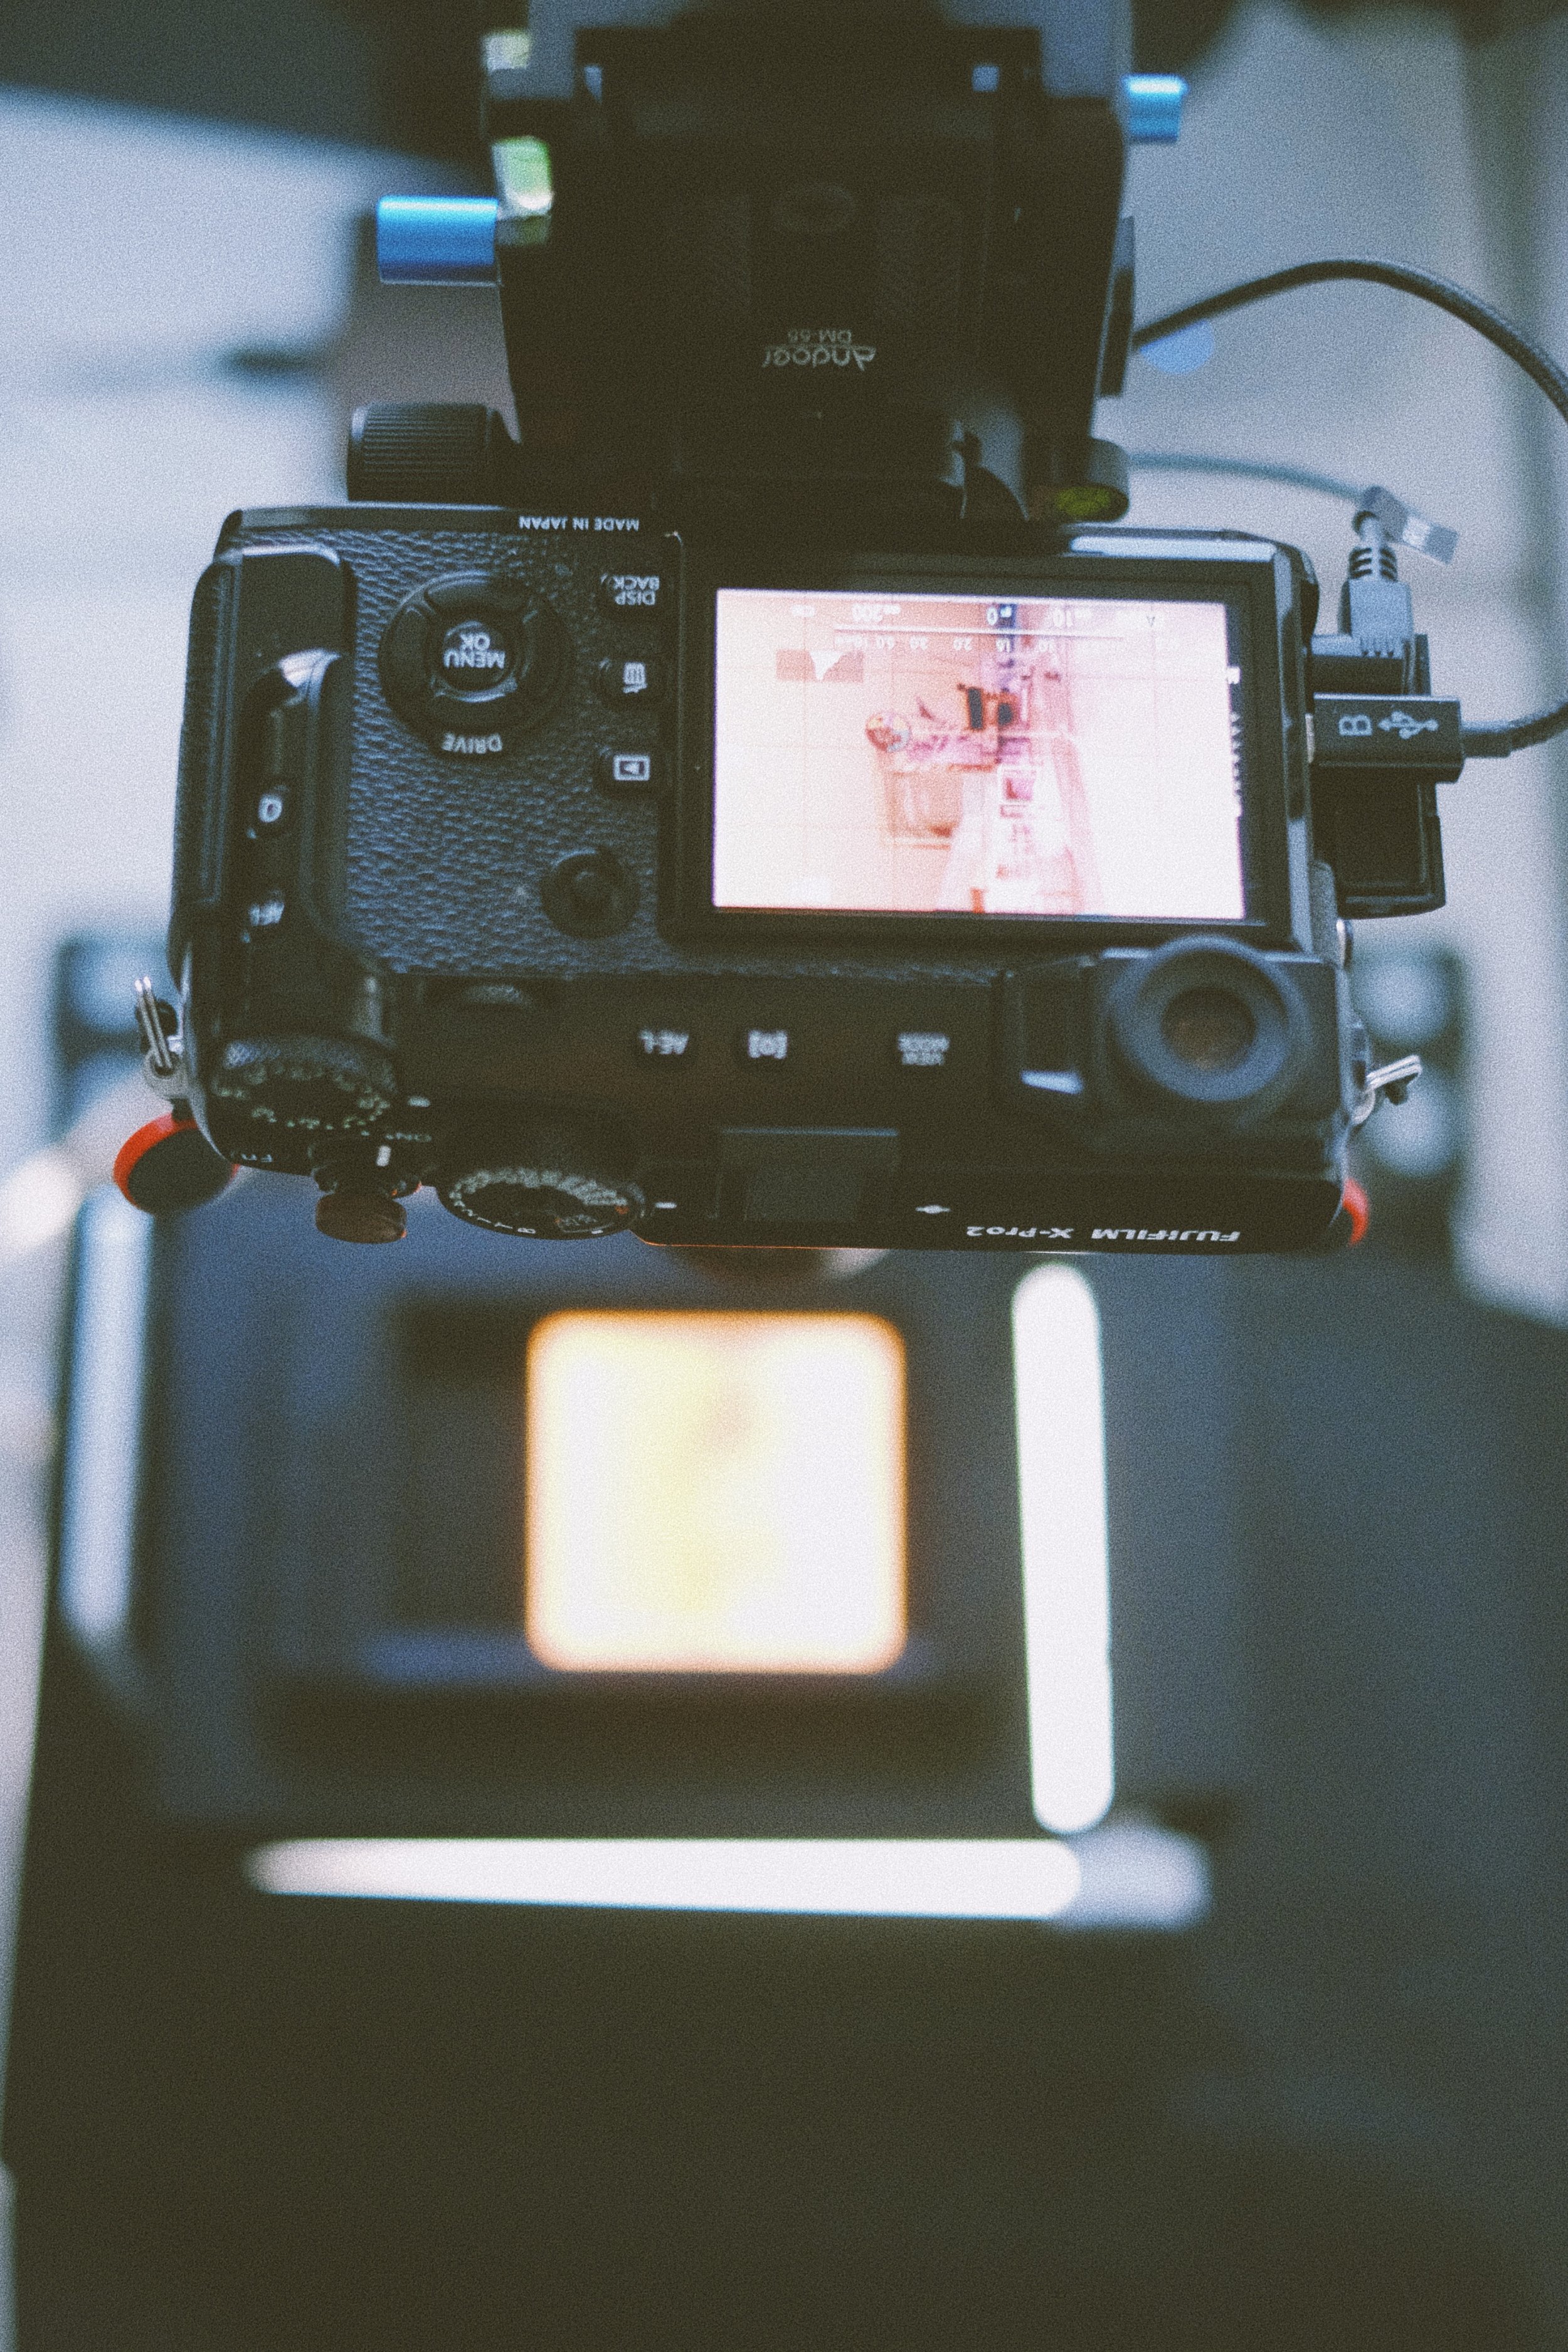
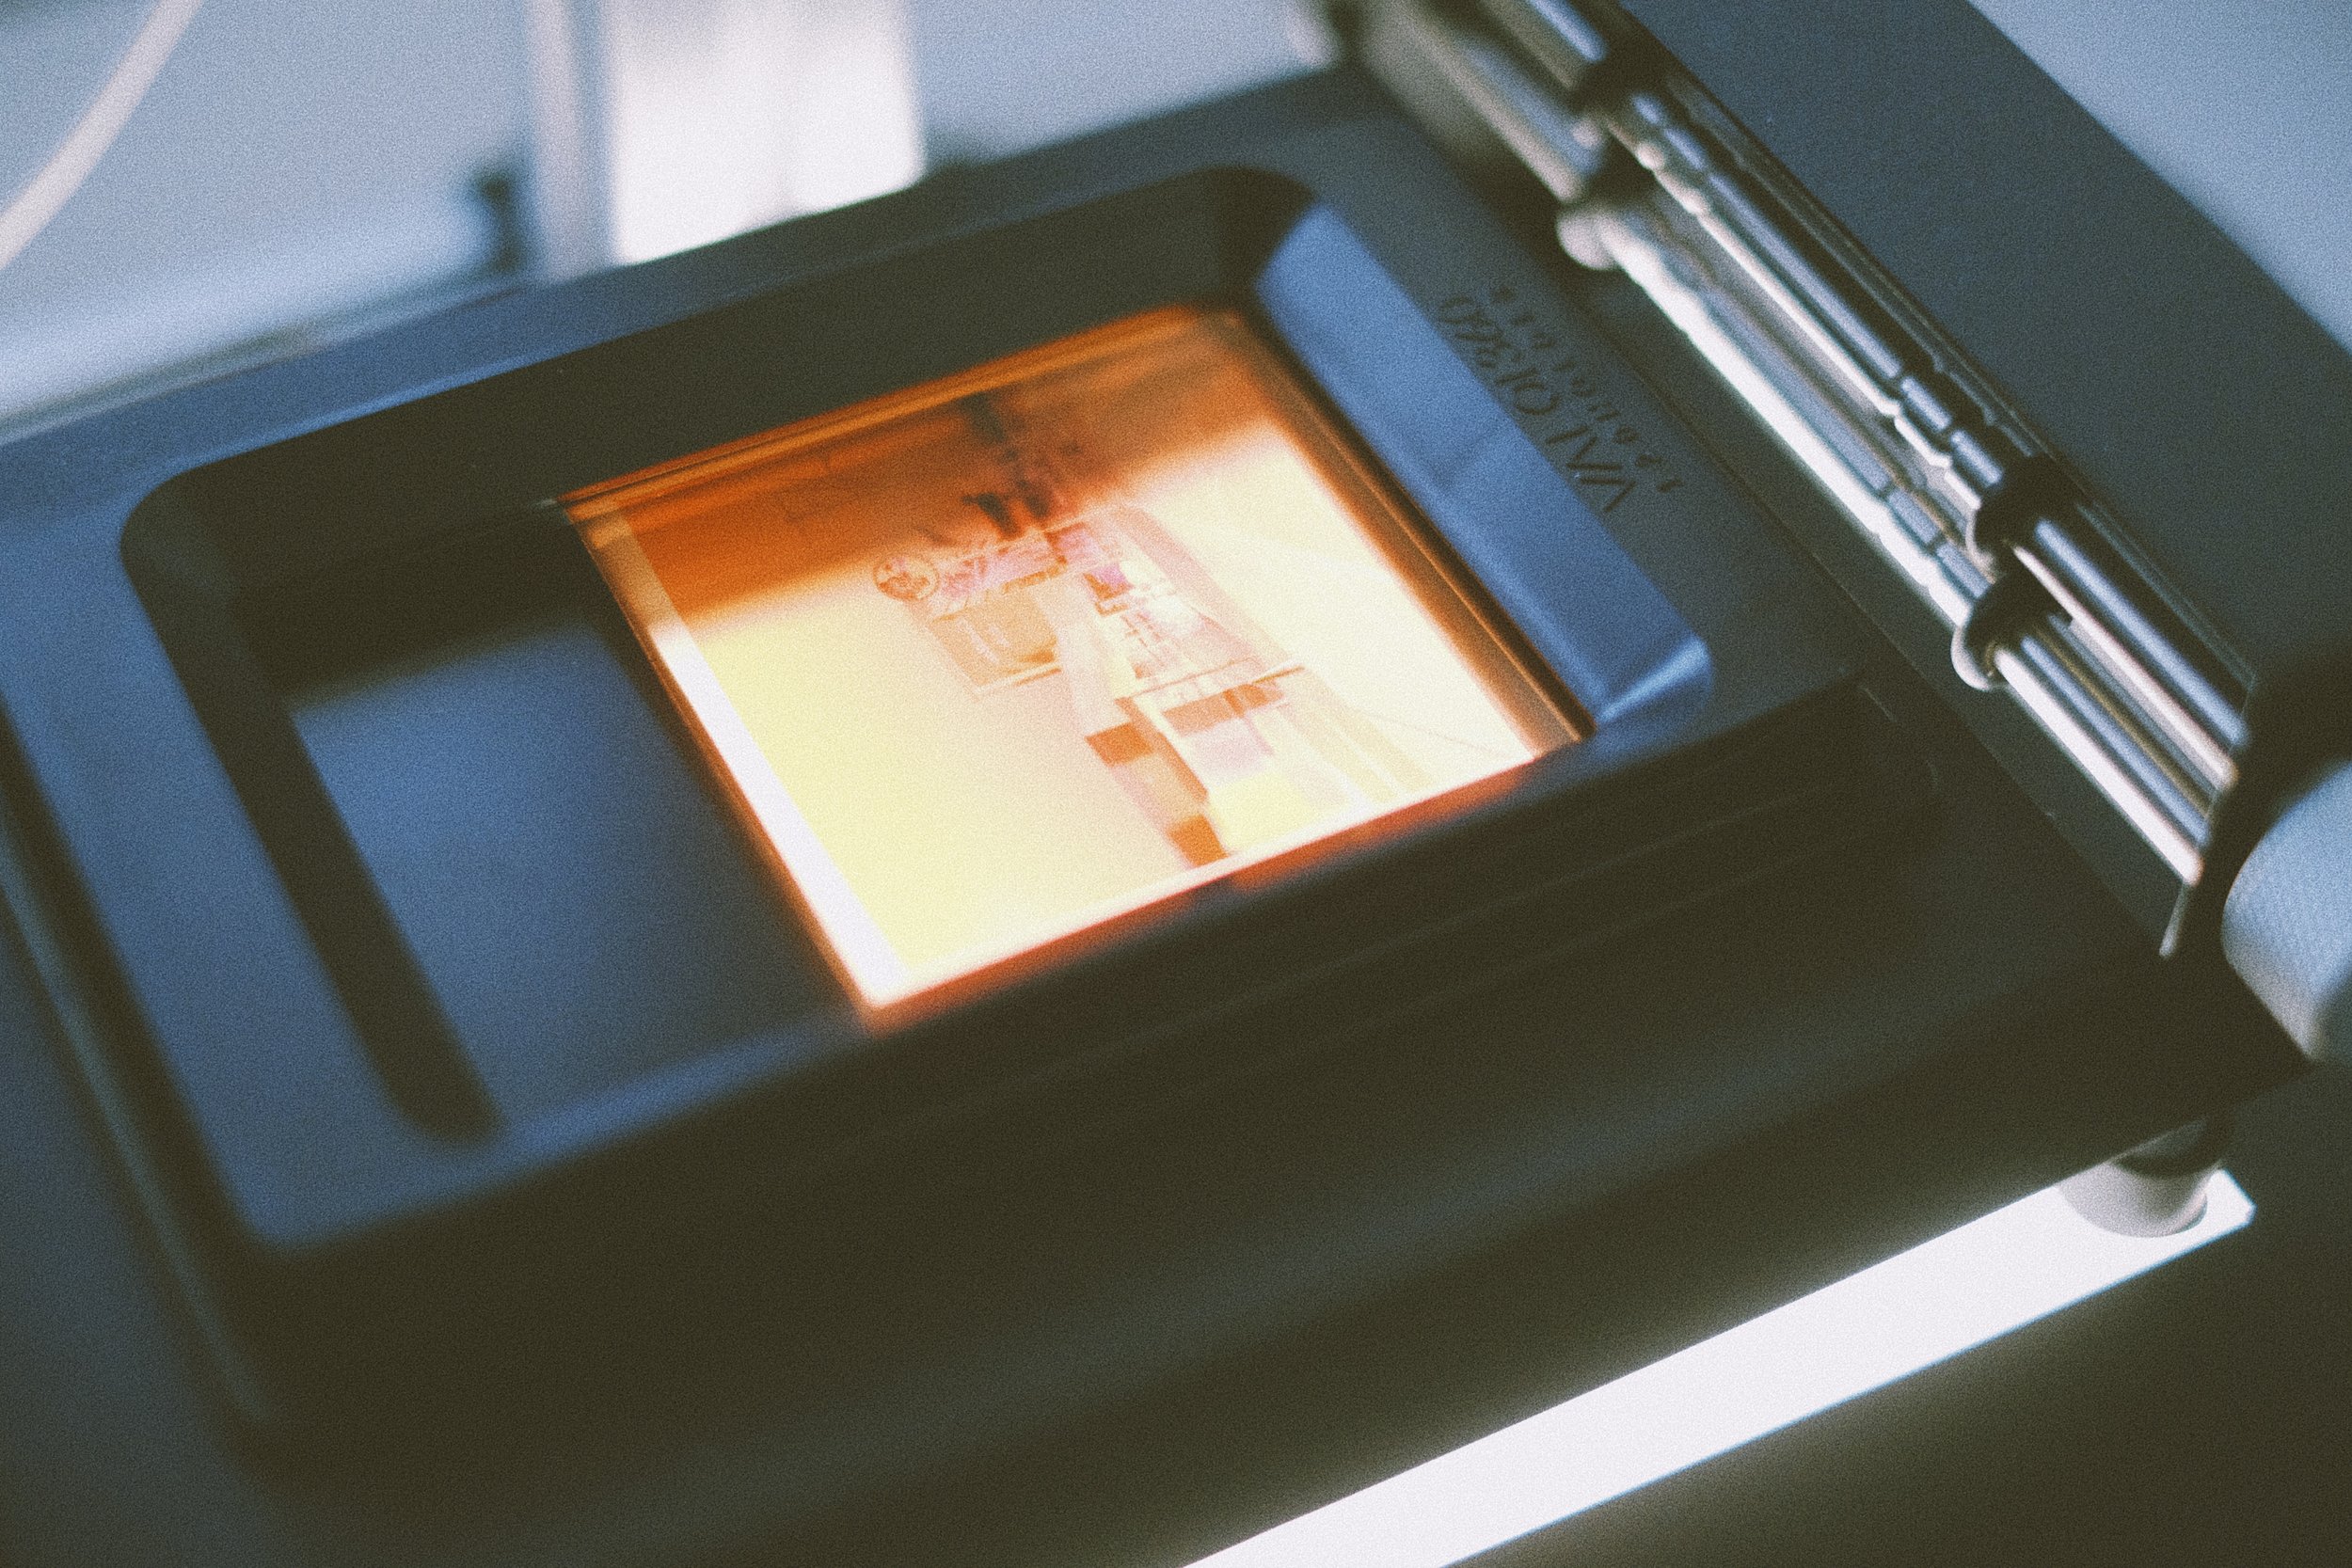
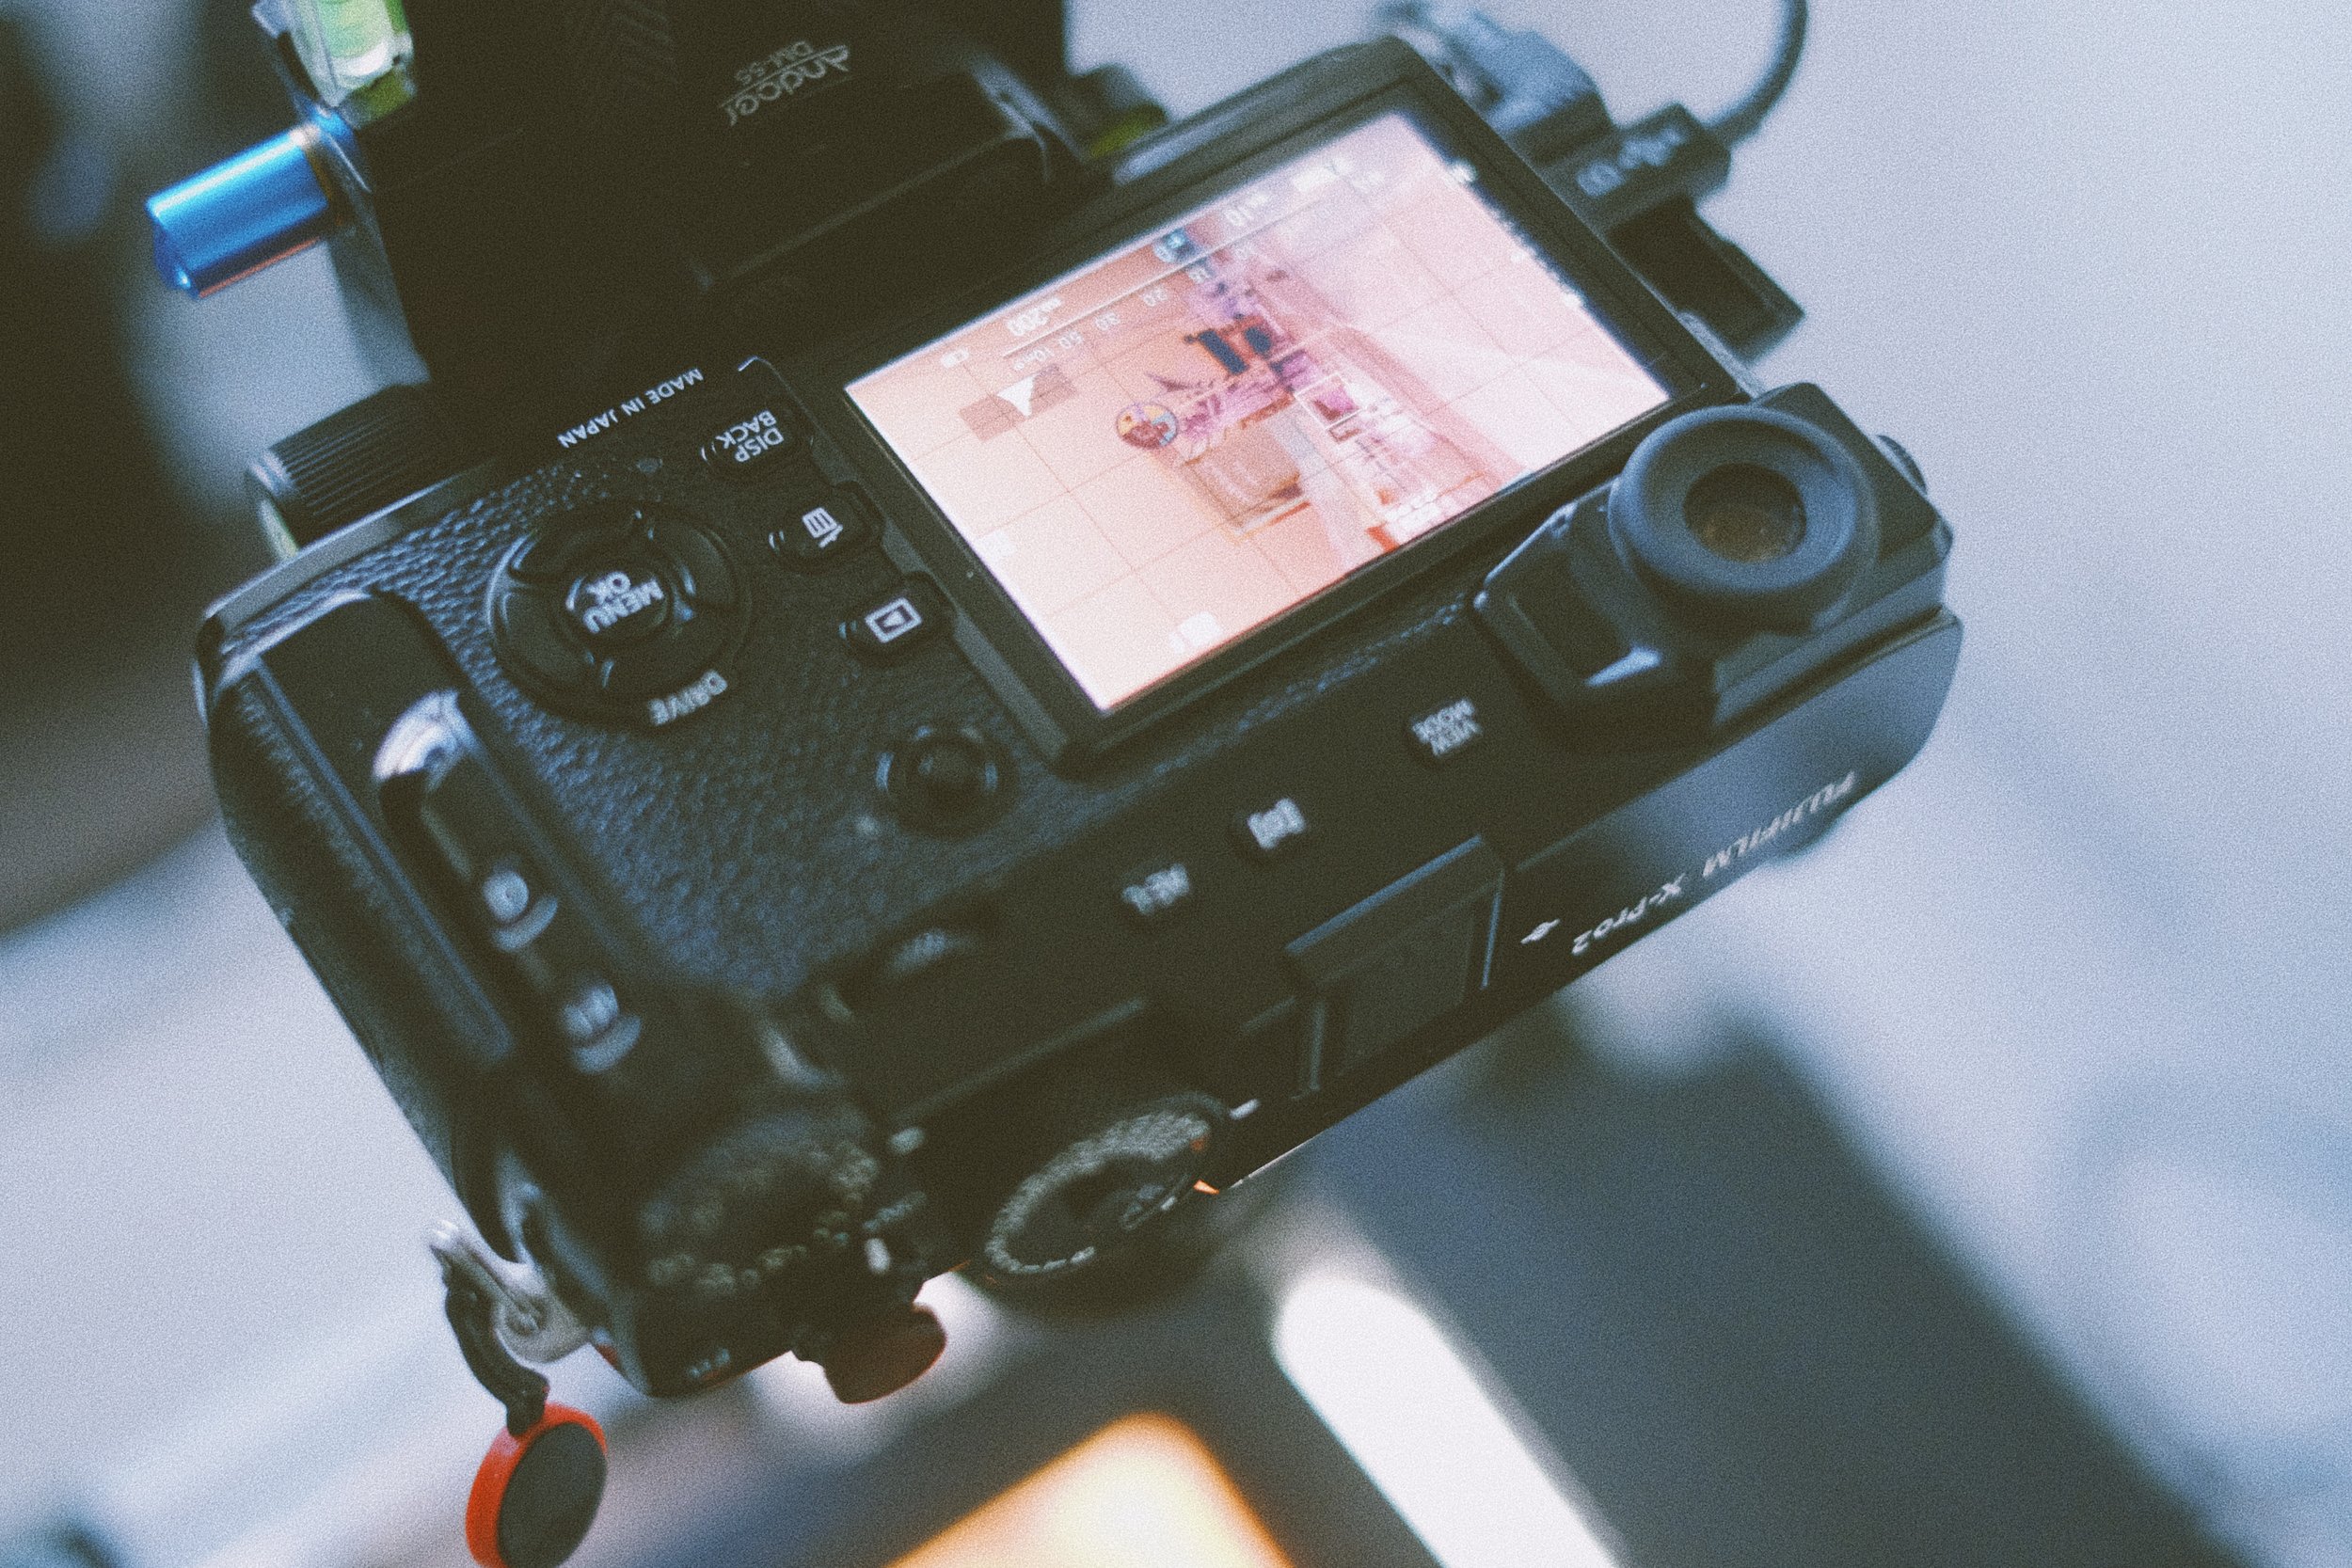
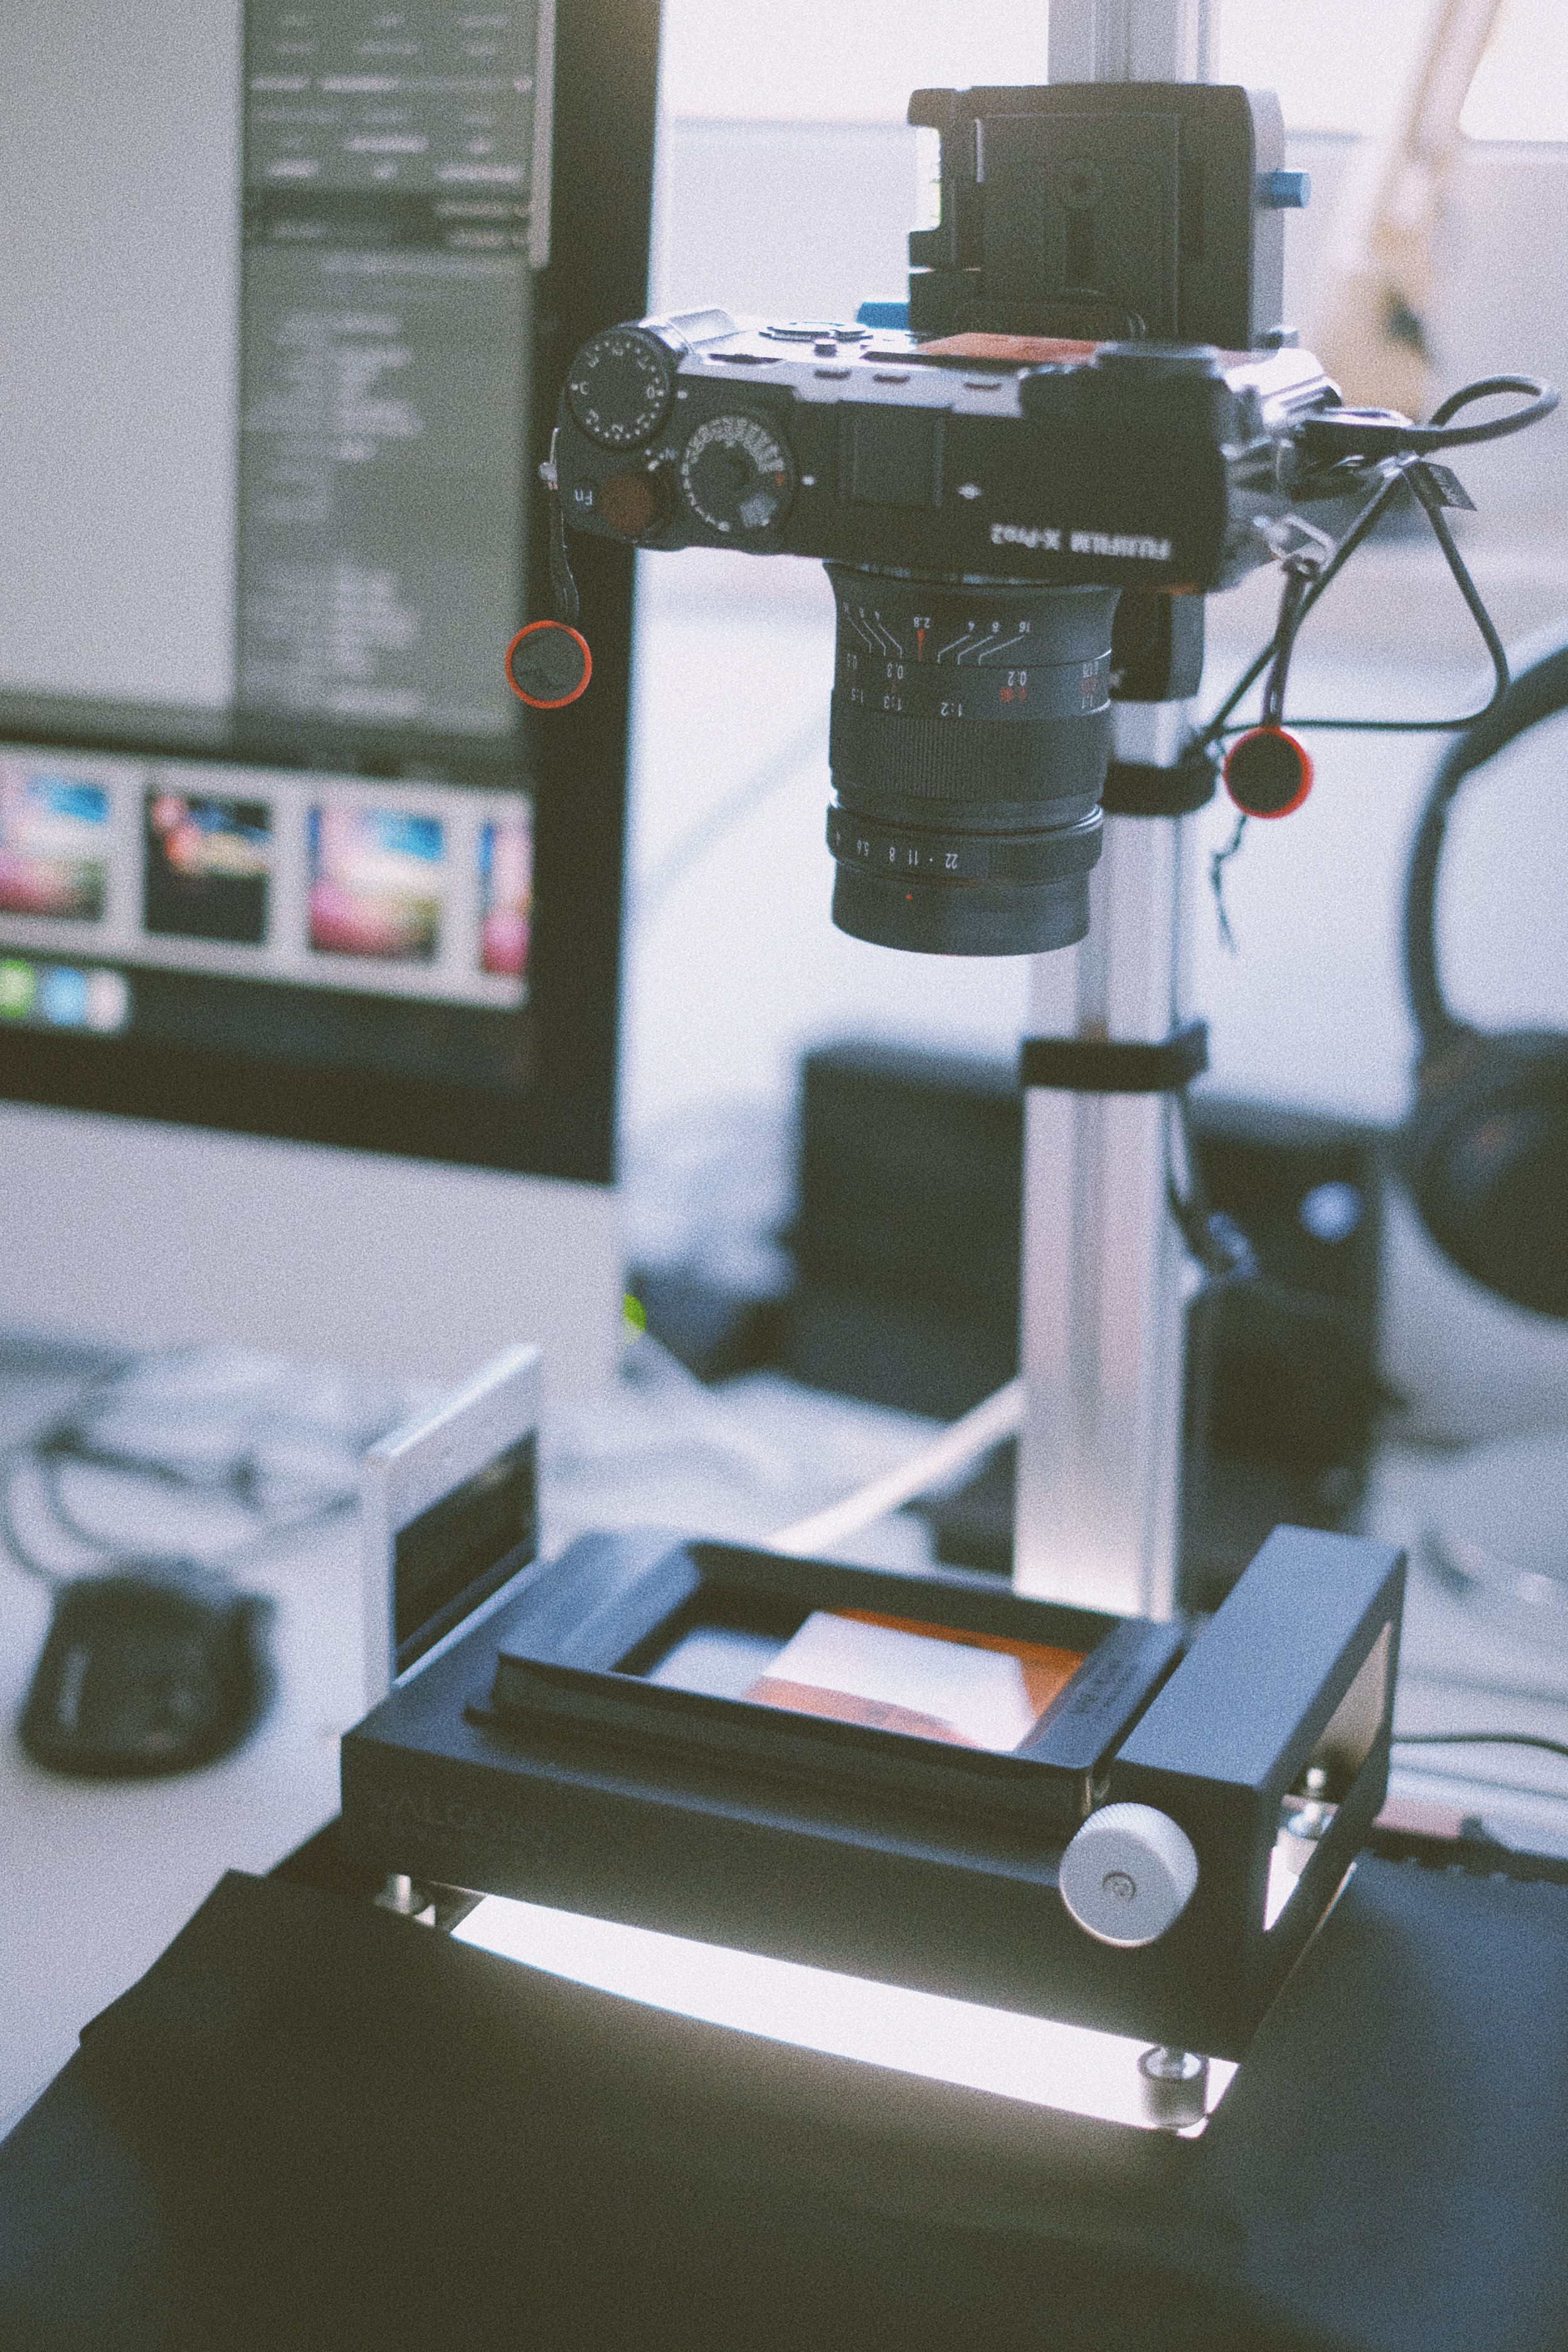
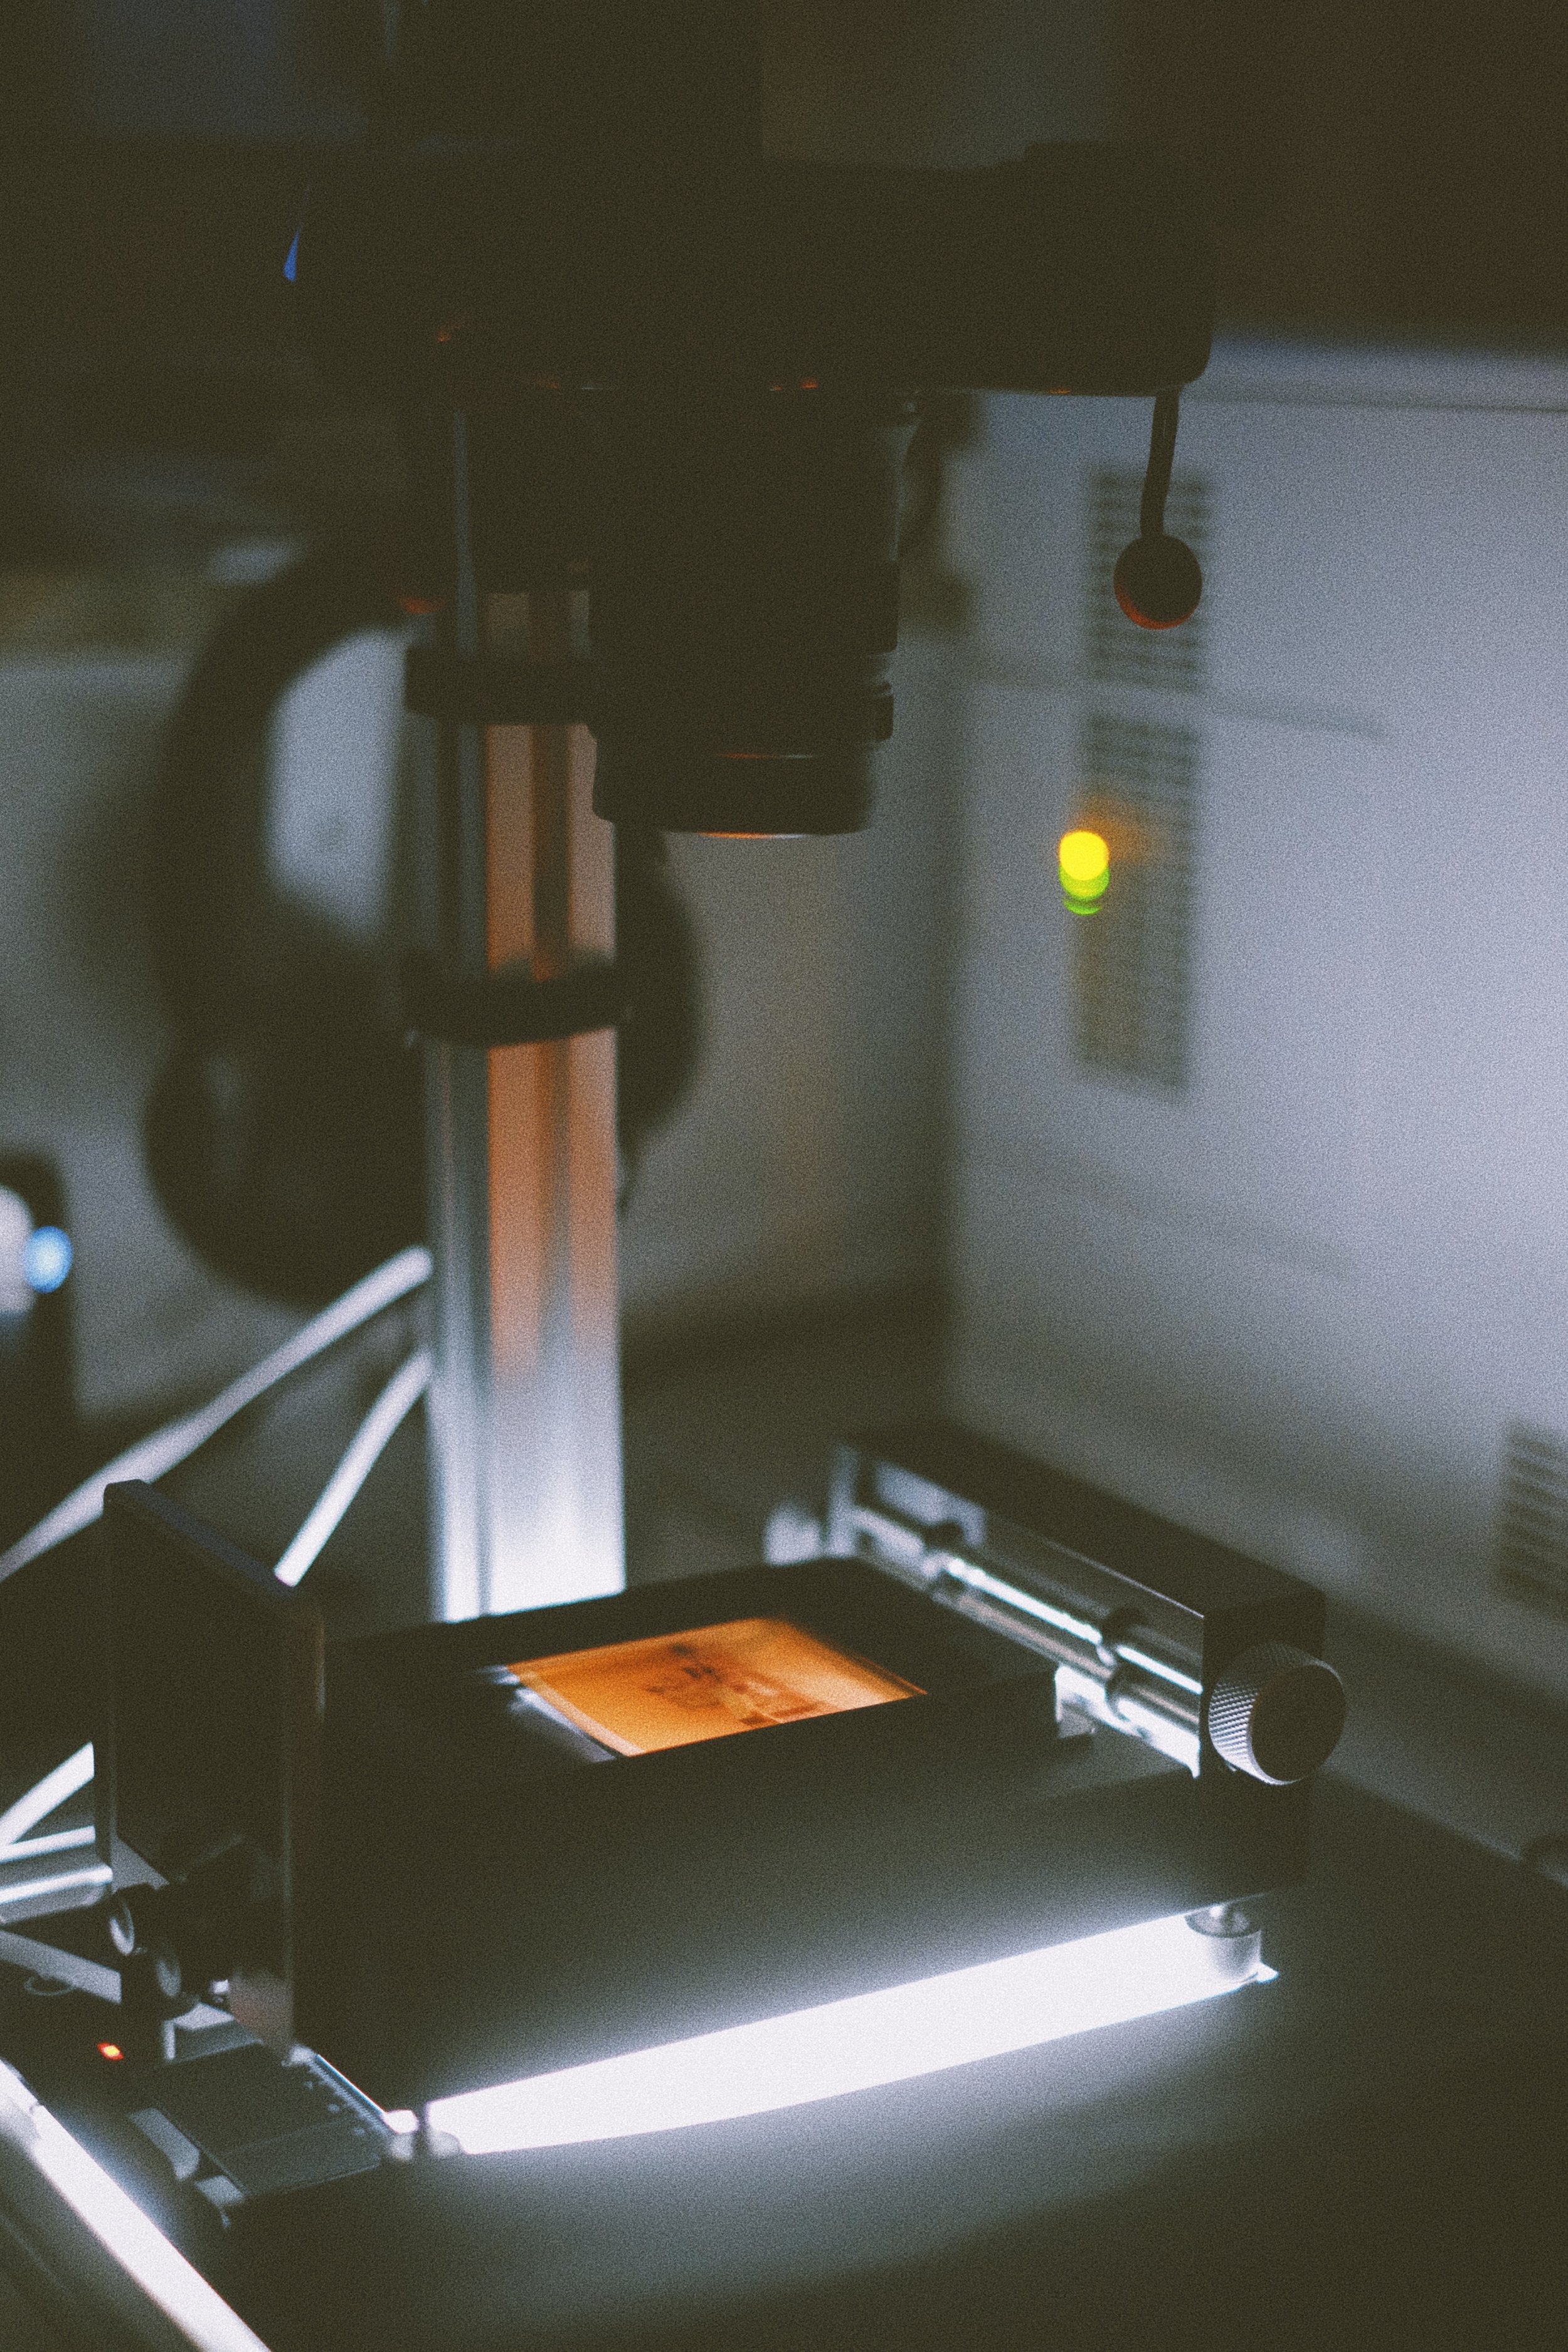
I am using my trusty old Fujifilm X-Pro2 and a 7Artisan 60mm macros lens. The film holder is from a Finish startup called Valoi.
Negative conversion
The biggest issue I had doing camera scans in the past was proper negative conversion. I used to do this either in Lightroom or with more sophisticated tools in Photoshop. However results were never constant. The process of converting a digital negative into a positive is highly complicated and goes far beyond simply inverting the curves. The analog printing process needs to be emulated otherwise you get weird looking results. Today there are two apps worth to mention that help us with that process. One is the standalone app "Film Lab" from a company called Develop+Fix and a Lightroom plugin called Negative Lab Pro. Both are worth to check and give them a try. I have already used Negative Lab Pro to convert scans from my Epson V700 scanner and was quite satisfied with the final result. It easily integrates into a camera scanning workflow. At a later stage I will get closer into how to use the plugin and maybe even do a short comparison between those two tools. For now I just wanted to mention them here as they play a crucial role in the whole process.
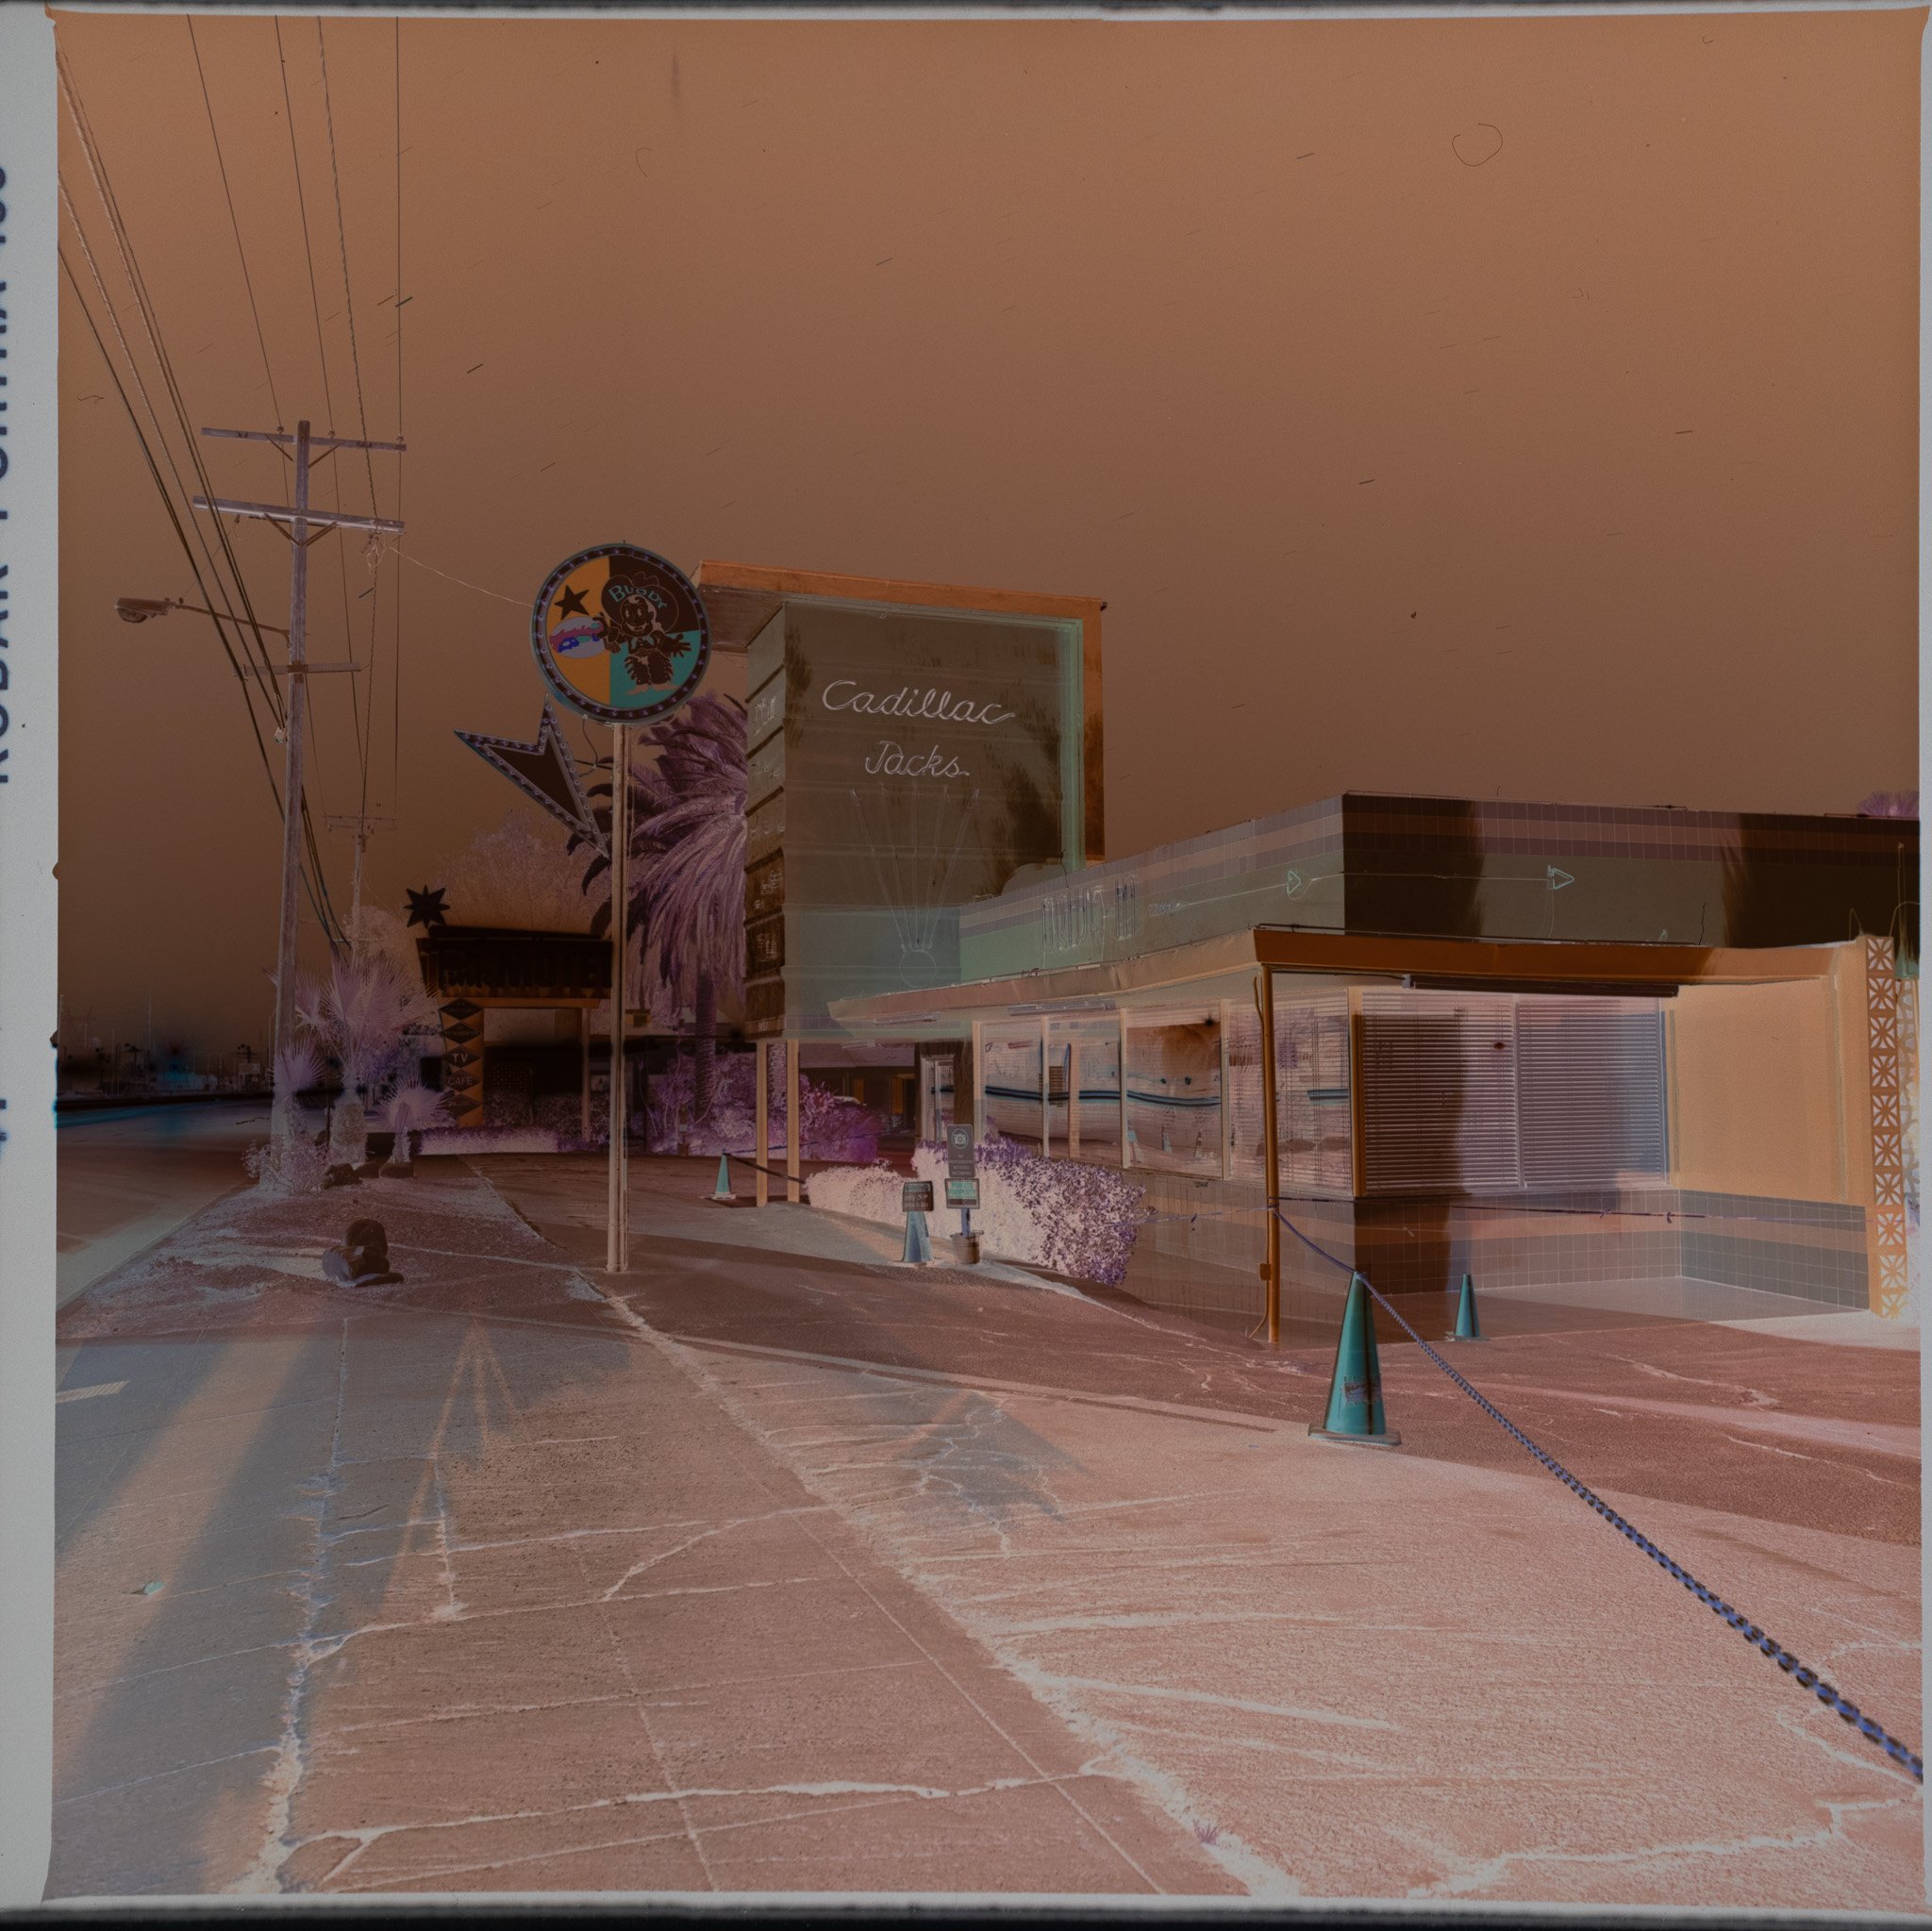
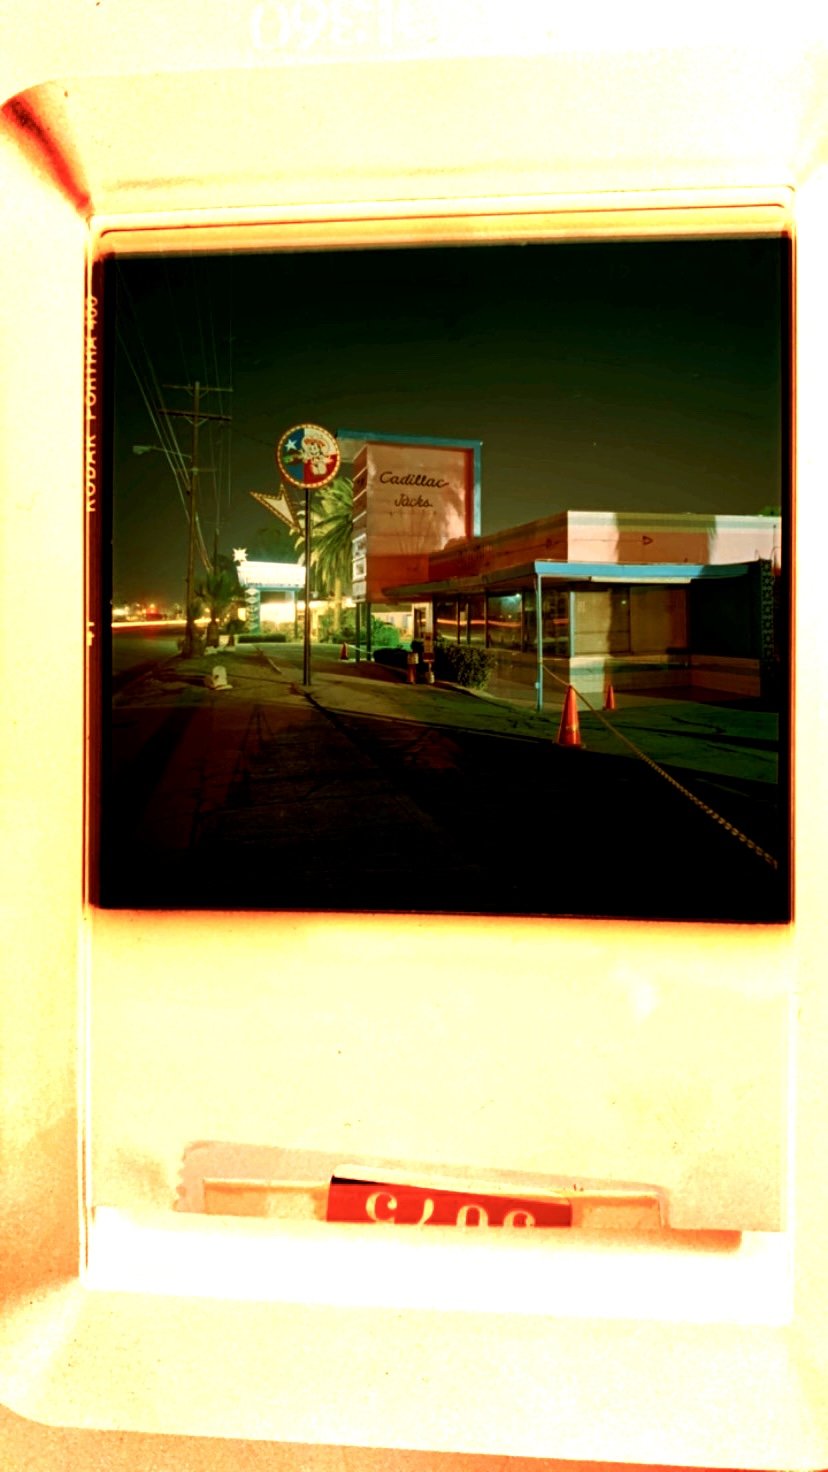
From left to right: the initial camera scan of the negative, simple preview with a smartphone app and the final straight forward conversion in Lightroom using the Negative Lab Pro plugin.
Companies dedicated to camera scanning
Meanwhile there are many products available for camera scanning including DIY mounting solutions at reasonable cost promoted by smart people who designed very helpful tools to get you started in camera scanning. Check out the ESSENTIAL FILM HOLDER by Andrew Clifforth for example. Or two other companies which make really high quality solutions for everything you need to get fantastic scanning results: the industry leader right now is Negative.Supply from California followed by a new company called VALOI from Finland that also designs a really amazing product. You can also find tons of information and helpful guides on their websites. It is definitely worth to check them out!
After this introduction I will go and take a deeper and closer look at the whole process in another blog post and I will also tell you more about how I started with my humble setup which I will gradually improve over time, so stay tuned for more information on camera scanning and analog photography here soon.


