Matting
Framing is an art form and not only because it requires some skills to frame a photography in order to look good without dust or lint on the picture, extensive knowledge about material and the process is required to do it 100% correctly. Conservatory framing requires material of archival quality. But all this is only true if you plan to present the artwork in the frame for a long time period. Exhibitions often dońt require this amount of effort and investment. Nevertheless I want my photographs to be presented in the best possible manner, therefore some care was required to do the matting and framing correctly.
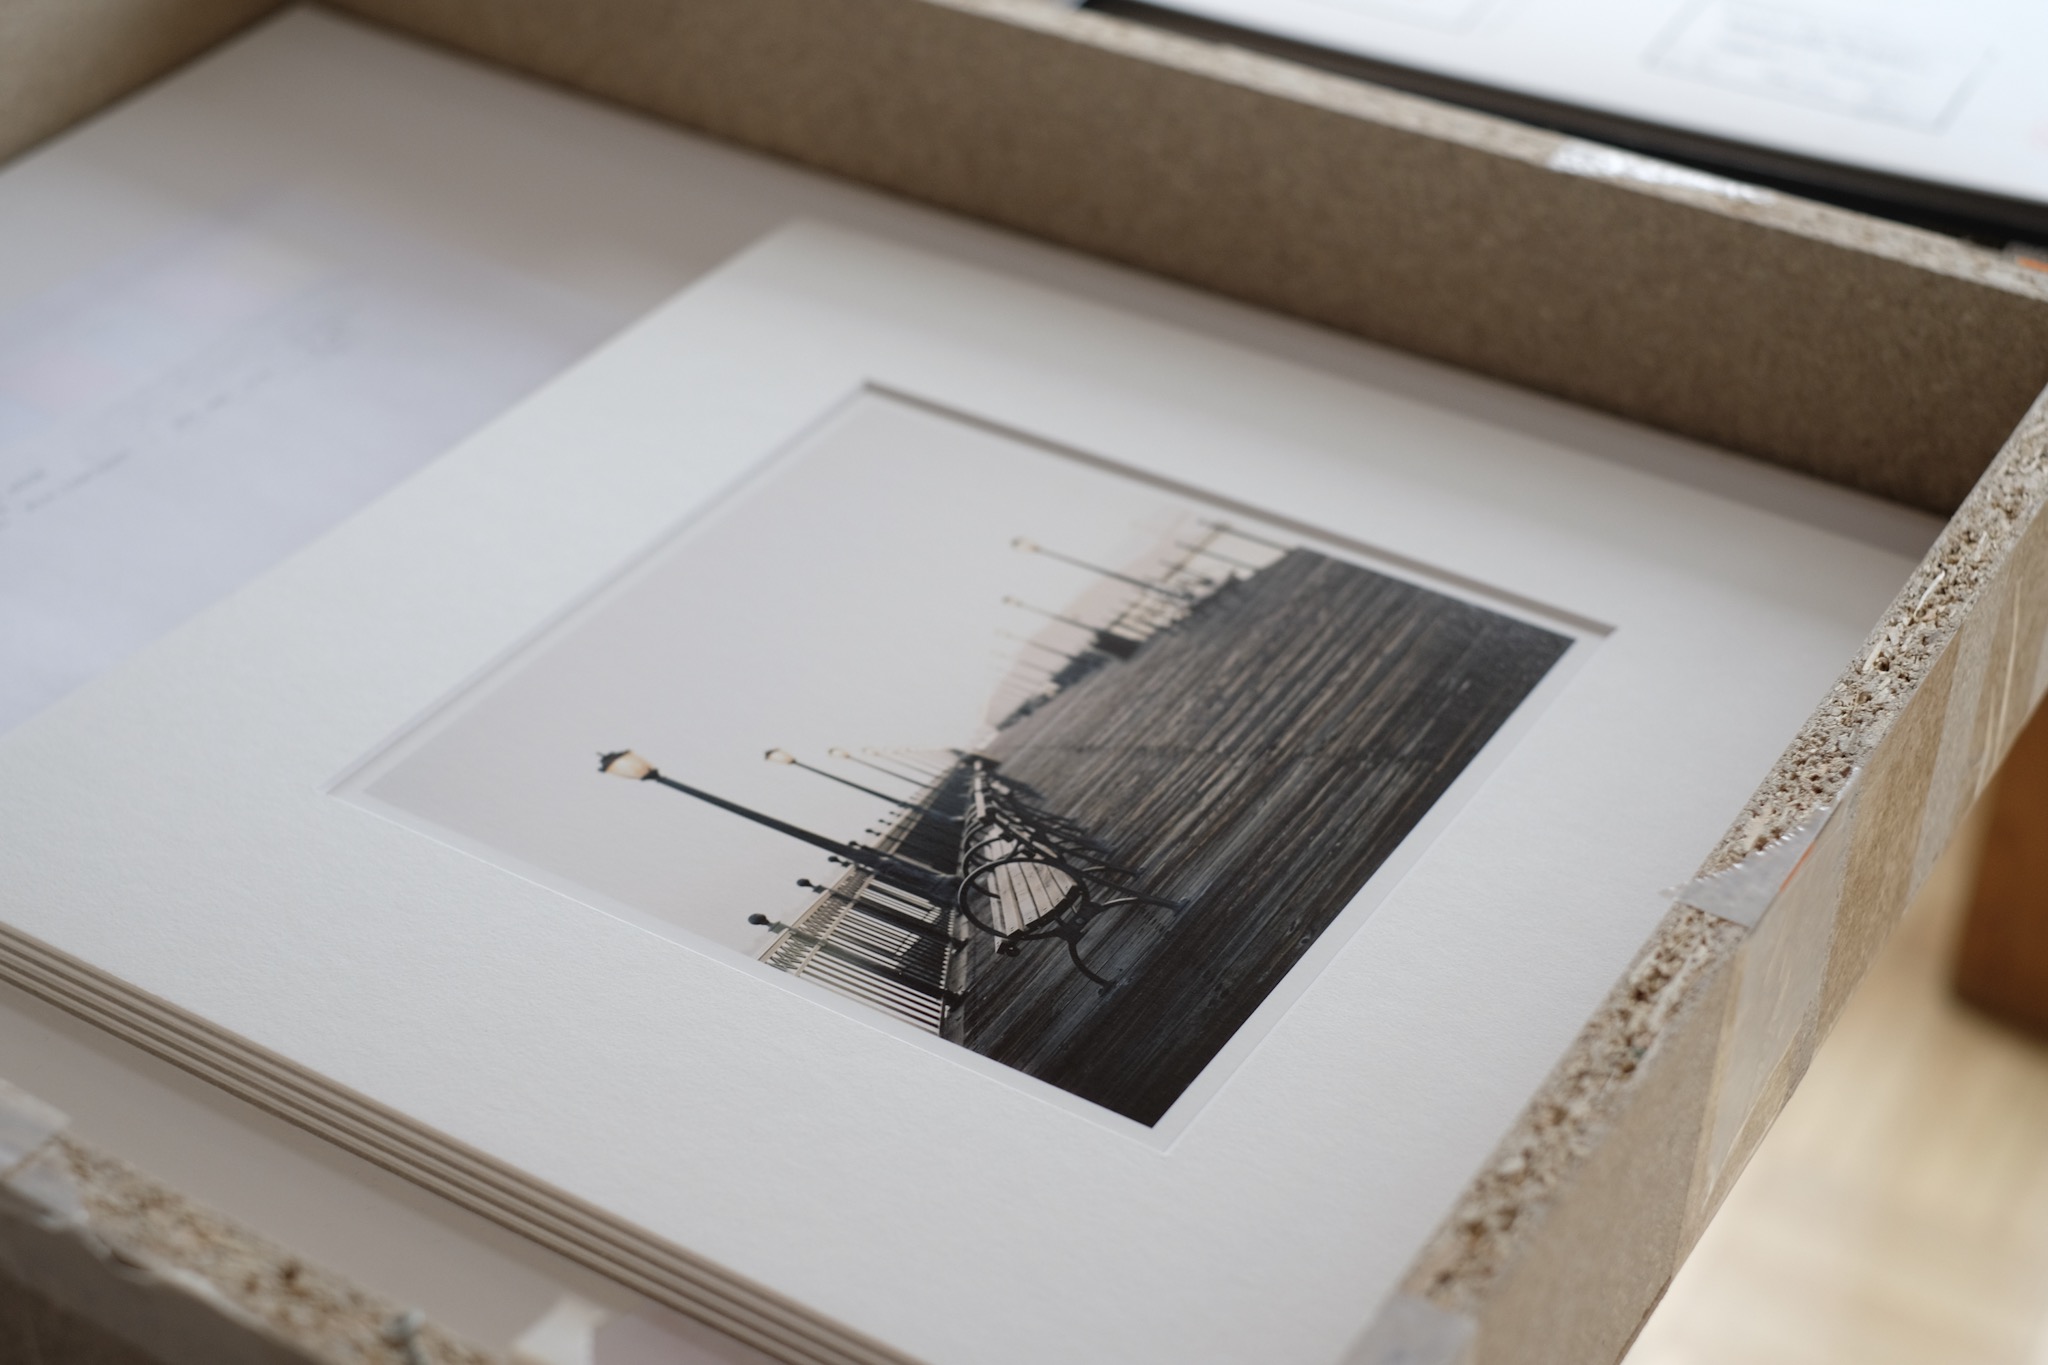
Most of my matting and framing material I get from the Passepartout-Werkstatt. This vendor sells perfectly cut matte boards in many different quality standards. For prints that I intent to sell, I chose the conservatory quality of the matte boards but for temporary display BEST quality is still way beyond the quality of simple standard matte boards. The material comes super nicely packed in a large wooden box. All cuts are at exact size without any spots or edges. I was super happy.
I mount the prints on a Museum quality cardboard. The matte boards is hinged with Filmoplast tape to the backboard. This allows easy positioning of the photograph. The print is attached to the board with Japanese hinging tape and a special technique known to me as T-type mounting. For a total of 35 prints this requires some time and I was happy once all the prints have been mounted successfully. My matte boards usually have 1cm larger cutout than required to cover the image, this allows an additional 5mm white boarder between the matte board and the print. I personally prefer this look as it allows a tighter connection between the surrounding material of the matte board and the paper. It also shows the quality of the paper.
Archival Framing
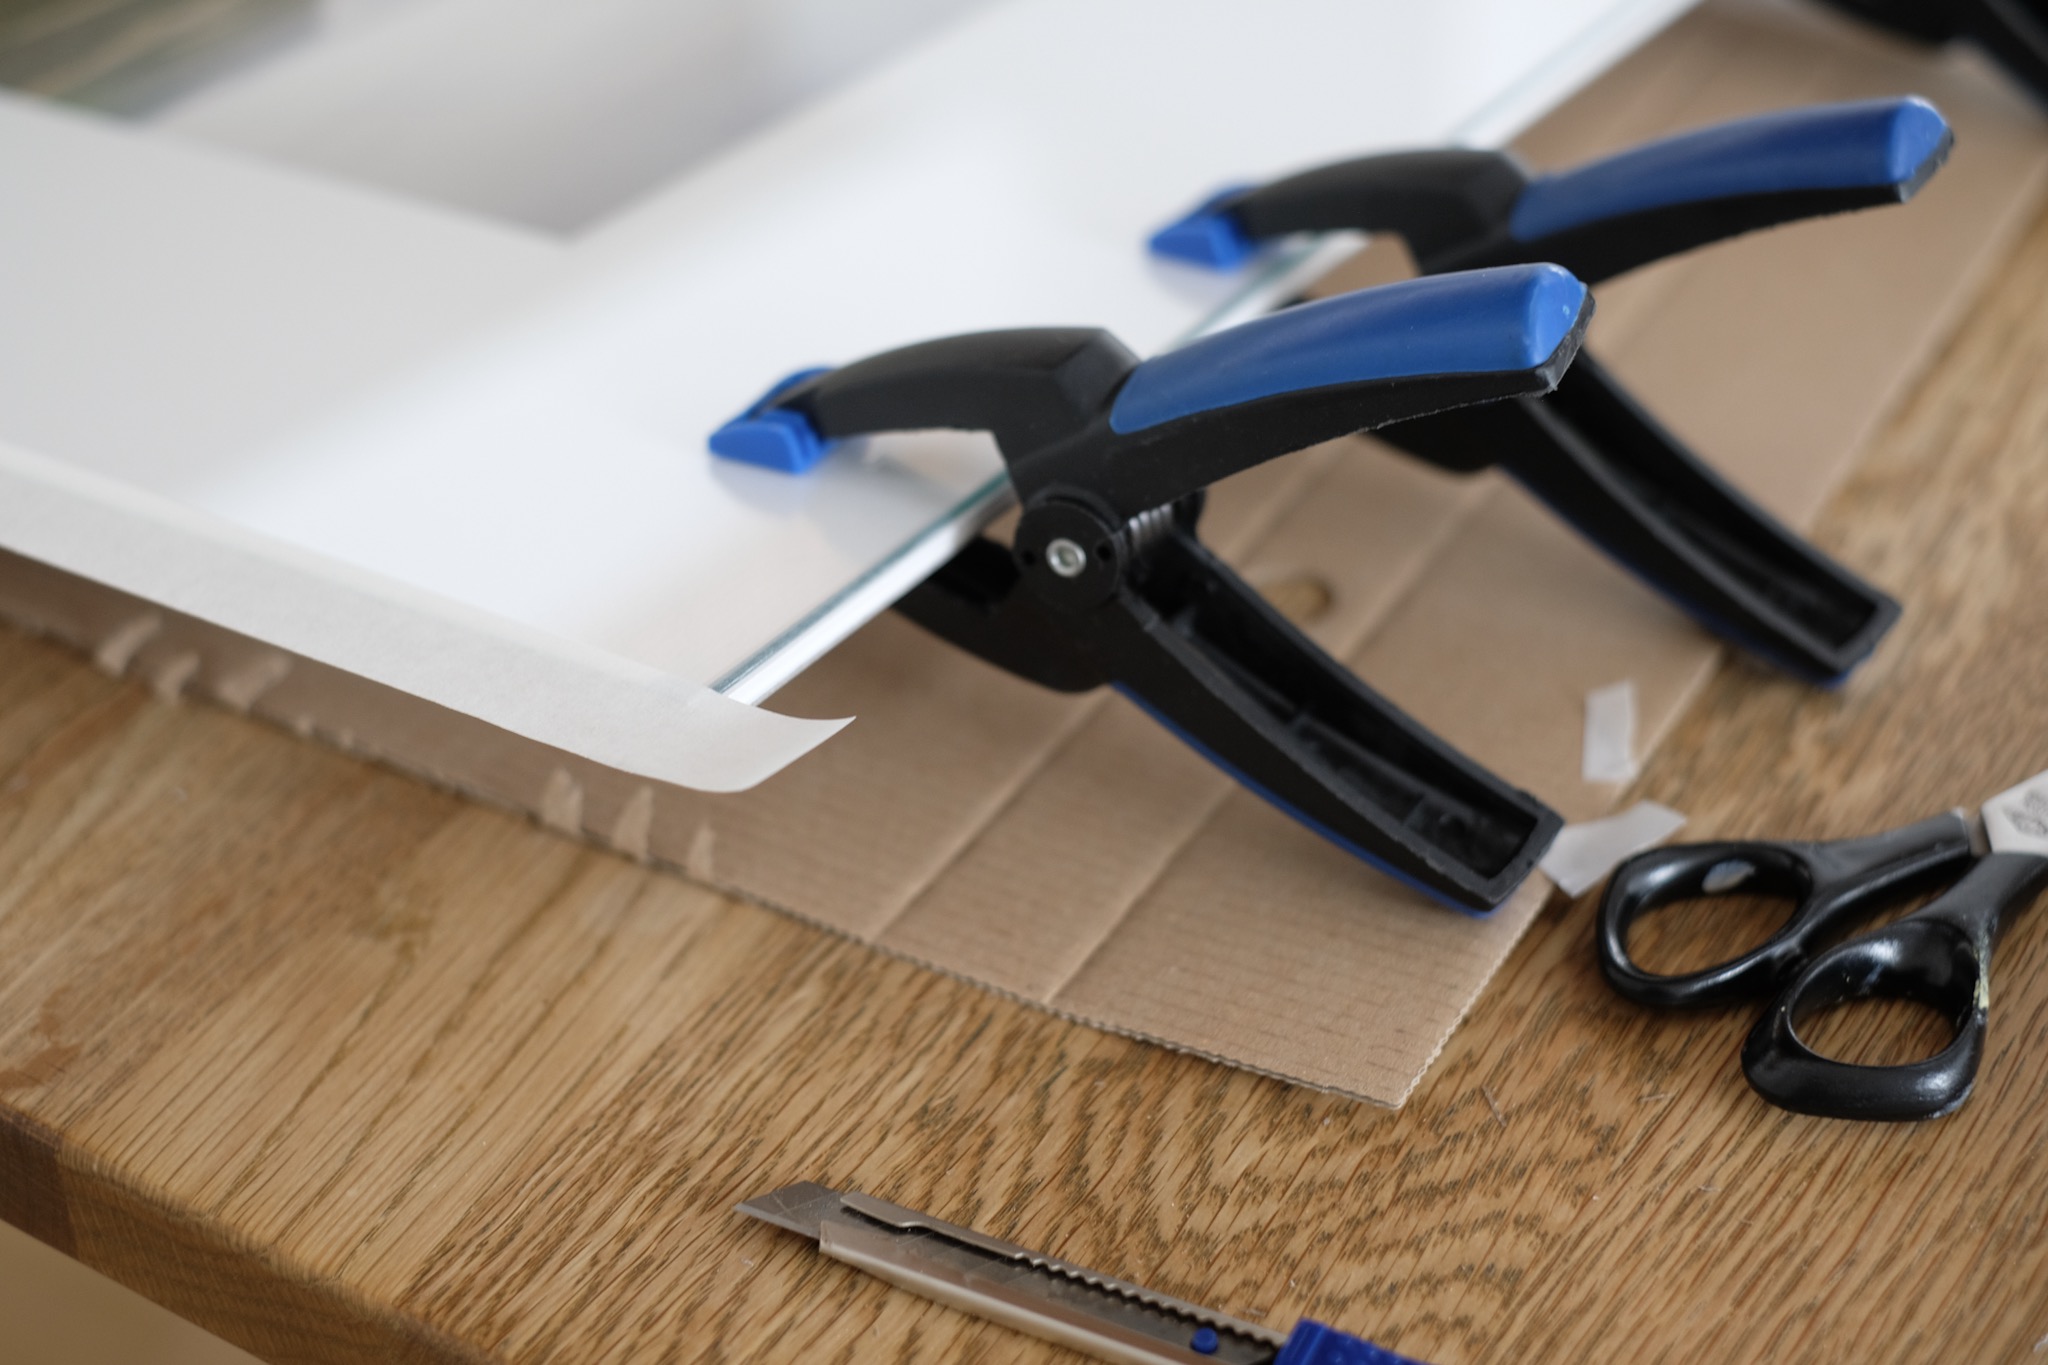
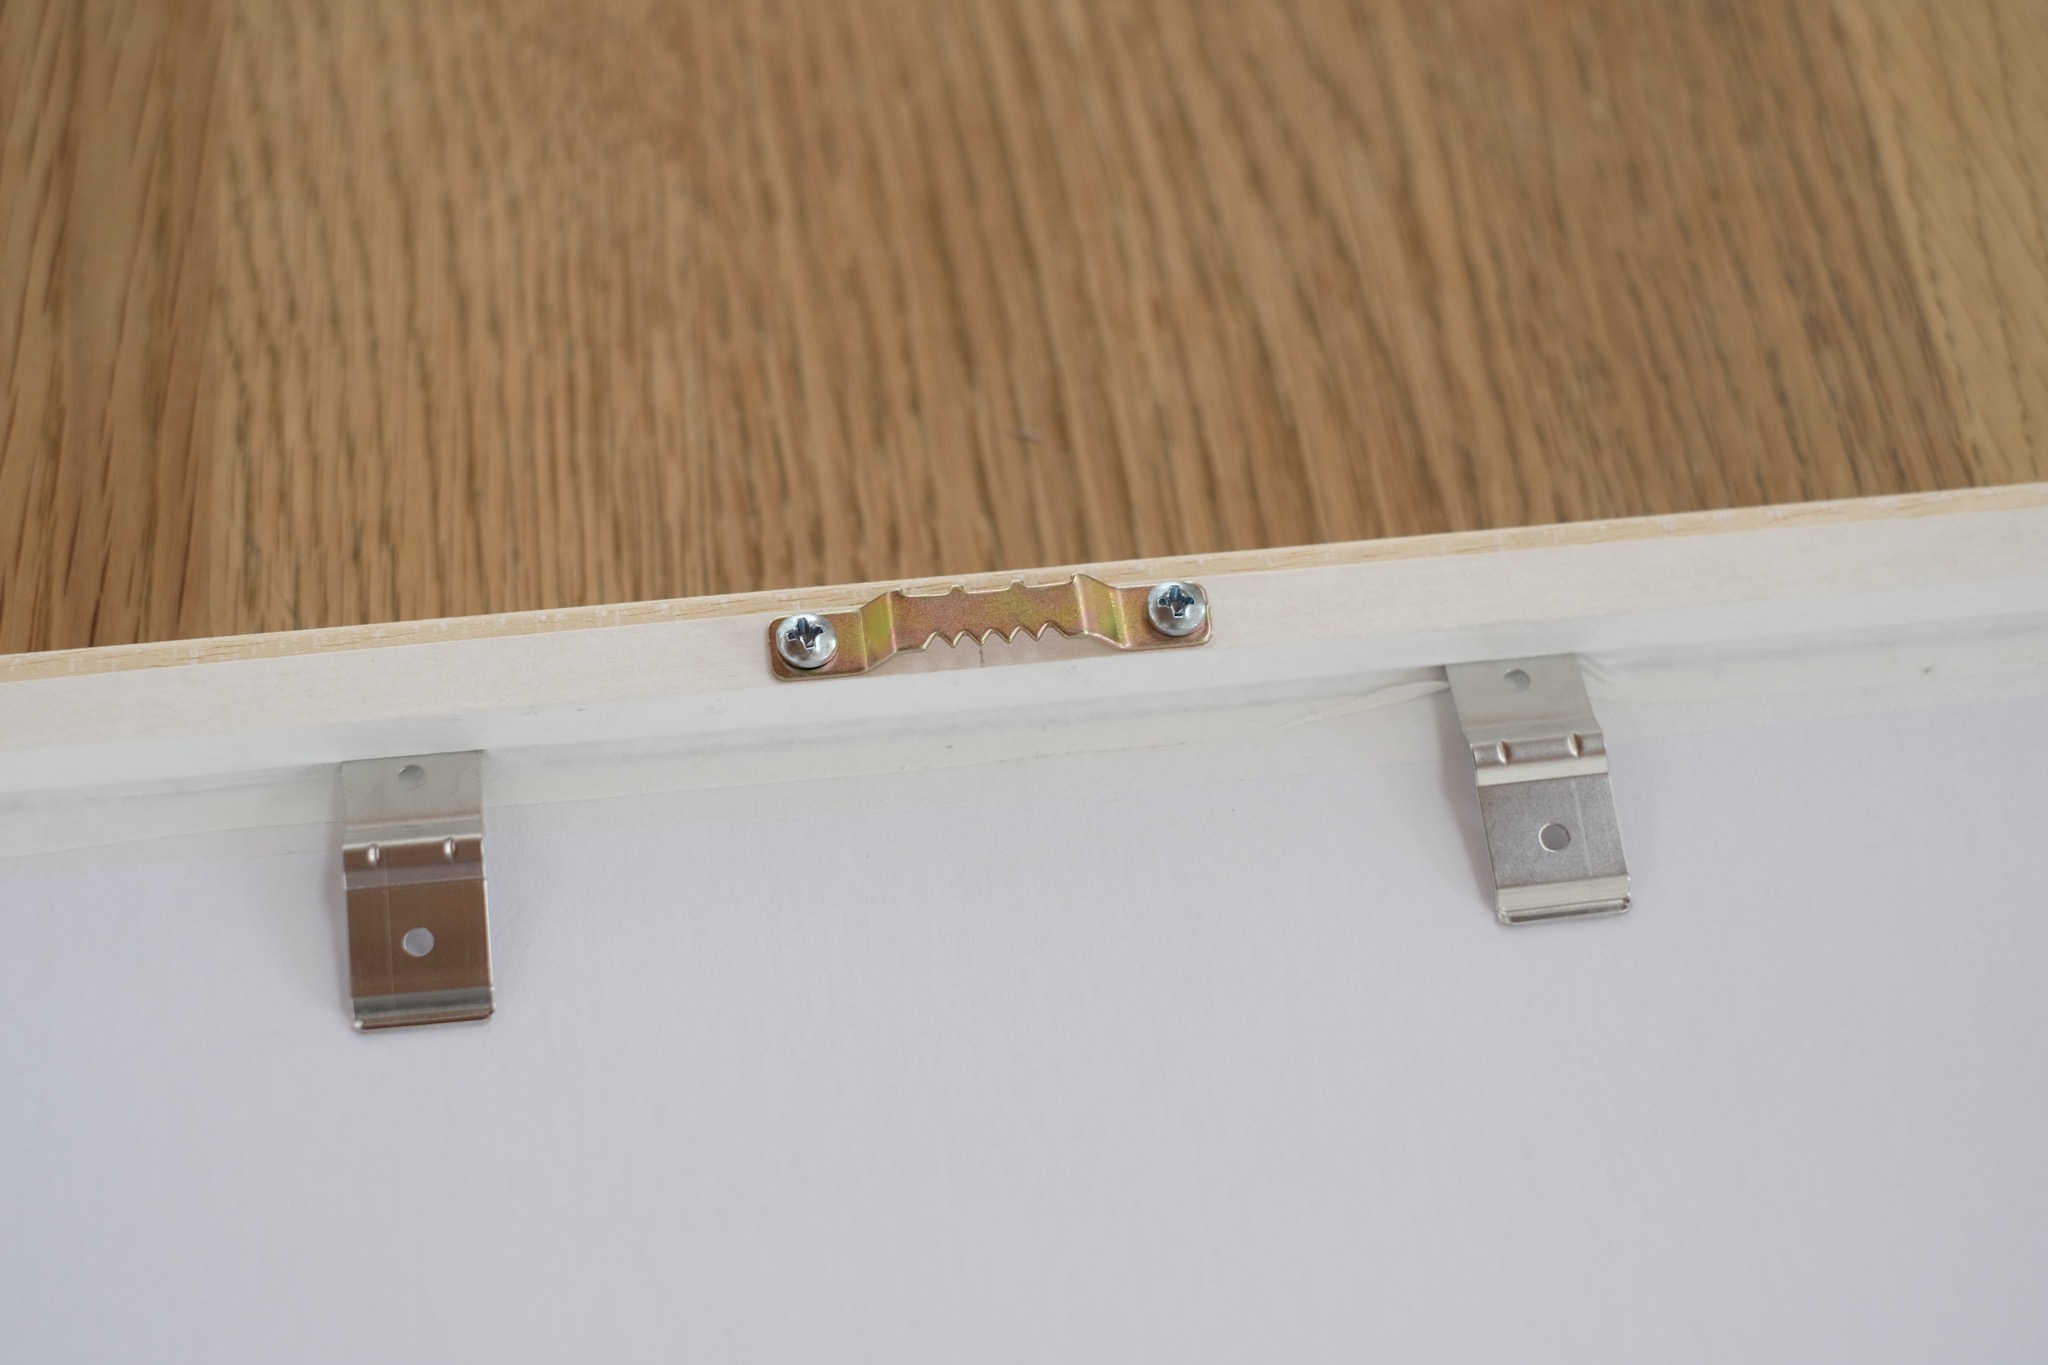
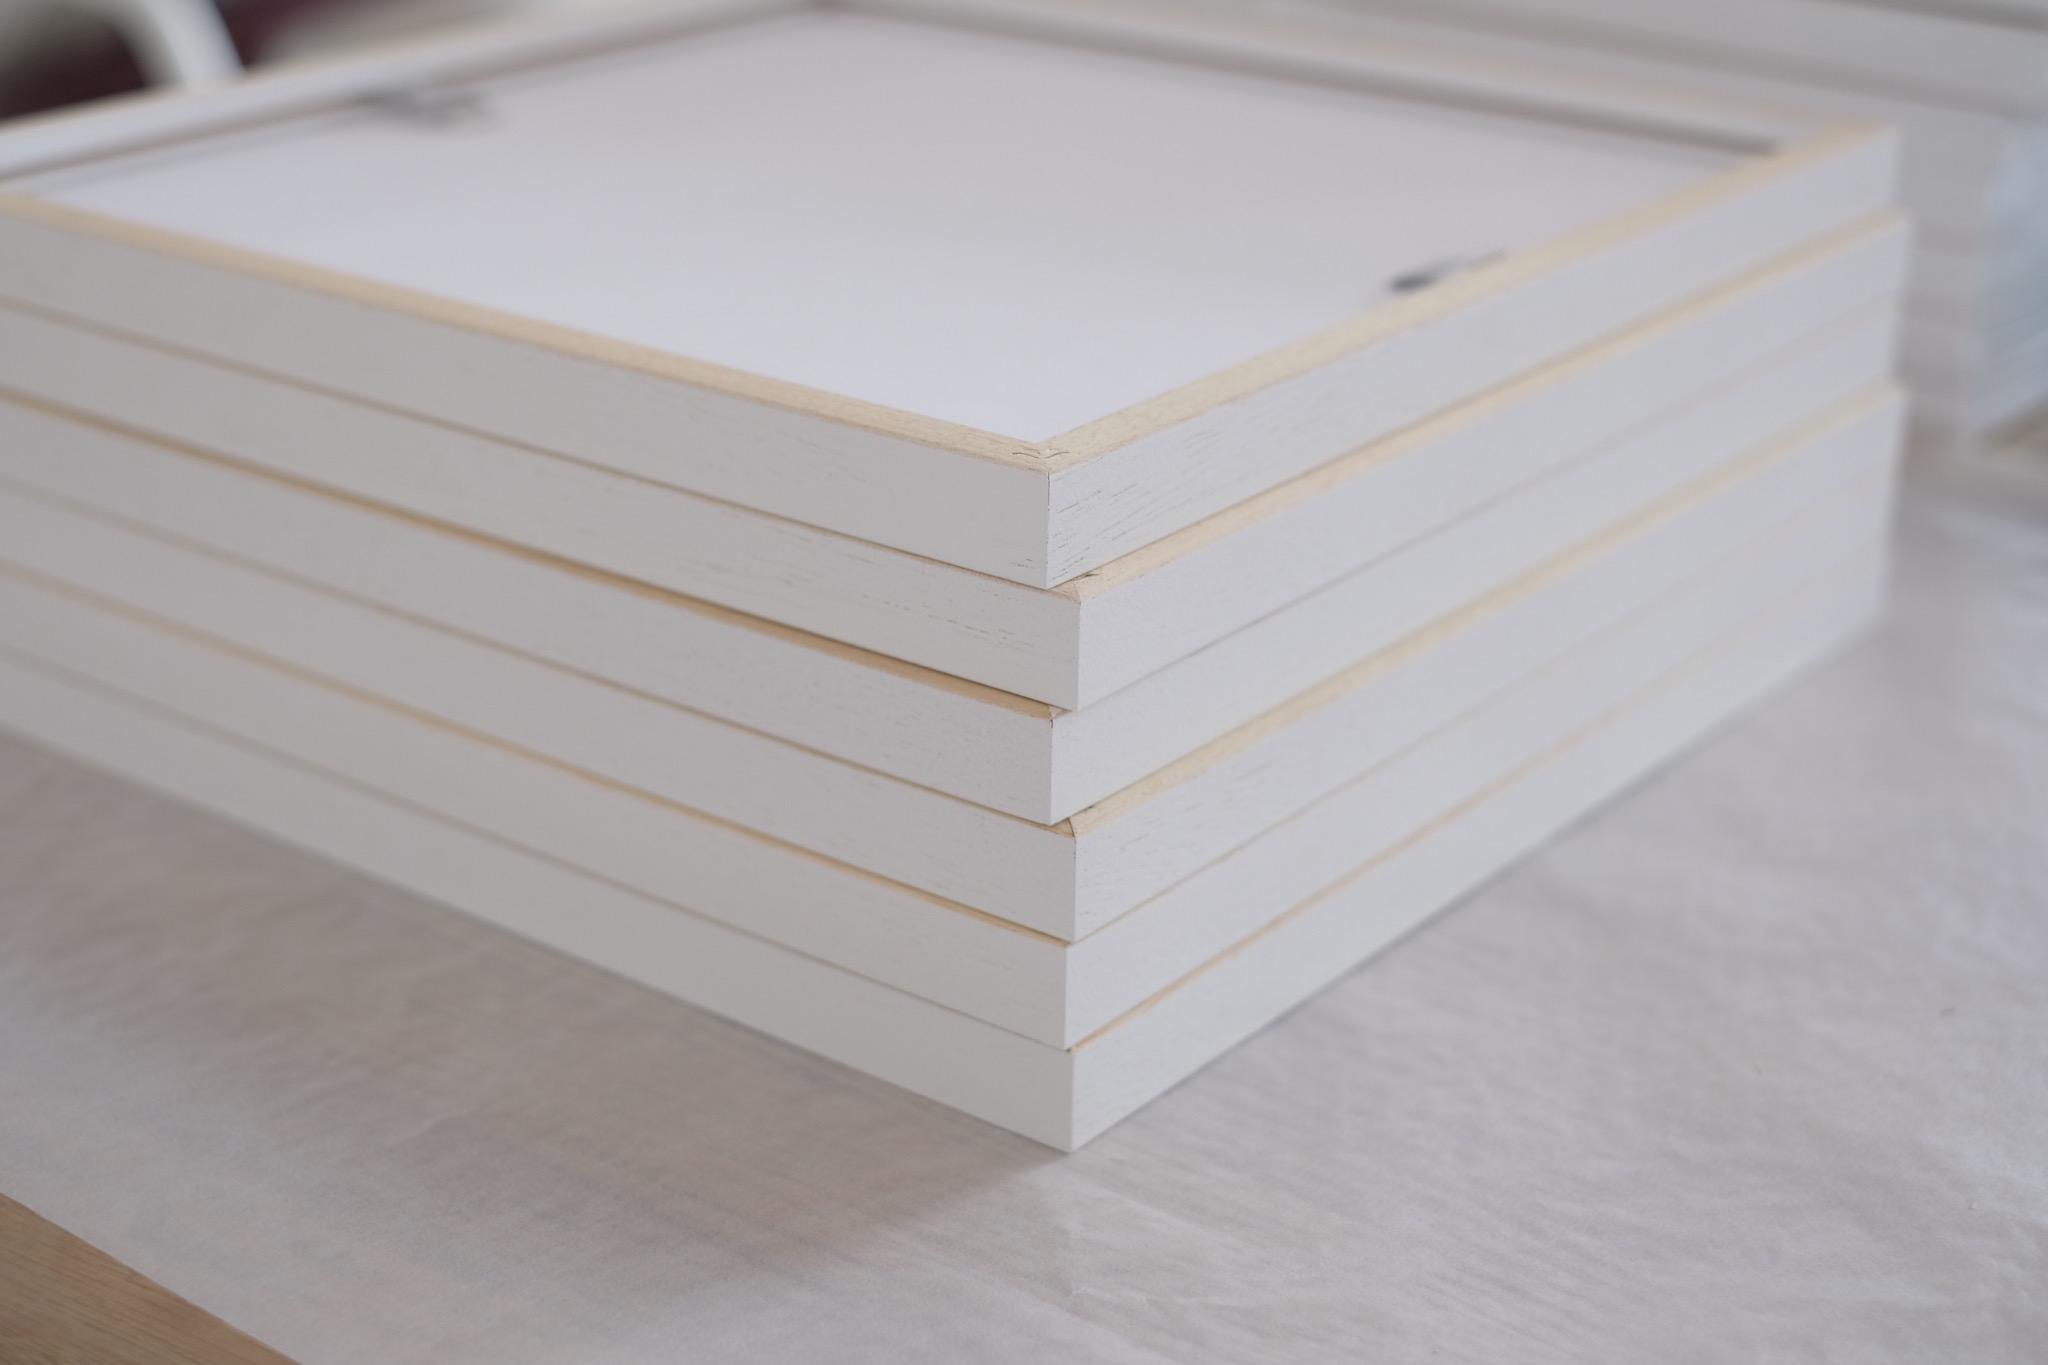
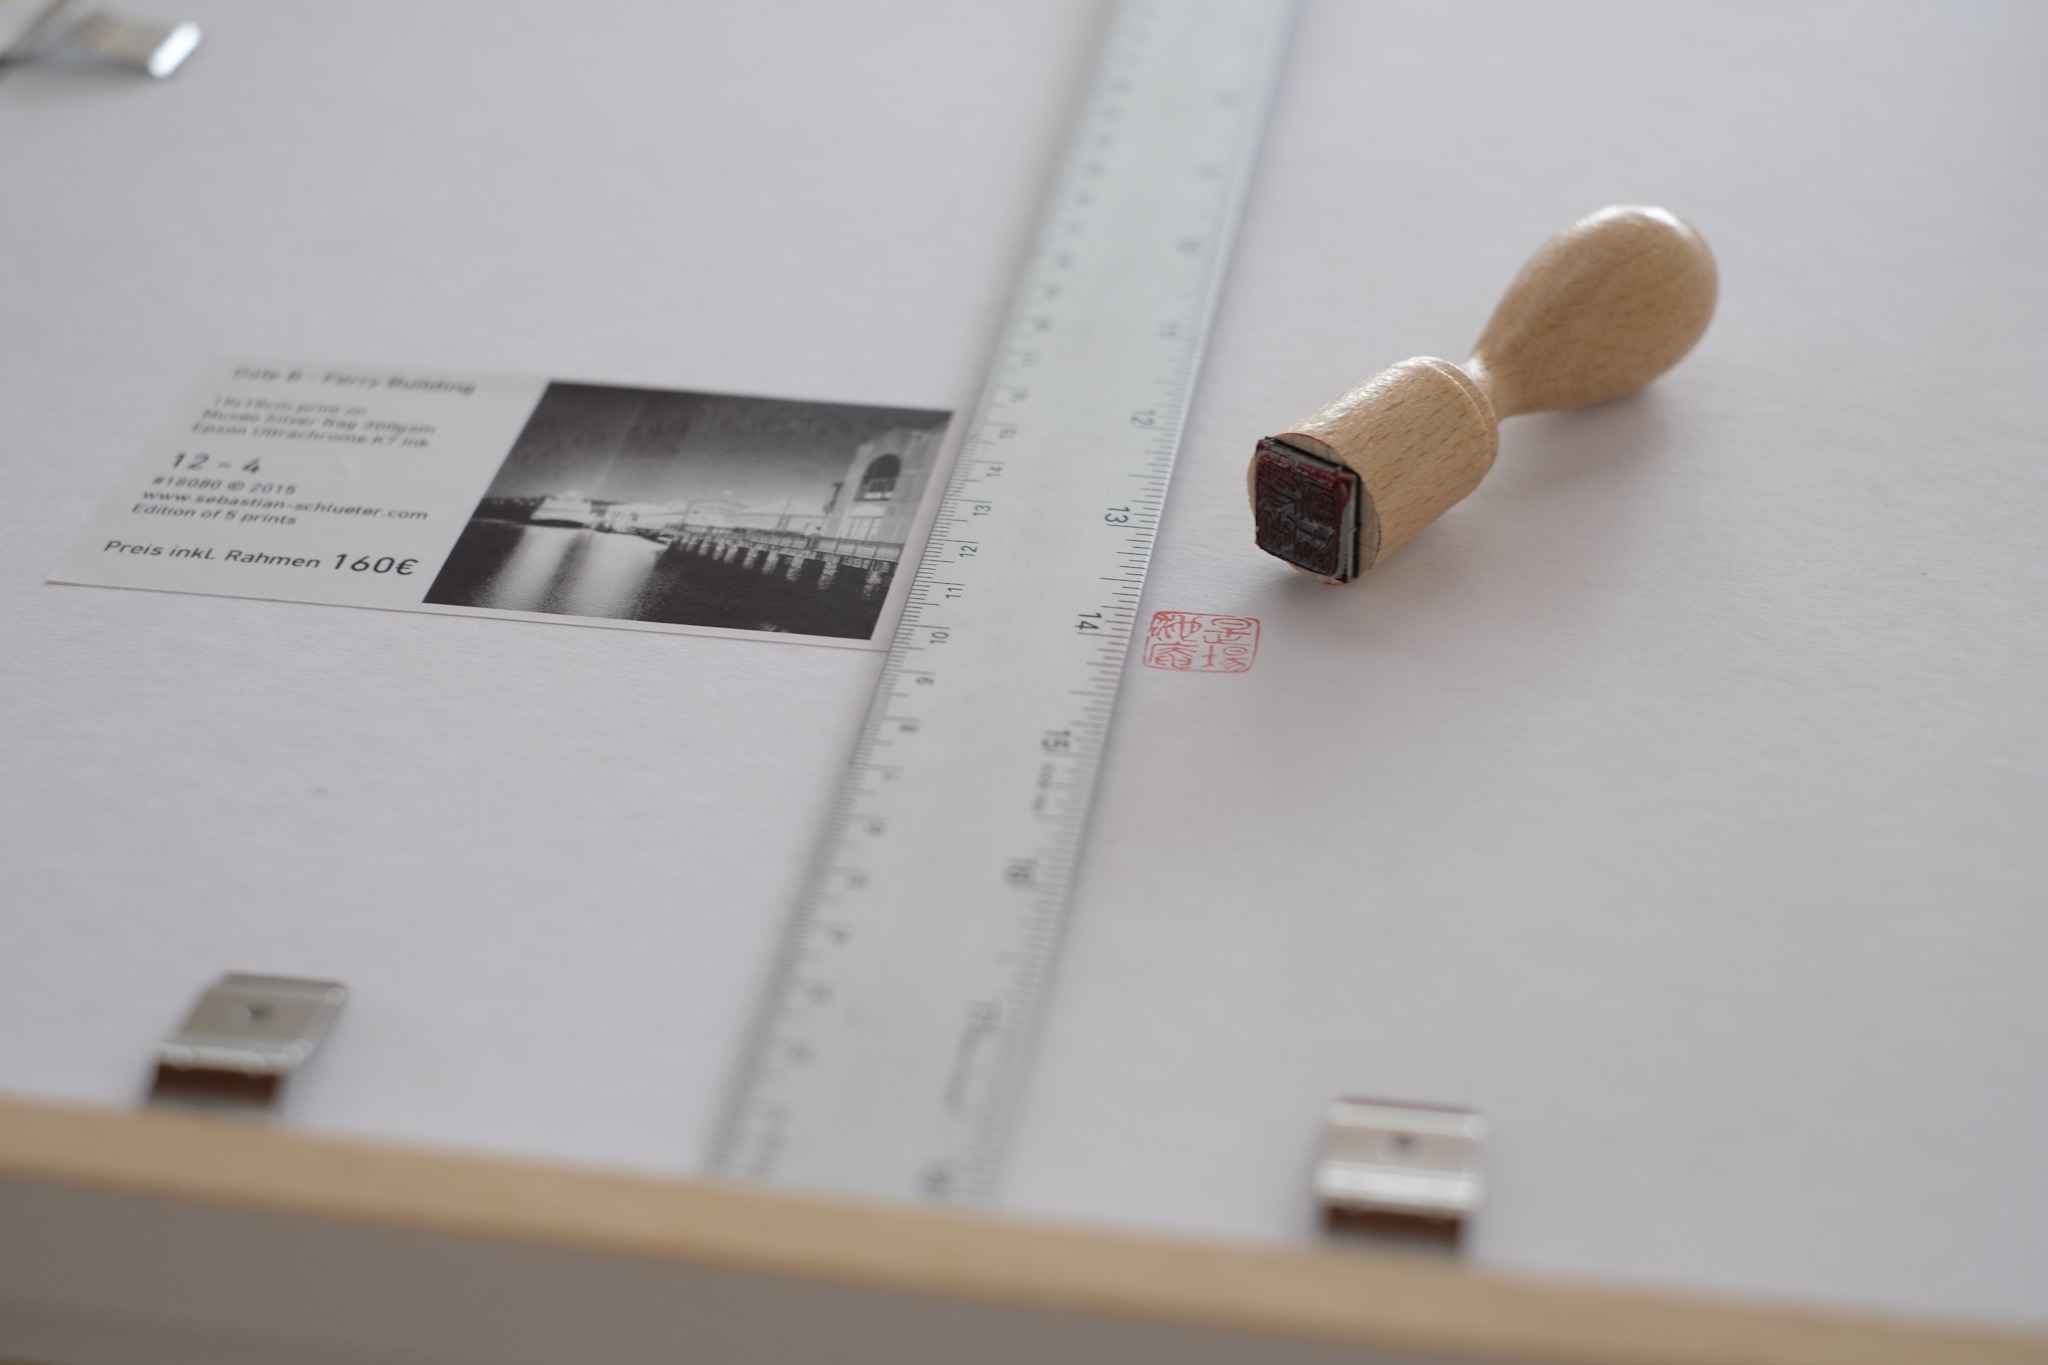
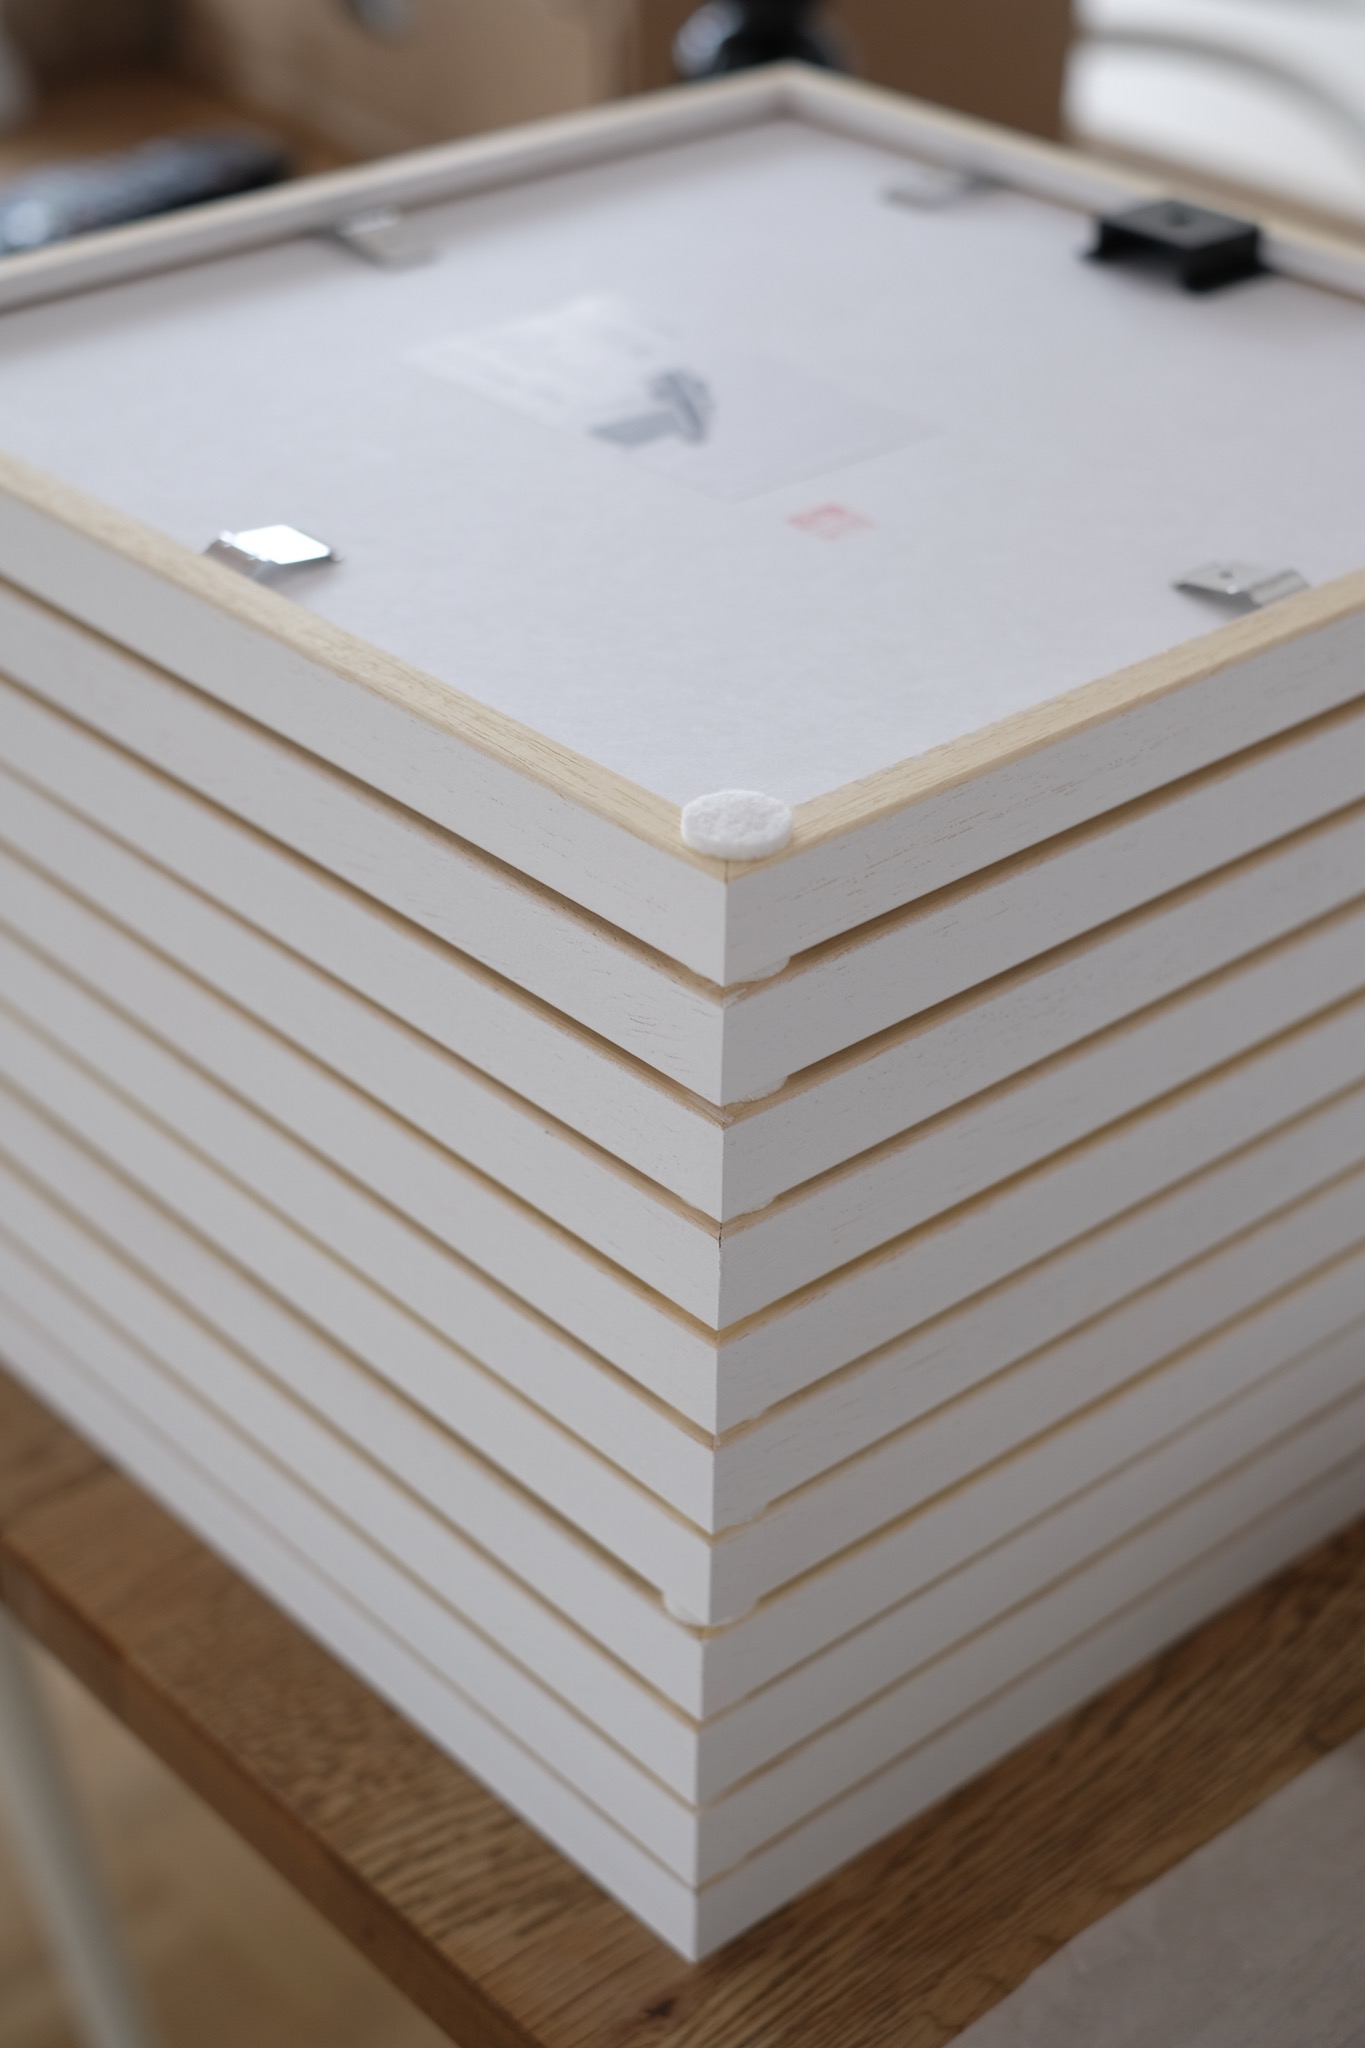
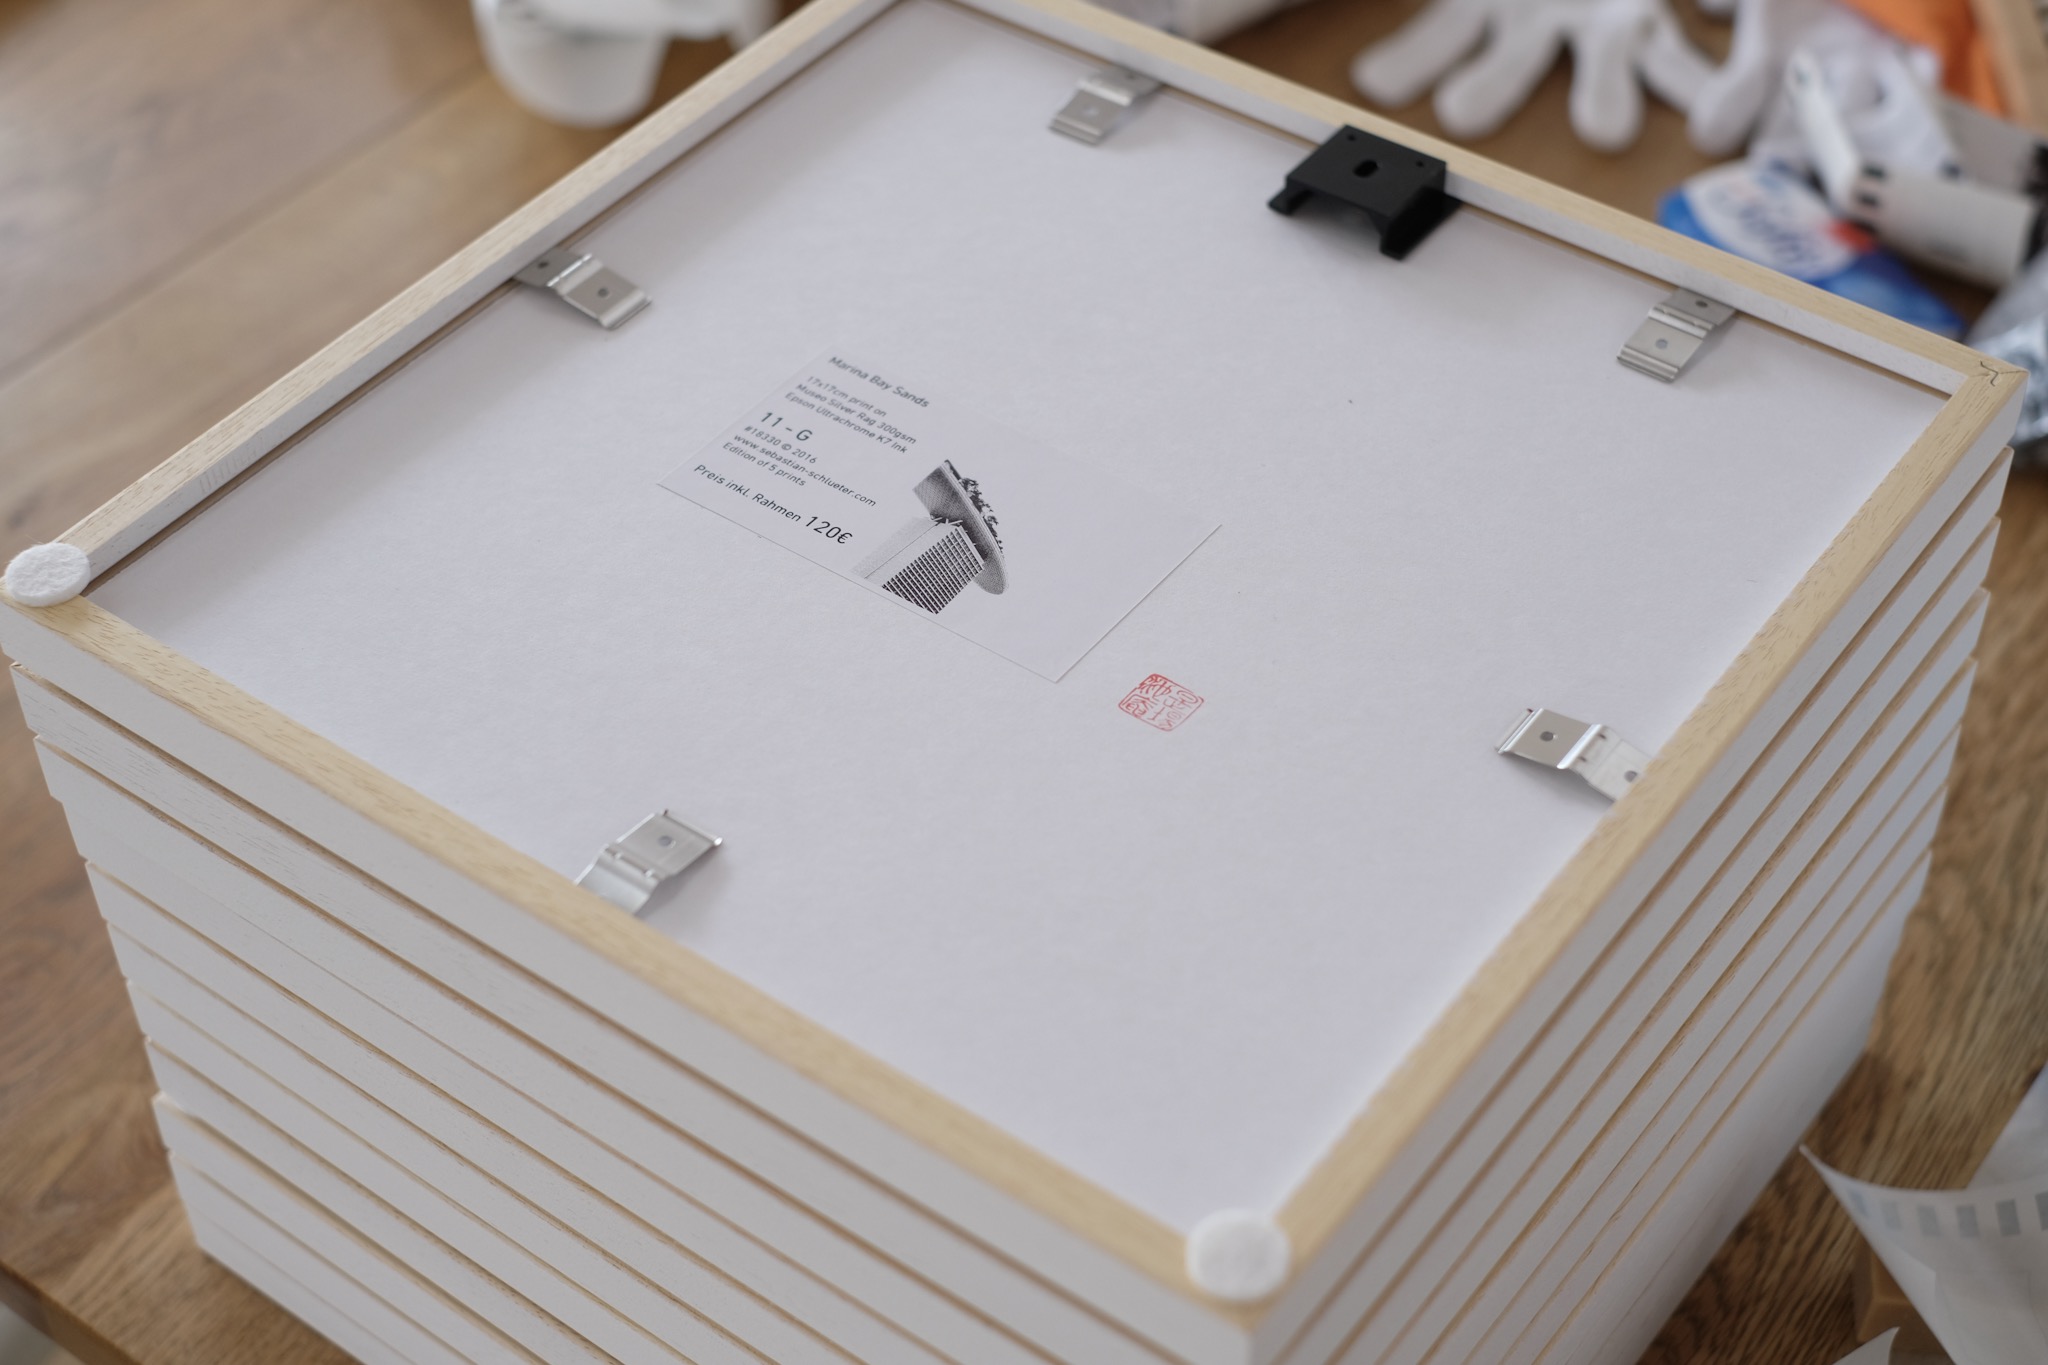
For archival purpose and for all my prints for customers, I make a small package of the matte board and the glass of the frame. This ensures a stable environment and prevents dust from getting into the system. For this I again use the Filmoplast P90 tape. This process matches the archival standard for framing. After inserting this sandwich into the wooden frame, the final backboard is added and I secure everything with either Flexpoints or metal clips and carefully protect the gap between the frame and the final backboard with paper tape. This will be another barrier for dust to come into the system.
The most tedious task when framing is to ensure that there is no dust or lint inside the frame. The best way of doing this is to use a broom and wipe it across the surface of the glass and the mounted print. You could use clamps to joint the gals with the matte board before inserting it into the frame.
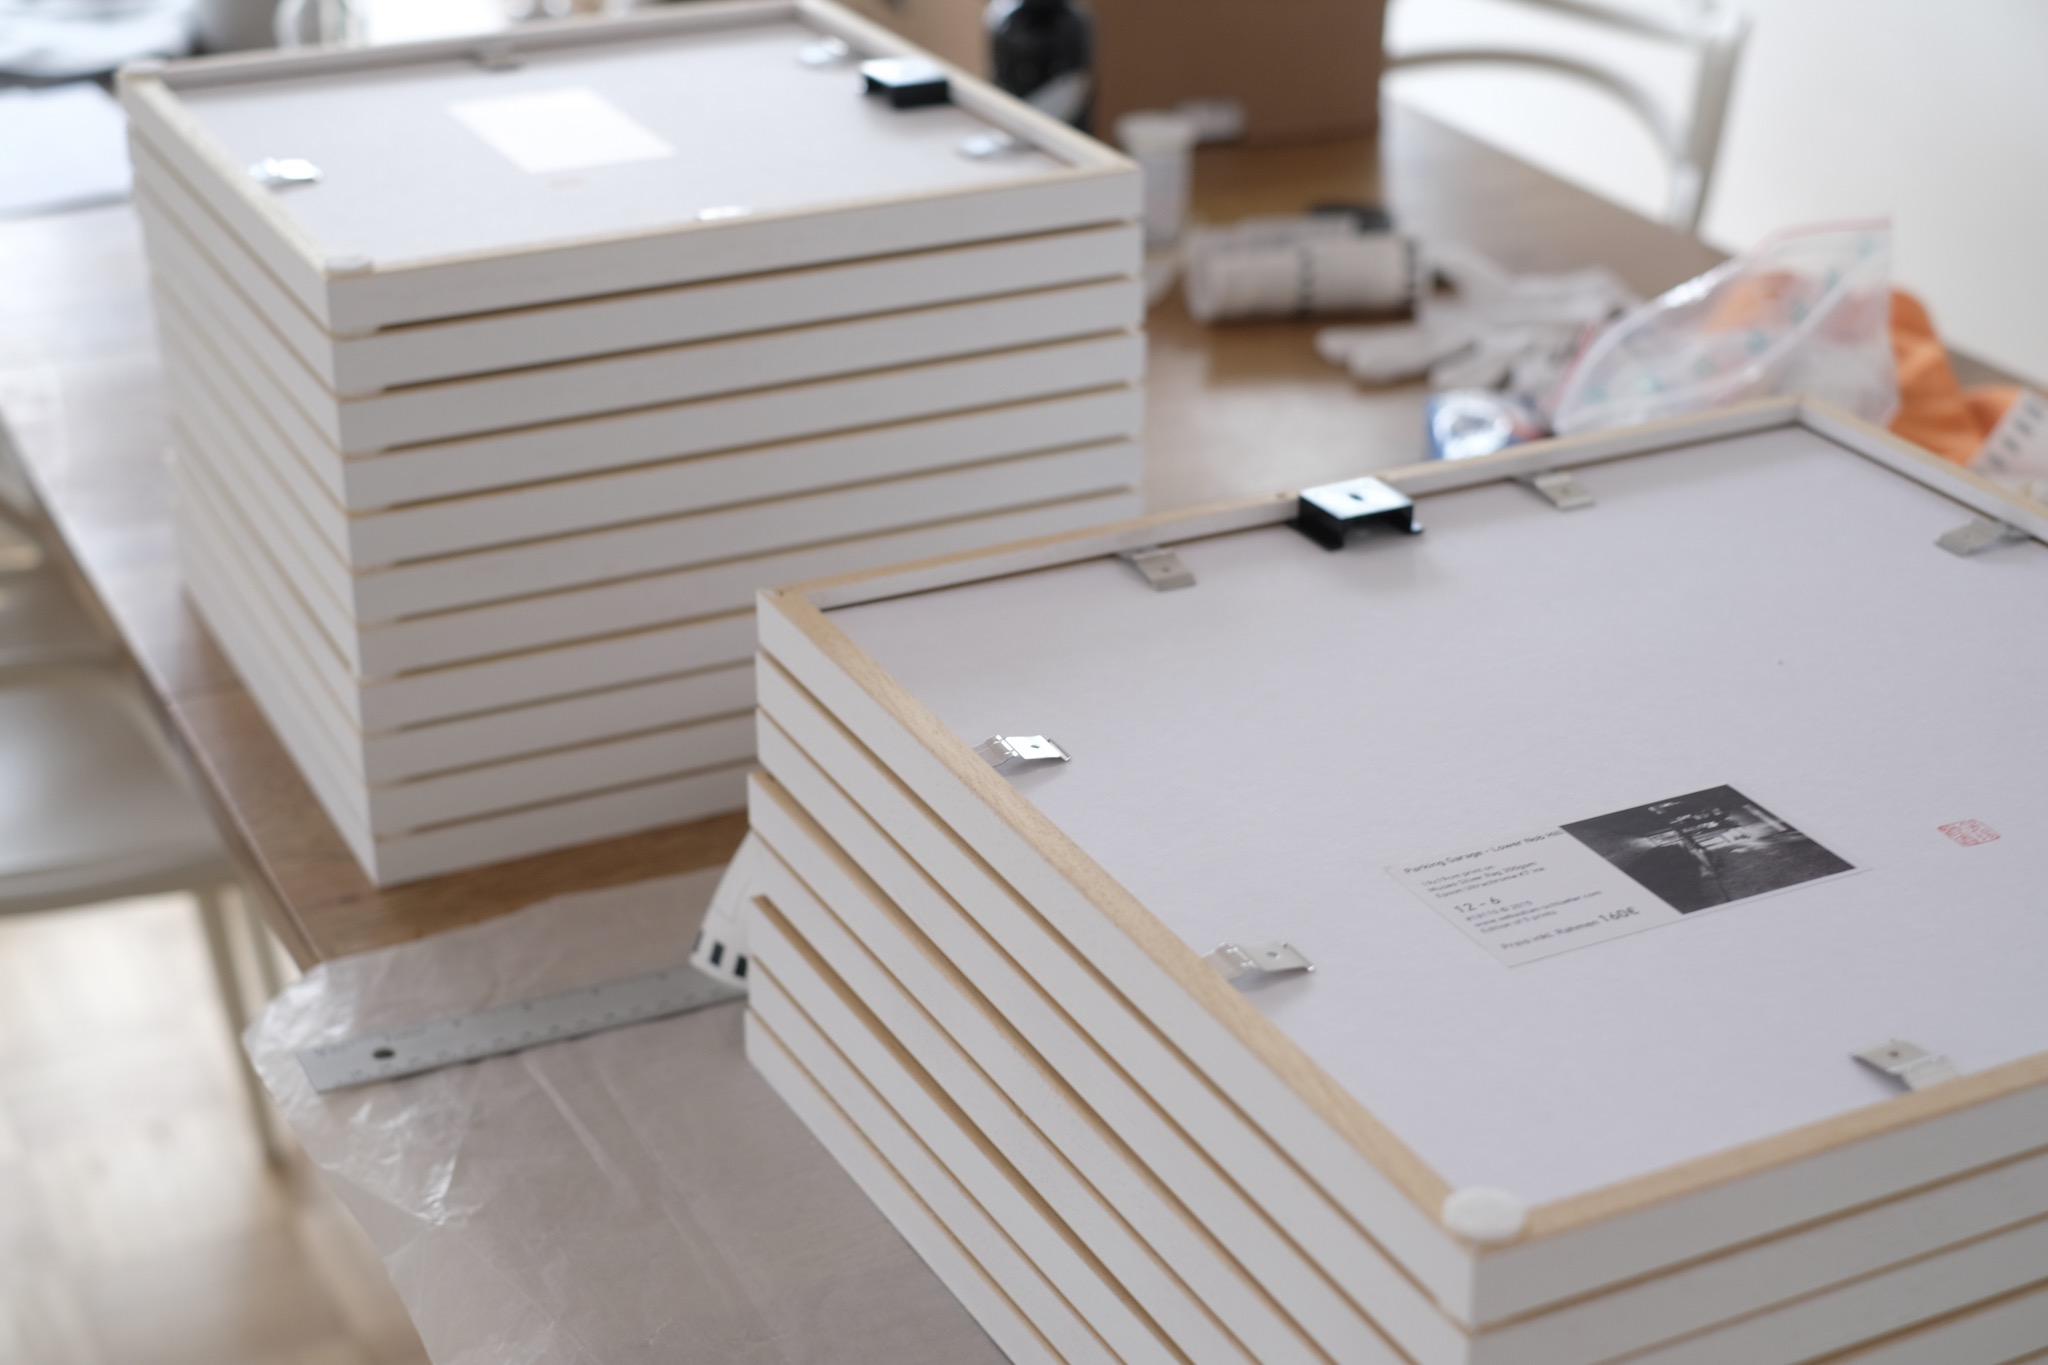
The final challenge was to mount the two large prints which will be displayed at in a 70x70cmm frame. Due to the size of the frame I chose acrylic glass in order to reduce the weight of the frame. Acrylic glass however is a dust magnet and scratches easily. Some care is required to do this right.
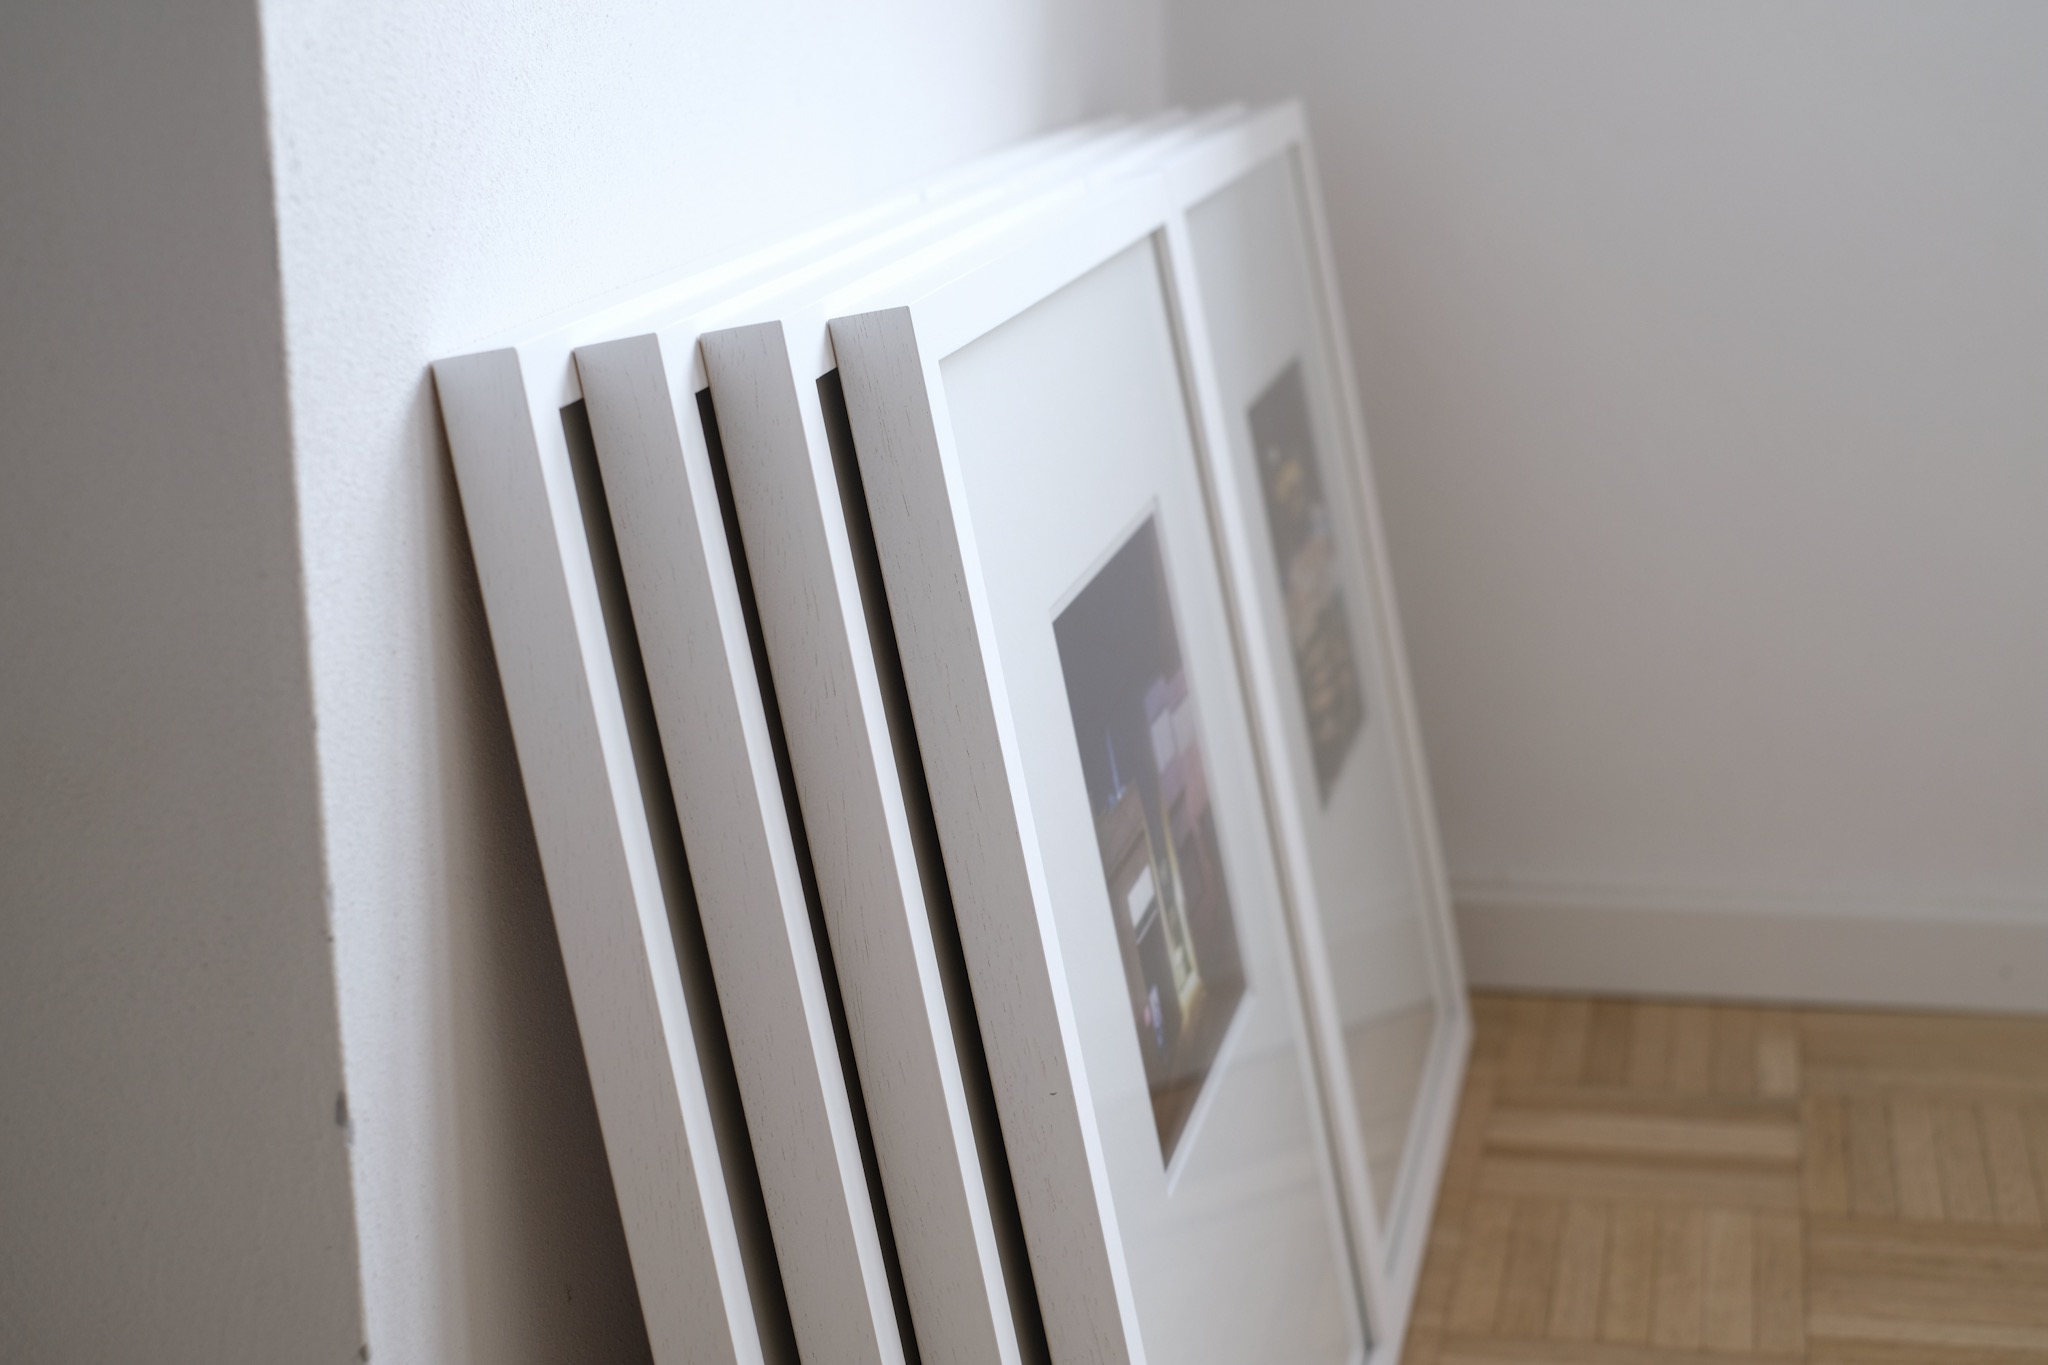
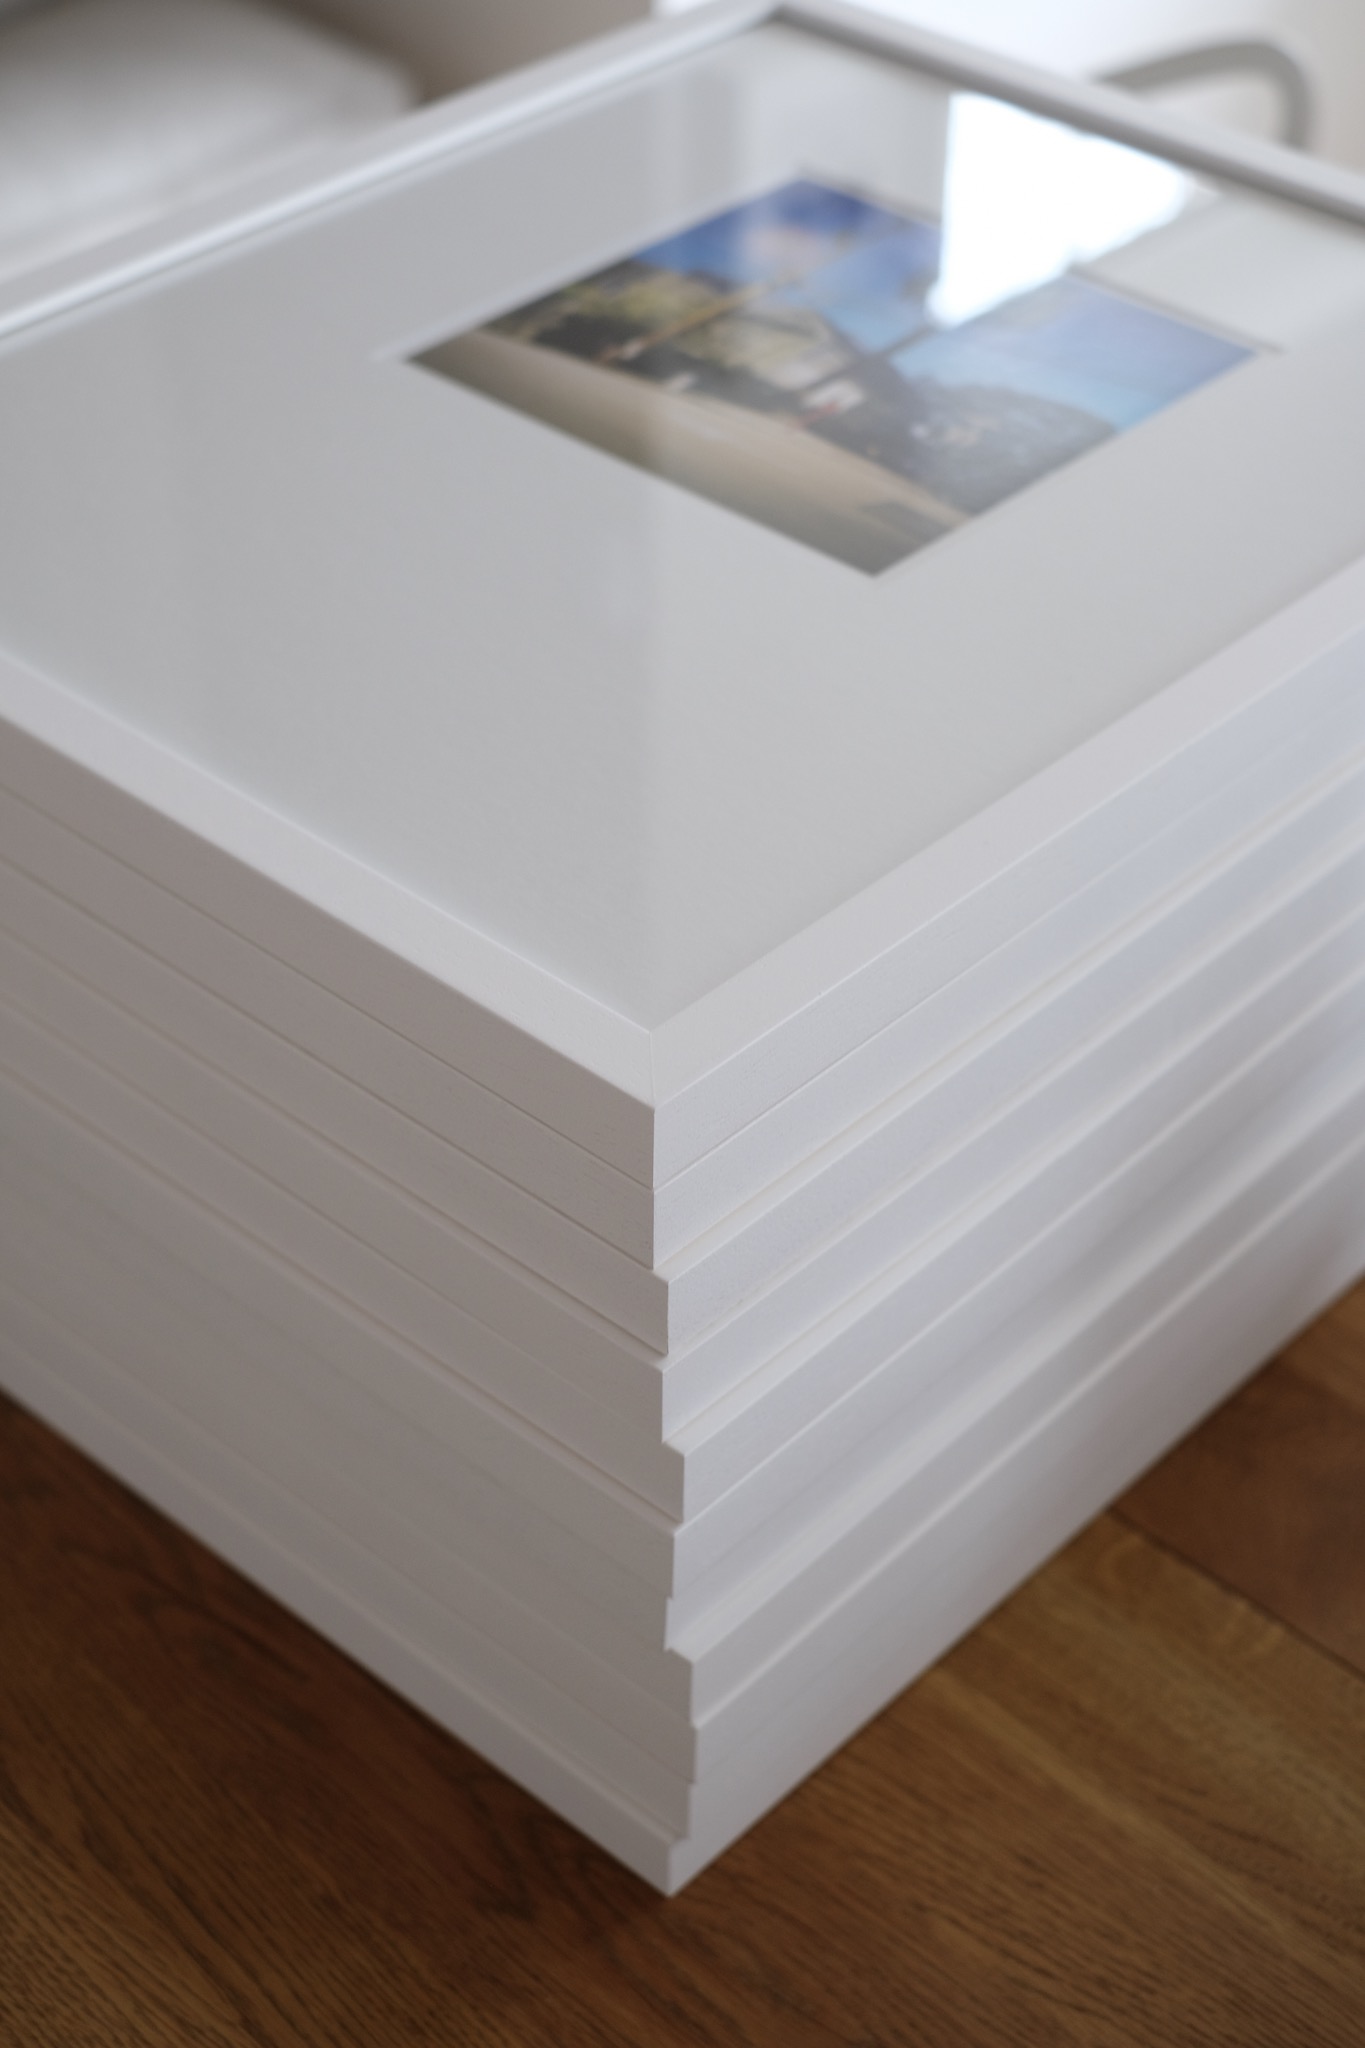
After all, preparing all this for the exhibition was a lot of joy and I am looking forward to see those prints hanging on the walls in Freiburg.


