A new tool on the horizon that could the tool you have always been looking for
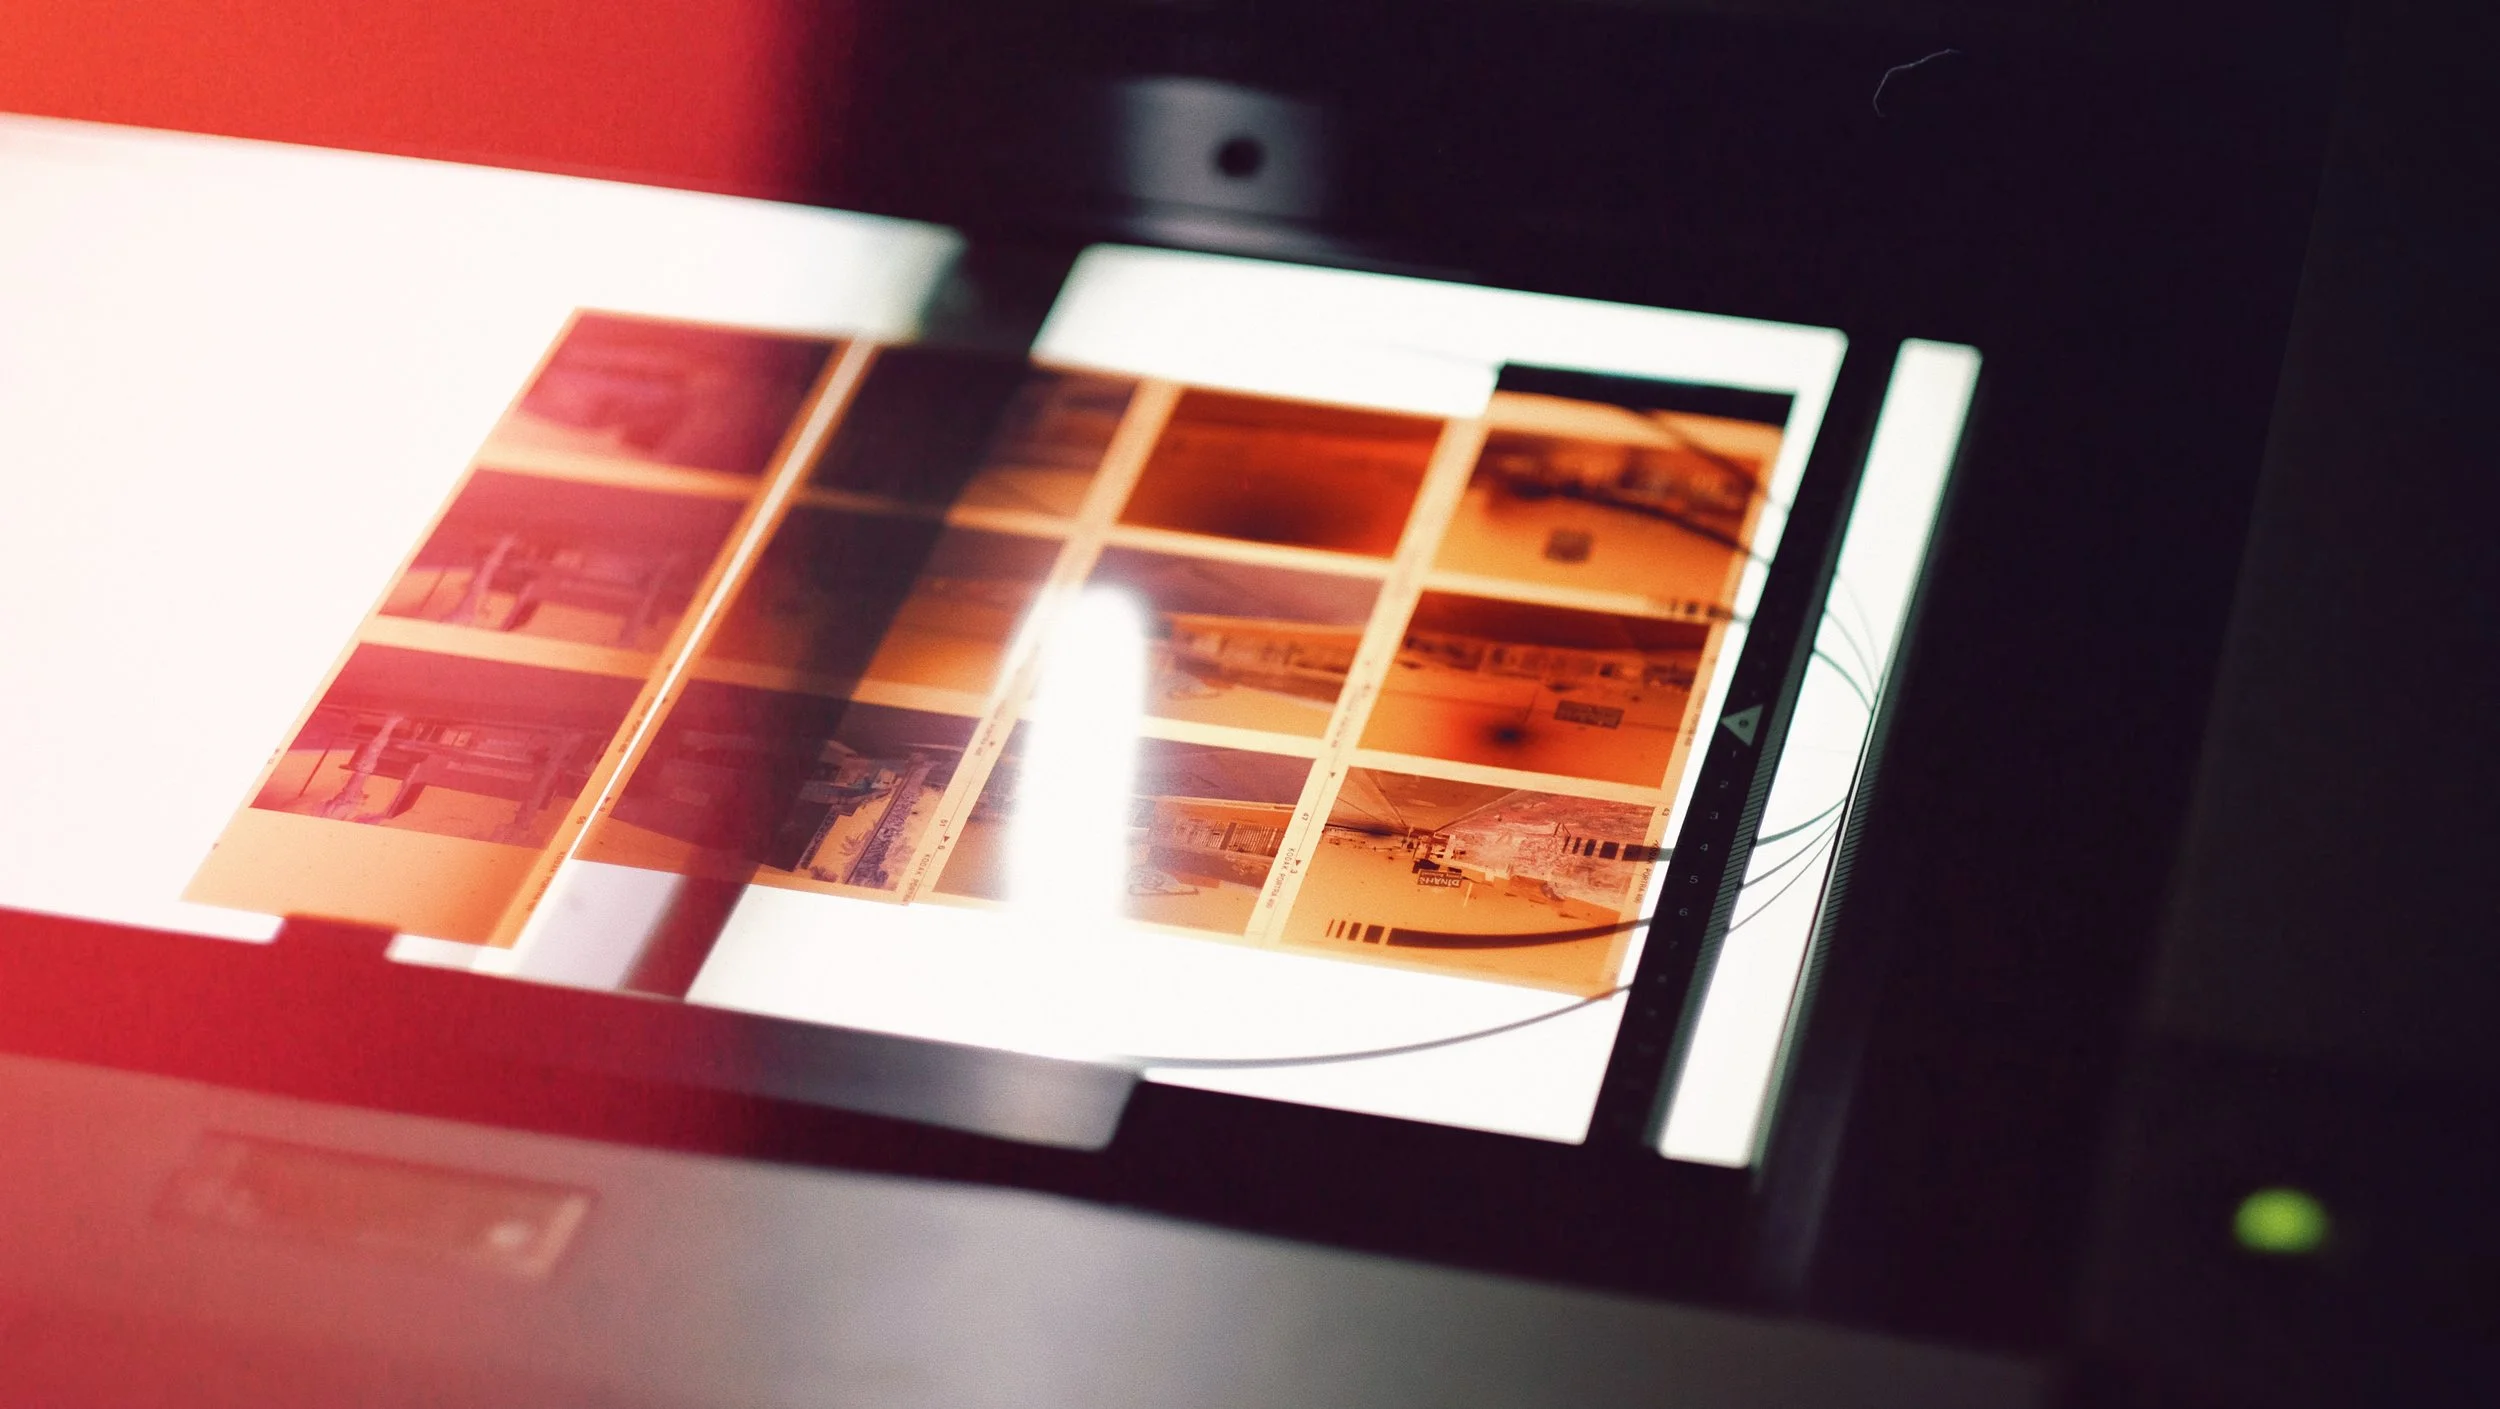
I tested the new film conversion software from Filmomat called SmartConvert and checked if it would fit into my scanning workflow. The new tool is mainly designed to work with camera scans but I wanted to see if I can also use it for scans from a regular Epson flatbed scanner like my V700.
Working with a “monster”
It’s massive, it’s huge and it’s heavy. Super heavy! Most definitely an impressive machine, a marvelous piece of vintage digital equipment and I was lucky enough to get my hands on one of this excellent scanners which were once used in big agencies for all kind of scanning and reproduction tasks. When digital was not yet standard, agencies used a reliable scanners to produce print ready files. This scanner can do it all and was a workhorse in offices around the globe. It scans both transparent and reflective media in excellent quality up to a fantastic resolution of more than 5000 pixel per inch. In this article I will talk a little bit about my love and hate relationship with the Scitex Smart 340. Even though I really adore this machine and I truly love to work with it, it also drove me to desperation. It’s a steep learning curve and it seemed like with every step forward and new problem came up which I had to solve. Meanwhile I have solved most of them and I can say that I managed to wrap my head around the somewhat quirky scanner software. But let’s start from the beginning.
Printfilm LUT for Photography
A cinematic way of interpreting film scans with the help of Film Print Emulation
I am starting this blog post with some new terms that maybe doesn’t sound familiar to a photographer, but don’t worry I will get you covered. We are going to explore how analog film is used in Hollywood and try to see what it has to do with film scanning and analog photography. Analog film has been used in cinematic film production over decades. Let’s see what we can learn from this knowledge and how we can use parts of this workflow to enhance our personal scanning results.
This is going to be the final part of my intro post on camera scanning. Once I have covered all the basics and concepts of camera scanning I will have closer look on the workflow itself.
In the last part I talked about the six main elements of camera scanning and I have covered camera choice, lens options and light source. Now it is time for the oremaining three items which are copy stand, the film holder solution and finally the required software for negative conversion.
Establishing my own setup
Introduction
What a year! Probably everyone had different plans for the last months and so did I. But here we are and I have new ideas and topics for upcoming blog posts which I want o share with all of you.
For those of you who follow this blog for a little while now, I have always been a big fan of various ways to scan negatives. Home scanning with a dedicated film scanner or a flatbed scanners is a big challenge but if mastered correctly it can provide you the artistic freedom over the final image which a lab unfortunately cannot do, simply because they have to guess your interpretation of the negative. You can make choices that dramatically alter the scan like color and tonal correction. Nevertheless a good lab can do this job for you if you manage to clearly communicate ideas and artistic vision. Most labs do a brilliant job and deliver an outstanding quality mainly due to the fact that they own the best machines for this job like the Fuji Frontier SP3000 or a Noritsu HS-1800. But over the last years or so a new method became more and more popular: camera scanning!
One of the biggest problems when scanning color negatives is, to get the color and contrast right. While scanning software often addresses this issue, I know many users struggle to get colors right. There is a very good Adobe Lightroom plugin for a while now that helps the user to create wonderful scans from negatives. It was initially introduced for converting camera scans, but it can also be very helpful for converting scans from your flatbed or dedicated film scanner. Nate Johnson the creator of Negative Lab Pro (NLP) has updated the plugin to Version 2.1.2 which now enables you to effortlessly combine the power of a real scanner with the beauty and handsomeness of a really cool plugin. In this short tutorial I go through the required steps to give you the freedom of a non-destructive workflow in Lightroom combined with a very solid negative conversion tool.
Normally we need to work hard to have our dreams come true and even with the biggest effort, we are often just not able to fulfill them all. So it is even sweeter when a dream becomes true and you not even expecting it. This is what happened to me a couple of days ago. OK, not a dream that changed my life, not a million dollar lottery win, but something that could significantly simplify my photography and home scanning workflow.
A not really objective verdict
On March 18th the article What’s With All the Poor Negative Film Reviews? by Brad Nichol´s was published on petaxpixel.com and I not only fully support his point of view, I would also like to use it as a starting point for an very personal tribute to a single piece of hardware that makes the hard task of scanning easier and let´s you learn how color negative film can look like.
A BASIC TUTORIAL ON HOW TO SCAN KODAK PORTRA 400 FILM WITH SILVERFAST 8 AND PHOTOSHOP
"NORMS - West Hollywood" is a night photograph I took a couple of weeks ago with my Hasselblad 500 and a Carl Zeiss 50mm Distagon f/4 lens of the famous NORMS restaurant. This will be part of a series of images focusing on the architecture of restaurants and shops in greater Los Angeles. In this short tutorial I will show you how to make a good looking scan in just a few simple steps in SilverFast 8 and Photoshop.
The aesthetics I try to achieve are similar to scans that my lab is doing with a Fuji Frontier mini-lab scanner. While the Epson V700 uses a significantly different technique, I am still able to re-scan some frames, especially if I need them at a higher resolution, that look similar or close to the rendition of the aforementioned scanner.
How to get the most out of your Epson V700, V750, V800 or V850
Have you ever wondered what would be the best settings for your scans with an Epson flatbed scanner? Well, there are two ways of getting those values and one of them is a s simple as reading this blog post. I did some testing with an USAF 1951 resolution target and I will share my findings with you. These settings work great on my scanner, with my mounting solution and chances are that they work for your flatbed scanner as well. Of course the optimal way of doing it, is investing some time and money and do your own tests. In this blog post I will explain what is required to do the tests and provide you with the link to some more detailed explanations. So it is totally up to you if you want to do your own tests or play around with my settings and see if they work for you.
Back again with a color negative film scanning example. I had to re-scan this image for a book project as the lab scan did not have enough resolution for the book and therefore I thought this would be an intersting example for everybody interested in scanning film.
In the video I show the steps I do in SilverFast HDR Studio. SilverFast HDR Stduio works with linear scans and if you are interested in how you make these scan check my previous blog post for a detailed explanation.
This is going to be a short post. In order to use SilverFast HDR Studio as an archival workflow solution as well as for a optimized FineArt workflow I find the idea of creating linear scans fascinating. What we basically do is splitting the workflow into two parts. First is the scanning process and second the post-processing that is required for every scan. During the scanning we make sure that we capture all relevant data from film. In order to do so, we do not alter the data in any way and we save the file as a linear 16bit Tiff file.
LaserSoft Imaging SRDx Plugin Review
Everybody who is developing film at home knows that dust is your worst enemy and while it is surely the best practice to avoid getting dust on your negatives, it seems like a fight that we cannot win. In the end there are always small dust particles on the film which we need to be cloned out during post-processing after scanning. If you print in the darkroom you have no other choice than cleaning your negatives carefully before putting them into the enlarger. Canned air and dust blowers as well as small brushes are your best weapon if you want to avoid the elaborate manual retouching process. Digitally we have other tools available. Among the clone and healing tools in Photoshop we can also work with filters. These filters target defects and blend these defects into the surrounding pixels. Photoshop has its own "Dust & Scratch" filter which already works nicely. Of course you cannot expect magic and manual retouching with the afore-mentioned tools is always required especially for larger defects as the filters have a harder time to deal with them. LaserSoft Imaging, the company behind SilverFast has recently released a Photoshop plugin for this task. Everybody who is using their scanner software might have noticed a new filter which is called SRDx. This filter especially targets defects that cannot be detected by hardware based infrared dust and scratch removal.
A workflow concept using an Epson flatbed scanner and Silverfast HDR Studio.
It has been a while since I posted my last video here. After my visit to Photokina in September I realized how many photographers see digitalizing their archive of slide film as a big challenge. I do agree that it is a time consuming task, but the reward of having the complete body of work on the hard drive is worth it in my opinion.
In this video I introduce a concept that includes Silverfast HDR studio. The scanning part of the workflow will be detached from the processing part and this will make the whole process absolutely future proof.
This will be a short video, that shows how quick and easy a workflow for scanning color negative film can be.
Just recently I published an Epson Scan tutorial. In addition to this tutorial I recorded a short screencast to supplement this tutorial and elaborate some further details. Unfortunately I only have German copy of Epson scan so please bear with me that I used this version for the screencast. In the mentioned tutorial you can find screencasts from the English version of Epson Scan in order to follow along the tutorial.
Hope you enjoy the video...
Epson´s consumer scanners all come with "Epson Scan", a scanning software for all needs. Many scanner operators however tend to use third party software for their scanning tasks. Today I will show you how to get good results from Epson Scan, but I will also try to elaborate the drawback of Epson Scan and why Silverfast will give you even better results in the end.
My Mounting Solution for a flatbed Scanner
I have tried many mounting solutions for my Epson flatbed scanner and I was never happy with the results. Some solutions use additional glass and all of them reduce sharpness by a certain level. They deal with curled film quite nicely, but the loss of sharpness is not acceptable in my opinion. This is why I continued to use the original holders for quite a while. I still think they are the cheapest solution for good results. Handling can be a bit difficult though. By coincident I stumbled upon the Digitaliza 120 film mask and as I used a 35mm Digitaliza before I thought I would give it a try. After some experimentation I discovered that I can increase scan sharpness by increasing the distance between the scanner glass and the film. I made a 2mm thick rubber support for the Digitaliza and my scans immediately looked much better. It took me several test scans to find the optimum height. The 120 Film Mask is now my go to solution for mounting 120 film on a flatbed scanner.
After my video tutorial in the last post, I thought a short follow up post with a detailed example would be helpful. So, no video today, but some further explanations on how I scanned the photograph below. But just in case you have missed the video, I highly recommend going back and watch it. It will give you a good overview of all the tasks required during the scanning process.
I always wanted to write about scanning color negative film. Now I was finally able to put together this site with lots of useful information to get started with scanning color film. The main part of this section is the video tutorial that can be found below.
While positive film seems so much easier to scan, obviously you can see the positive image already, it seems some kind of mystery to scan print film. The first thing you hear is, that you cannot get accurate results due to the orange mask. The orange mask and the fact that the image is inverted are of course two complications we have to deal with, but these challenges are not as complicated as you might think. The biggest problem is that we need to accept the fact that there is no accurate or "correct" scan that we retrieve from the scanner. Even during darkroom printing all prints were interpretations. The old Ansel Adams quote about the score and the performance is also true for color film. Once you have accepted this, you are good to go!
Make you own scans, your own interpretations, give the scans your artistic voice. That is what makes home scanning so fascinating.
In preparation of an upcoming video tutorial on how to scan color film, I thought I share some recommendations for exposing negative film especially for scanning.
In my previous post I mentioned that I try to replicate the work done in the traditional wet darkroom. Today I would like to introduce these techniques to you and show you their digital equivalent.
The Digital "Master-Print-File"
In the previous part of this installment we have discussed how we get a flat scan from black and white film in Silverfast 8.8. In the second part of this series we concentrate on the creative process of taking a flat and lifeless scan to a wonderful black & white master print. While we should normally never constrain our creative freedom, I still suggest we try to maintain a believable plausibility, which means we want to maintain the characteristic of the medium. A photograph should be identified as one and as we have already made the effort of shooting film, we want to maintain the beauty of this medium in the final master file. The easiest way of doing this is by replicating the tools a darkroom printer uses when creating a print. Of course we use these techniques digitally. Good care needs to be taken to avoid digital artifacts and a digital look. This is not as easy as it sounds, as digital tools can easily make their marks. We do our best to avoid these marks.


If, like me, you've been captivated by scanning over the years and simply enjoy digitizing film, it's clear that you follow the market and the countless options available to you. I've written several times about the possibility of building your own small scanner setup. By now, my own setup has changed significantly and what started with a few simple components has grown into a very precise tool. I get a lot of joy from it and can finally scan films the way I want. However, to get this far, I had to overcome several hurdles. But let's start from the beginning.